Shop
Shopsomething i have tried to do (and failed miserably at) for the last three years, is to have a cutesy little t-shirt for my little guy to wear on his birthday. etsy is filled with awesome options…screen printed, appliquéd, you name it, the options are there. i love, love, love super simple options – baseball tees with just the number he’s turning are a big fave. and this year, i thought i was so on top of things when three weeks before his birthday, i found a tee i liked and contacted the seller to make sure the perfect little tee could be here on time. no response.
so, time was ticking. a week before the birthday, and there was no tee. (i’ll stop here and say, yes, it seems totally absurd that i had to have a tee with a “3” on it for his birthday. but this year, i went kinda overboard with everything birthday related, so yes, the tee was a must.)
enter pinterest and the twist of fate that i came across a posting of “how to do your own screen printing at home.” (see here for the pin and be sure to click through for details!) yeah, screen printing. so, i repined my find, clicked through to the link and got the details on how i could screen print my very own “3” tee for my little man.
to start, i did a little playing in word to put together the “3” in the font i wanted to use on the shirt. i settled on stencil font in a super large font size (we’re talking about 300 pt. font). i printed out the design to make sure it fit on the front of the shirt.
here’s a quick list of the materials needed (courtesy of hobby lobby):
tee (i actually picked up a decent one at hobby lobby for about $4. best thing is that it’s washed really well…very important for any mama)
design printout
fabric paint
cross-stitch hoop (these come in varying sizes…after you have your design printout, that will help you gauge what size of hoop you need…i went with a 6″ hoop)
modge podge
small paint brushes (i went with bristle brushes for small, detailed areas)
black permanent marker
small piece of cardboard
nude pantyhose

i’ll warn everyone now: this little project took awhile. so, just plan on having to do some steps and take a break between them.
step one: start with the pantyhose and cut apart one of the legs to get a square piece that will fit the width of your cross stitch hoop. stretch the hose inside the hoop.
step two: lay the hoop/hose combo on top of the printed design. carefully start to trace the outline of the design onto the hose. make sure to trace the design…because later you’ll fill in the design with the paint.
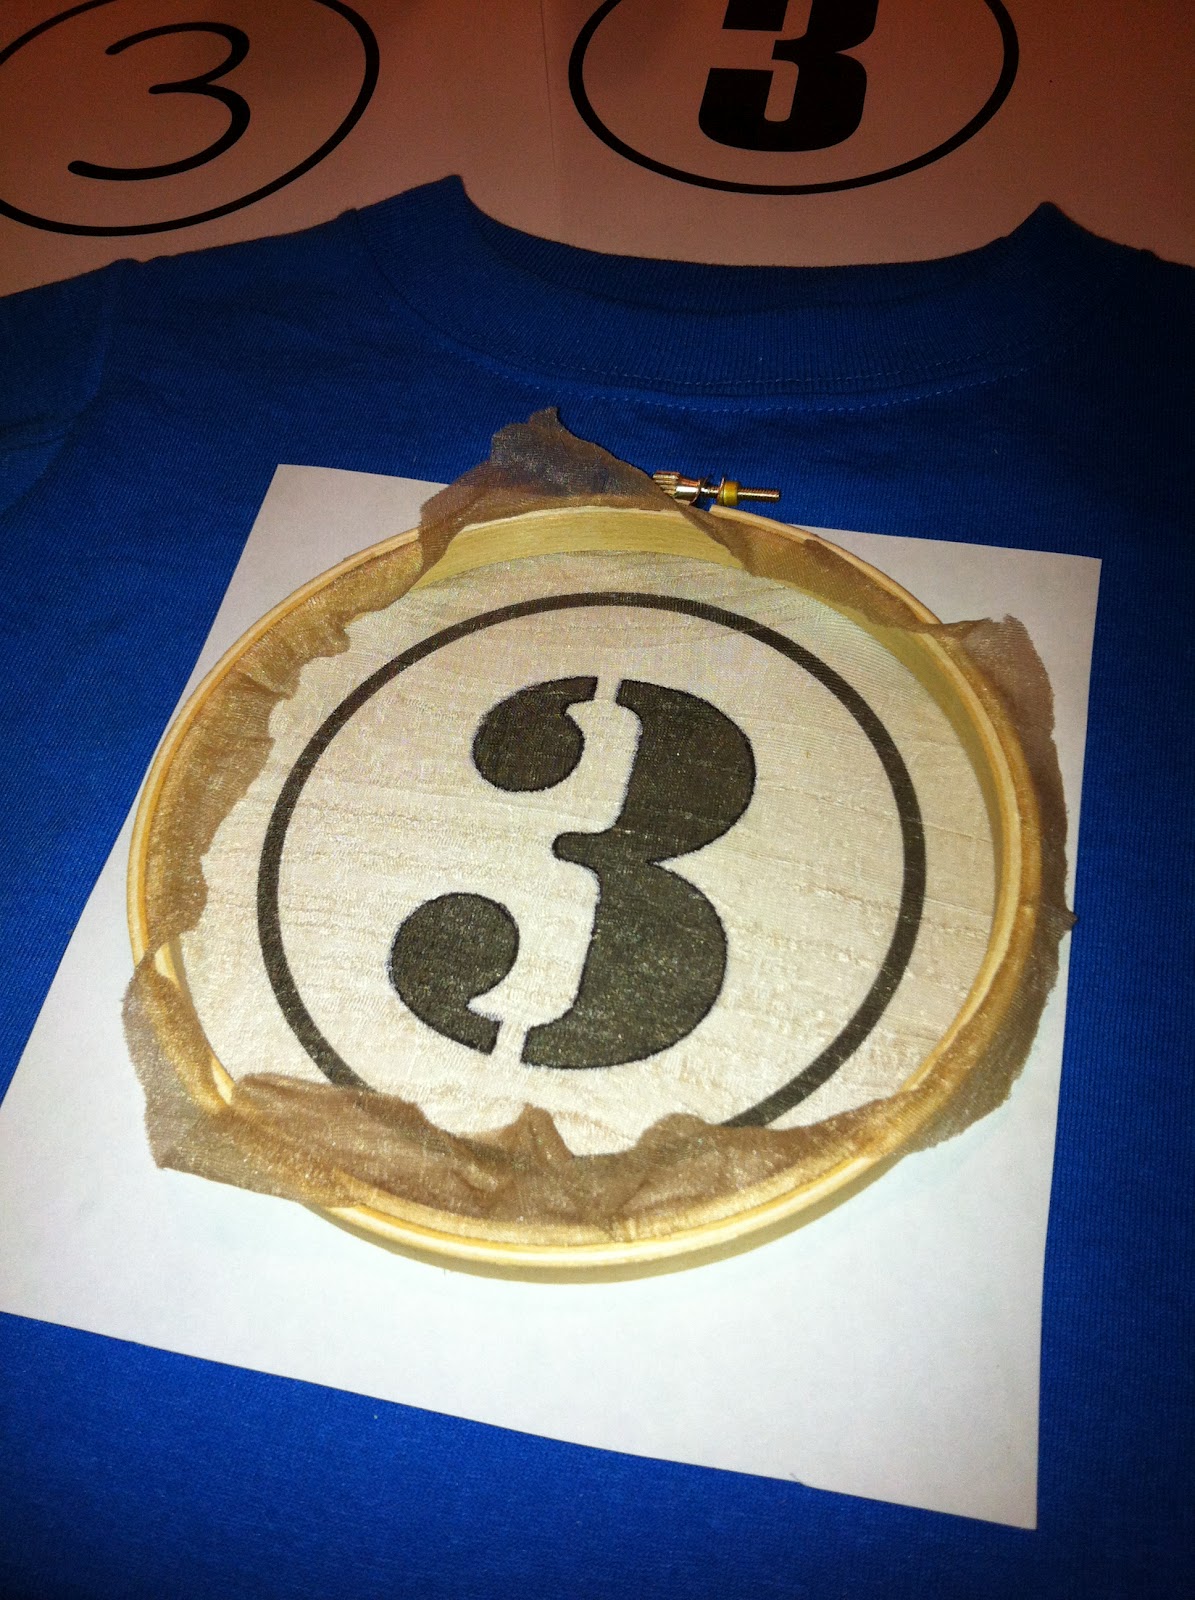

step three: this is the modge podge step. grab a paintbrush and you’ll paint the modge podge on the hose in the areas you don’t want to have painted on your shirt. this was my first time with modge podge…and i learned that a nice healthy coat is needed. i actually ended up doing a first coat, letting it dry, and then applying a second coat to make sure no paint was going to get through.
step four: after the modge podge is dry, position the hoop on the tee where you want the design. (hint: be sure to put a piece of cardboard in between the front and back of the tee to keep from any paint bleeding through.) take the paint and squeeze some on to the design area that you want on the tee. using the cardboard, spread the paint out over the design area. another hint: it helps to do a thick coat of paint, to make sure it gets through the hose. after you’ve spread the paint over your design, carefully lift the hoop off the tee. and voila! you have your own diy screen print tee.

for drying time, i let the paint dry for at least 24 hours before moving it. and, washing was super easy…the tee and the paint washed really well, hasn’t cracked or peeled and looks great.
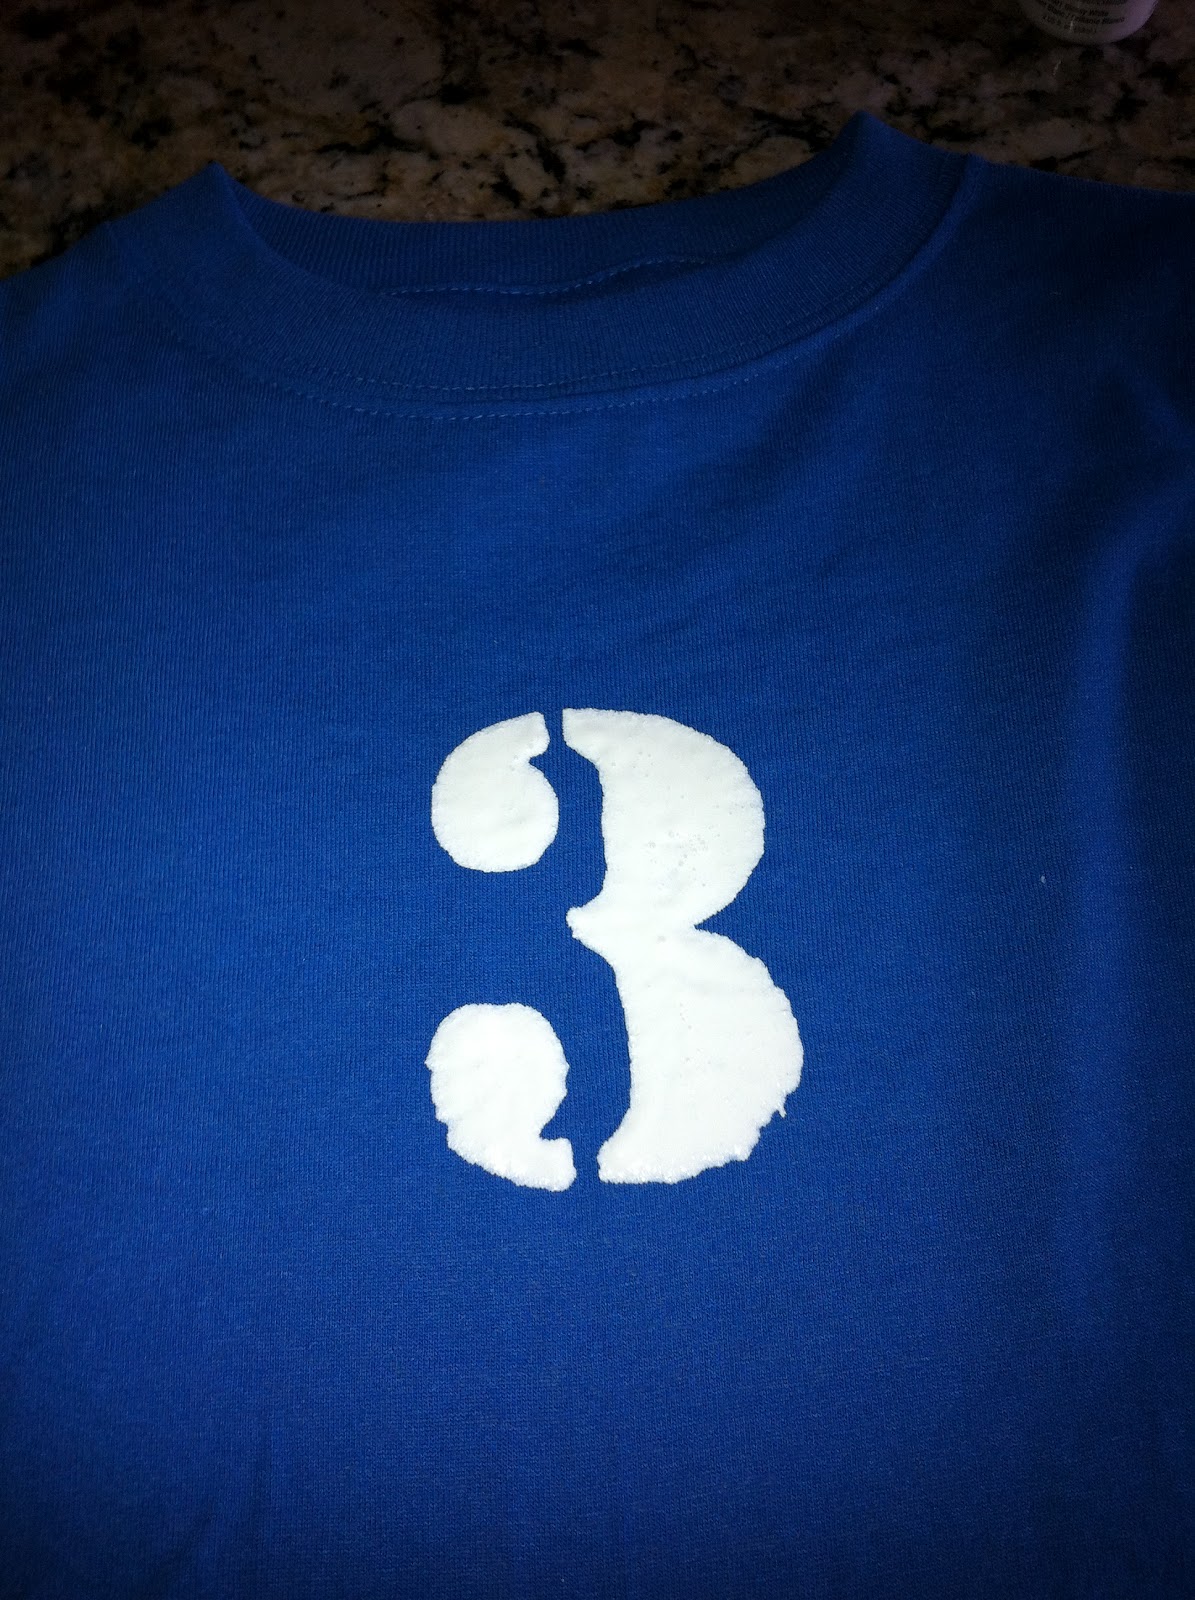
more importantly, the tee was a total hit with my little guy…he was so proud to wear his “3” shirt and tell everyone he was turning three.
enjoy!
ashley