Shop
Shopi don’t know about you, but getting to do springtime crafts right after the grey days of our winters is one of my absolute favorite parts of heading into march (besides getting more daylight hours, warmer temps, spring break on the horizon, and sometimes getting to say bye-bye to my giant winter coat!) the crafts always have sweet, bright colors that just welcome in the feels of more sunshine, more light and more fun!
who’s ready to get into the spring mood with a sweet craft for our kids?!? one of my favorite crafts + kids projects we have done is my pom pom carrot canvas! what i love about this one is not only does this make an adorable addition to your family’s spring décor, but it also helps our kids with some fine motor skills, painting and tracing (and, i love a craft that helps get that hand-eye coordination working.) ready to get your kids’ help with decorating for spring?!
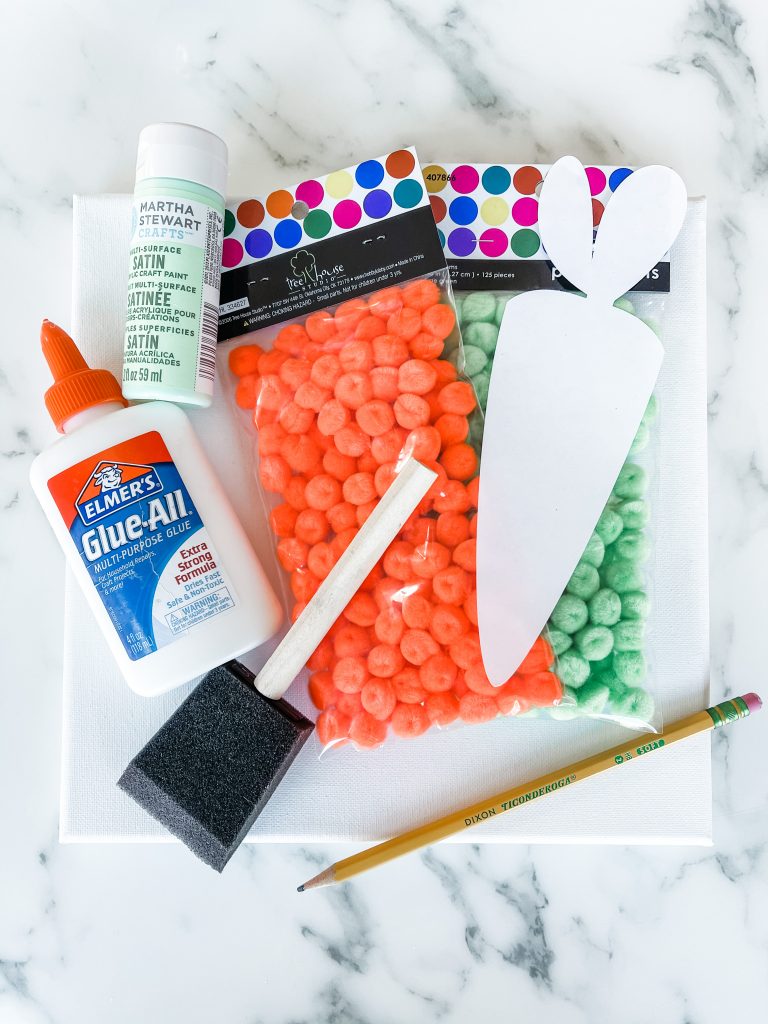
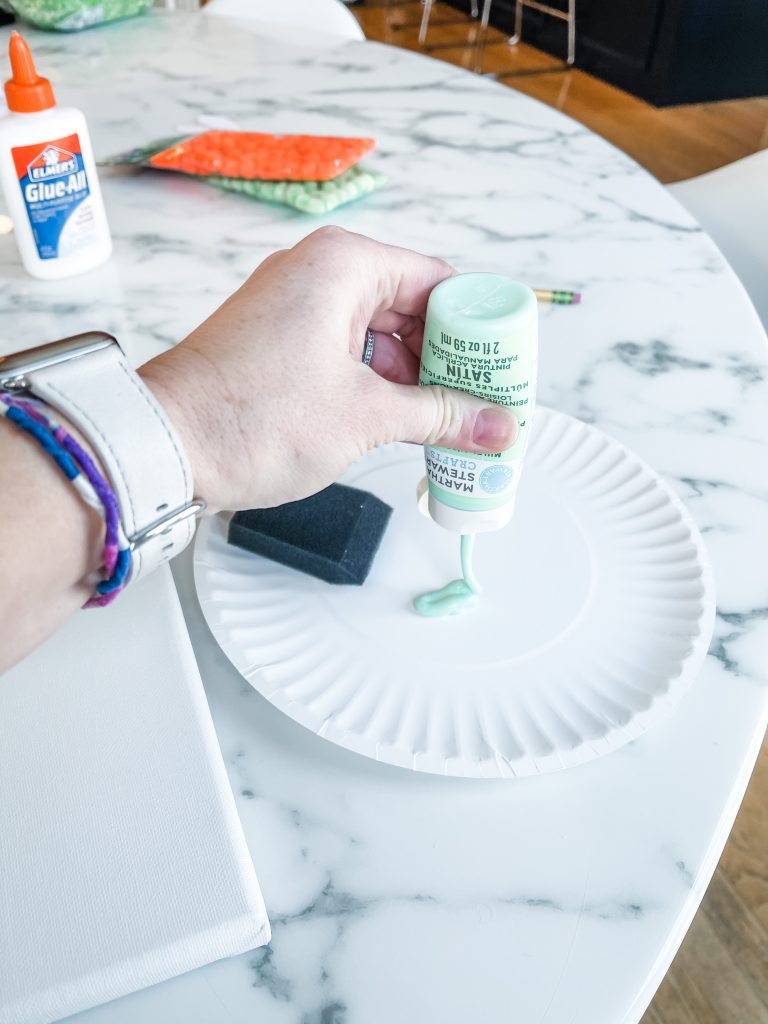
step 1: our first step is to paint the canvas! squeeze a little bit of paint out on a paper towel or paper plate, and use your foam brush to add a coat of paint on the top and sides of the canvas. let the paint dry for about an hour.
step 2: while the paint is drying, it’s time to get the carrot stencil together. download the stencil, print on 8.5”x 11” copy paper, and cut out the carrot.
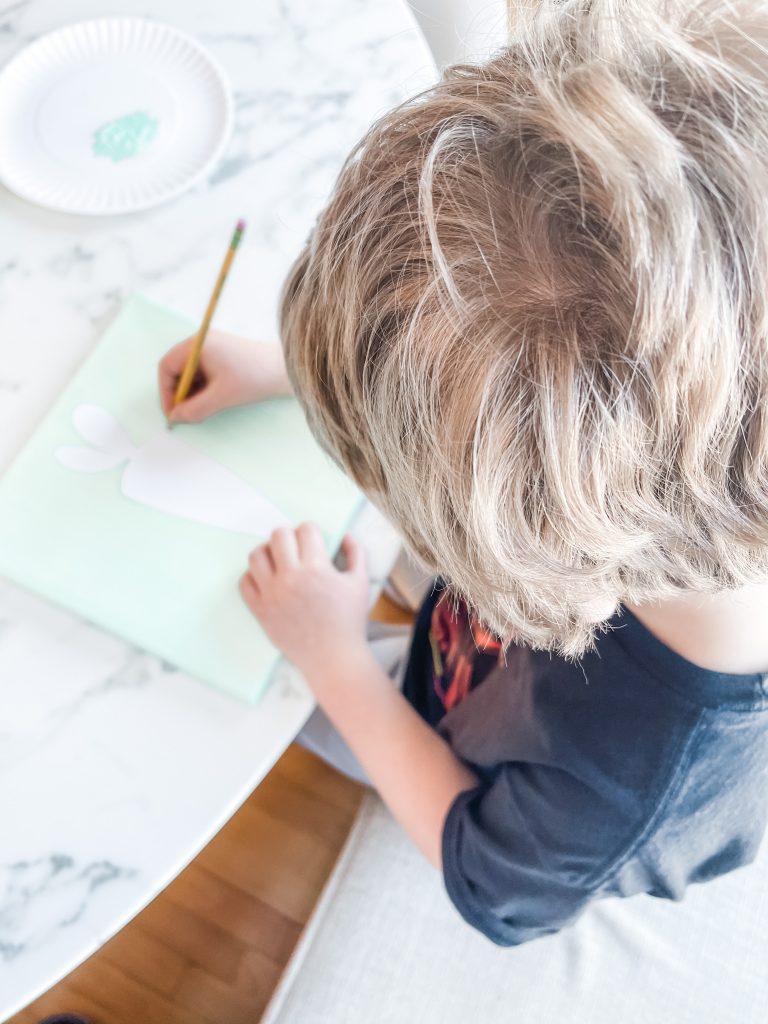
step 3: once the paint is dry on the canvas, place the carrot stencil on the canvas and trace it with the pencil (we put ours in the middle, but you and your kids can get creative!)
(isn’t my blonde boy so cute!??)
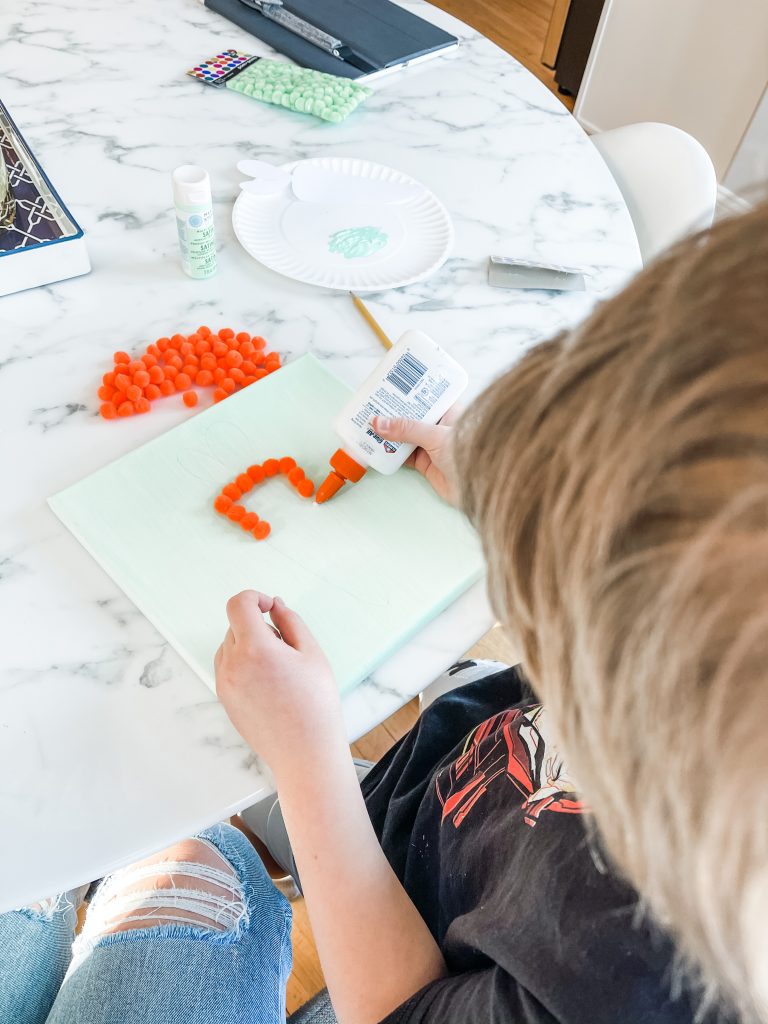
step 4: open up your orange and green pom poms and get your school glue ready! starting along the traced line of the bottom of the carrot, add a dot of school glue, and place an orange pom pom on the glue. keep gluing orange pom poms along the traced line until you have outlined the orange part of the carrot with pom poms! we’ll let these dry before we fill in the rest of the bottom of the carrot!

step 5: get your green pom poms and let’s start filling in the leaves at the top of the carrot. start with the outline of the leaves, putting a drop of glue on the canvas and adding a green pom pom, filling in the leaves.
(this is such a great project for little ones to practice “dot dot not a lot!”)
step 6: once your orange pom poms are dry, you can add more pom poms to fill in the rest of the carrot!
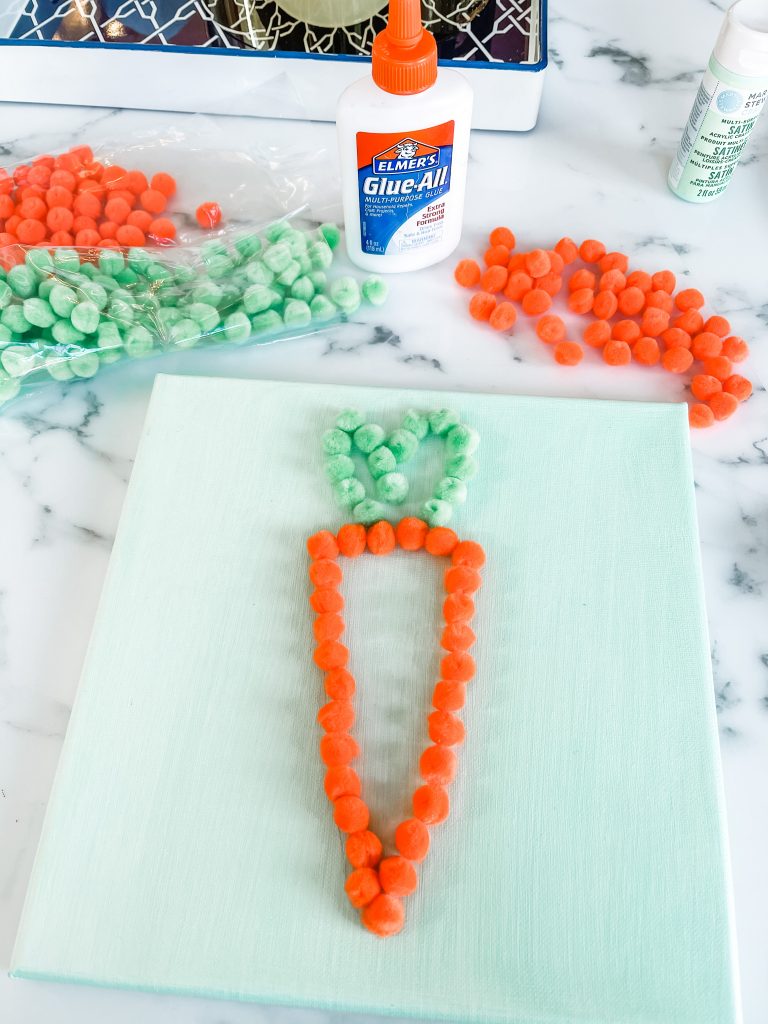
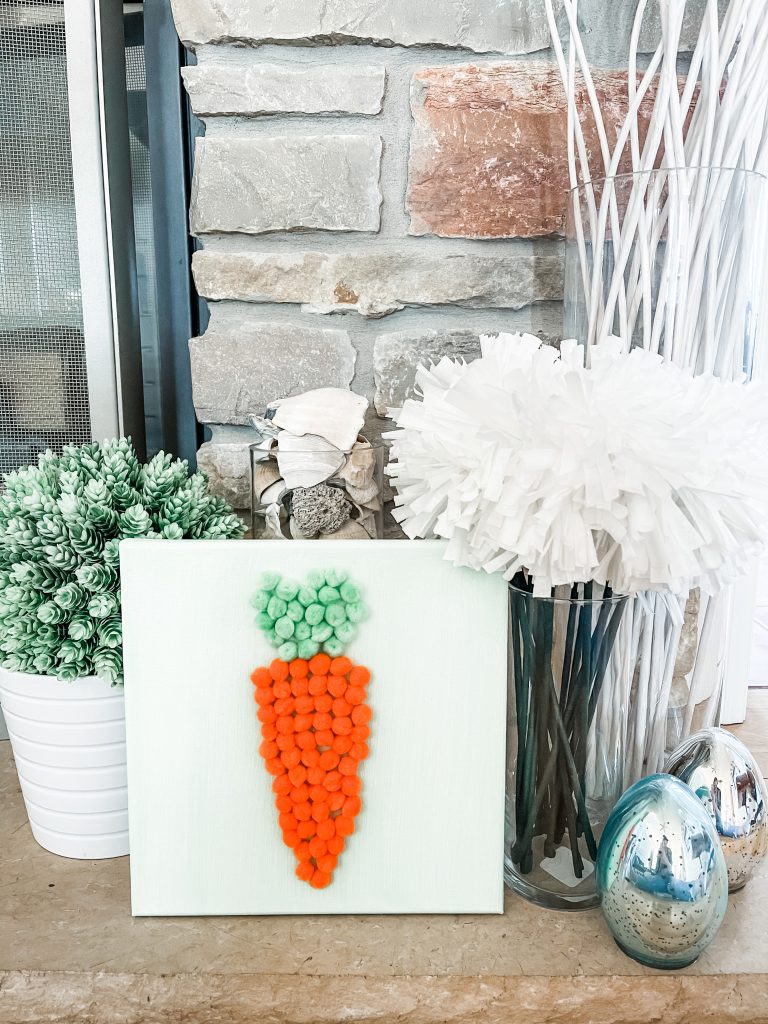
step 7: let the glue dry and find a perfect spot in your house to display your new work of art!
i hope your little ones had so many fun making this super cute project! it’s such a favorite in our house + i think it’s something that works all springtime (not just for easter!) thanks for joining in the fun with us!