Shop
Shopobviously, i’m all about the easter crafts! today’s craft is one of the cutest little spring crafts for all ages (with grown-up help with youngers!), but it’s filled with painting and texture and tracing which are all great practice tools for kiddos!
so in case you have spring break coming up + need some activities for this kids, here’s another great springtime craft that can keep the kiddos busy for a bit!
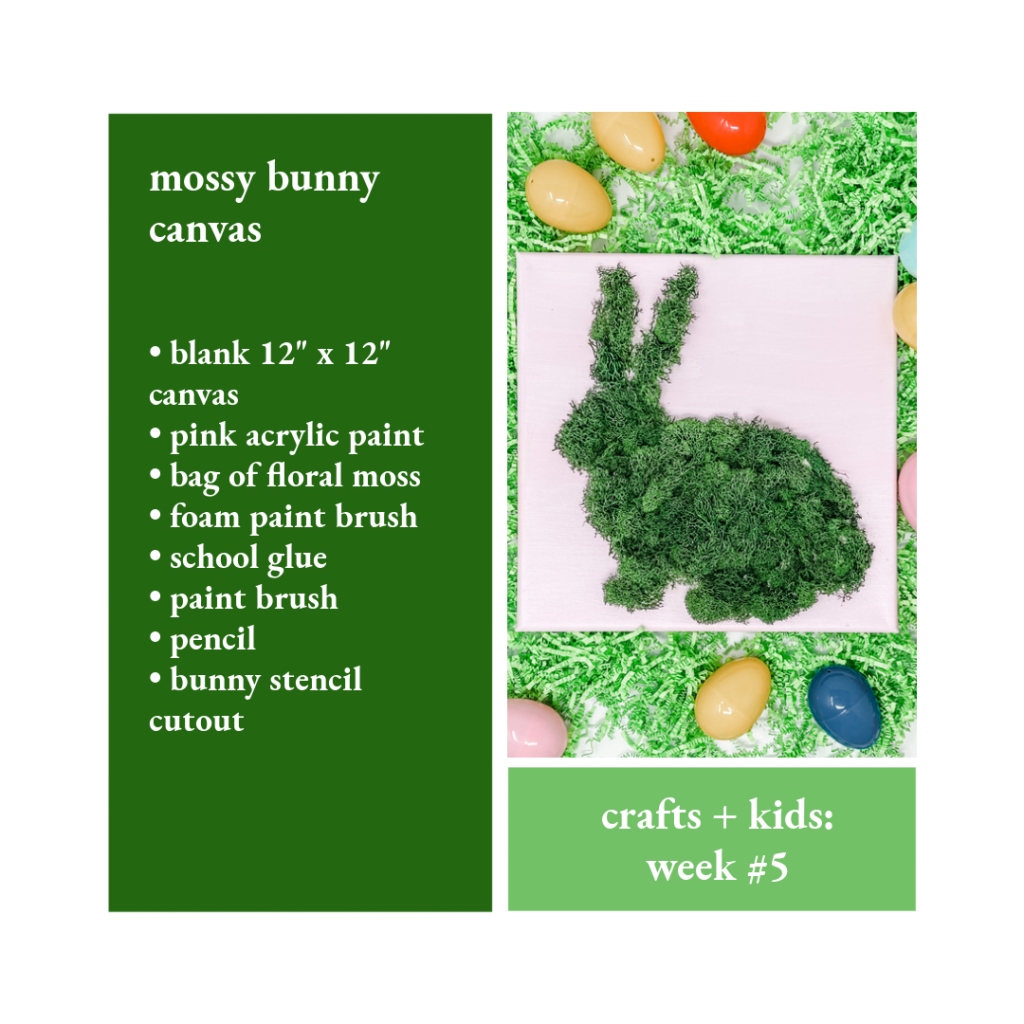
mossy easter bunny canvas
supplies needed:
- blank 12″ x 12″ canvas (available at michaels!)
- light pink acrylic paint (your kiddos can choose whatever color they want! i just used a light pink here!)
- bag of floral moss (available in the floral section of michaels)
- foam paint brush
- school glue
- pencil
- bunny stencil (available to download here)
- scissors
step 1: let’s start painting! grab your canvas, your acrylic paint and your foam brush. squeeze a little bit of paint out on a paper plate and start painting your canvas! you might need to put a couple of coats on depending on the color you choose – just make sure you don’t have big clumps of paint on your canvas!
step 2: while your canvas is drying, it’s a great time to get your bunny stencil all set. print out on copy of the bunny stencil on regular weight copy paper and cut out the bunny shape with scissors. once the paint is dry on your canvas, trace the bunny on the canvas using your pencil.
step 3: it’s time to start gluing! with this project, you might want a little more glue coverage on your bunny shape than what we normally do (“dot-dot-not-a-lot” isn’t really going to apply here!) you’ll want to keep the glue within the bunny outline you traced on the canvas and you’ll want the glue pretty evenly distributed throughout the bunny shape. it’s great to just start with the bunny ears; cover glue within the bunny ear shape and then start taking the floral moss and lightly applying it to the area where you placed glue. it can be a little challenging, but you’ll want to keep the moss within the shape of the bunny too, so you have a great bunny shape!
step 4: keep applying the moss where you have added glue. as you have covered up space with the glue, add a little more glue on the bunny and add more moss. keep doing this within the shape of the bunny until you have a mossy bunny!
step 5: allow your canvas to dry for 1-2 hours, and then put it on display for all to see!
hope you love this project! i’d love to see your creations…make sure to tag me at @reneststudio on instagram and facebook!