Shop
Shop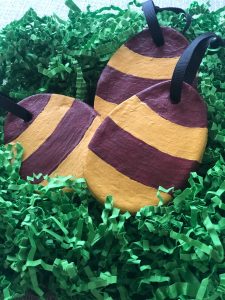 before we get into the fun stuff, how are we all doing? i’ll admit, my usual default answer to that is the “i’m fine,” but really, we’re good. we’re healthy, safe at home, working from home, getting the boys’ schoolwork finished each day (with the amazing support of the best teachers e-v-e-r), and we have everything we need. i will say that navigating the unique combination of working from home, while managing the education of two kiddos has been a whole new world…and, one that i’ve found leaves me completely exhausted at the end of the day, spacing out to netflix, and spending too much time on twitter.
despite being tapped out, the boys and i have been exploring the world of salt dough! i’ve never played with it before, and worked with a couple of different recipes before we found one that worked well for us. and, we decided that with Easter here, we’d theme our first attempt for the season! but, if you have cookie cutters of any shape/season/theme, these are a perfect craft to get your kids involved in!
how to make salt dough decorations
2 cups of flour
1 cup of salt
1 cup of water
cookie cutters (all shapes + sizes!)
non-stick baking pan
drinking straw
acrylic paints
paint brushes
mod podge
ribbon/string

1. pre-heat the oven to 200°F. (note: depending on how your oven runs, you might need to increase the temperature slightly.)
2. in a medium-sized mixing bowl, combine the flour, salt, and water together.
-
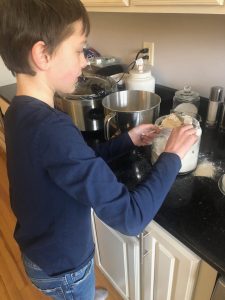
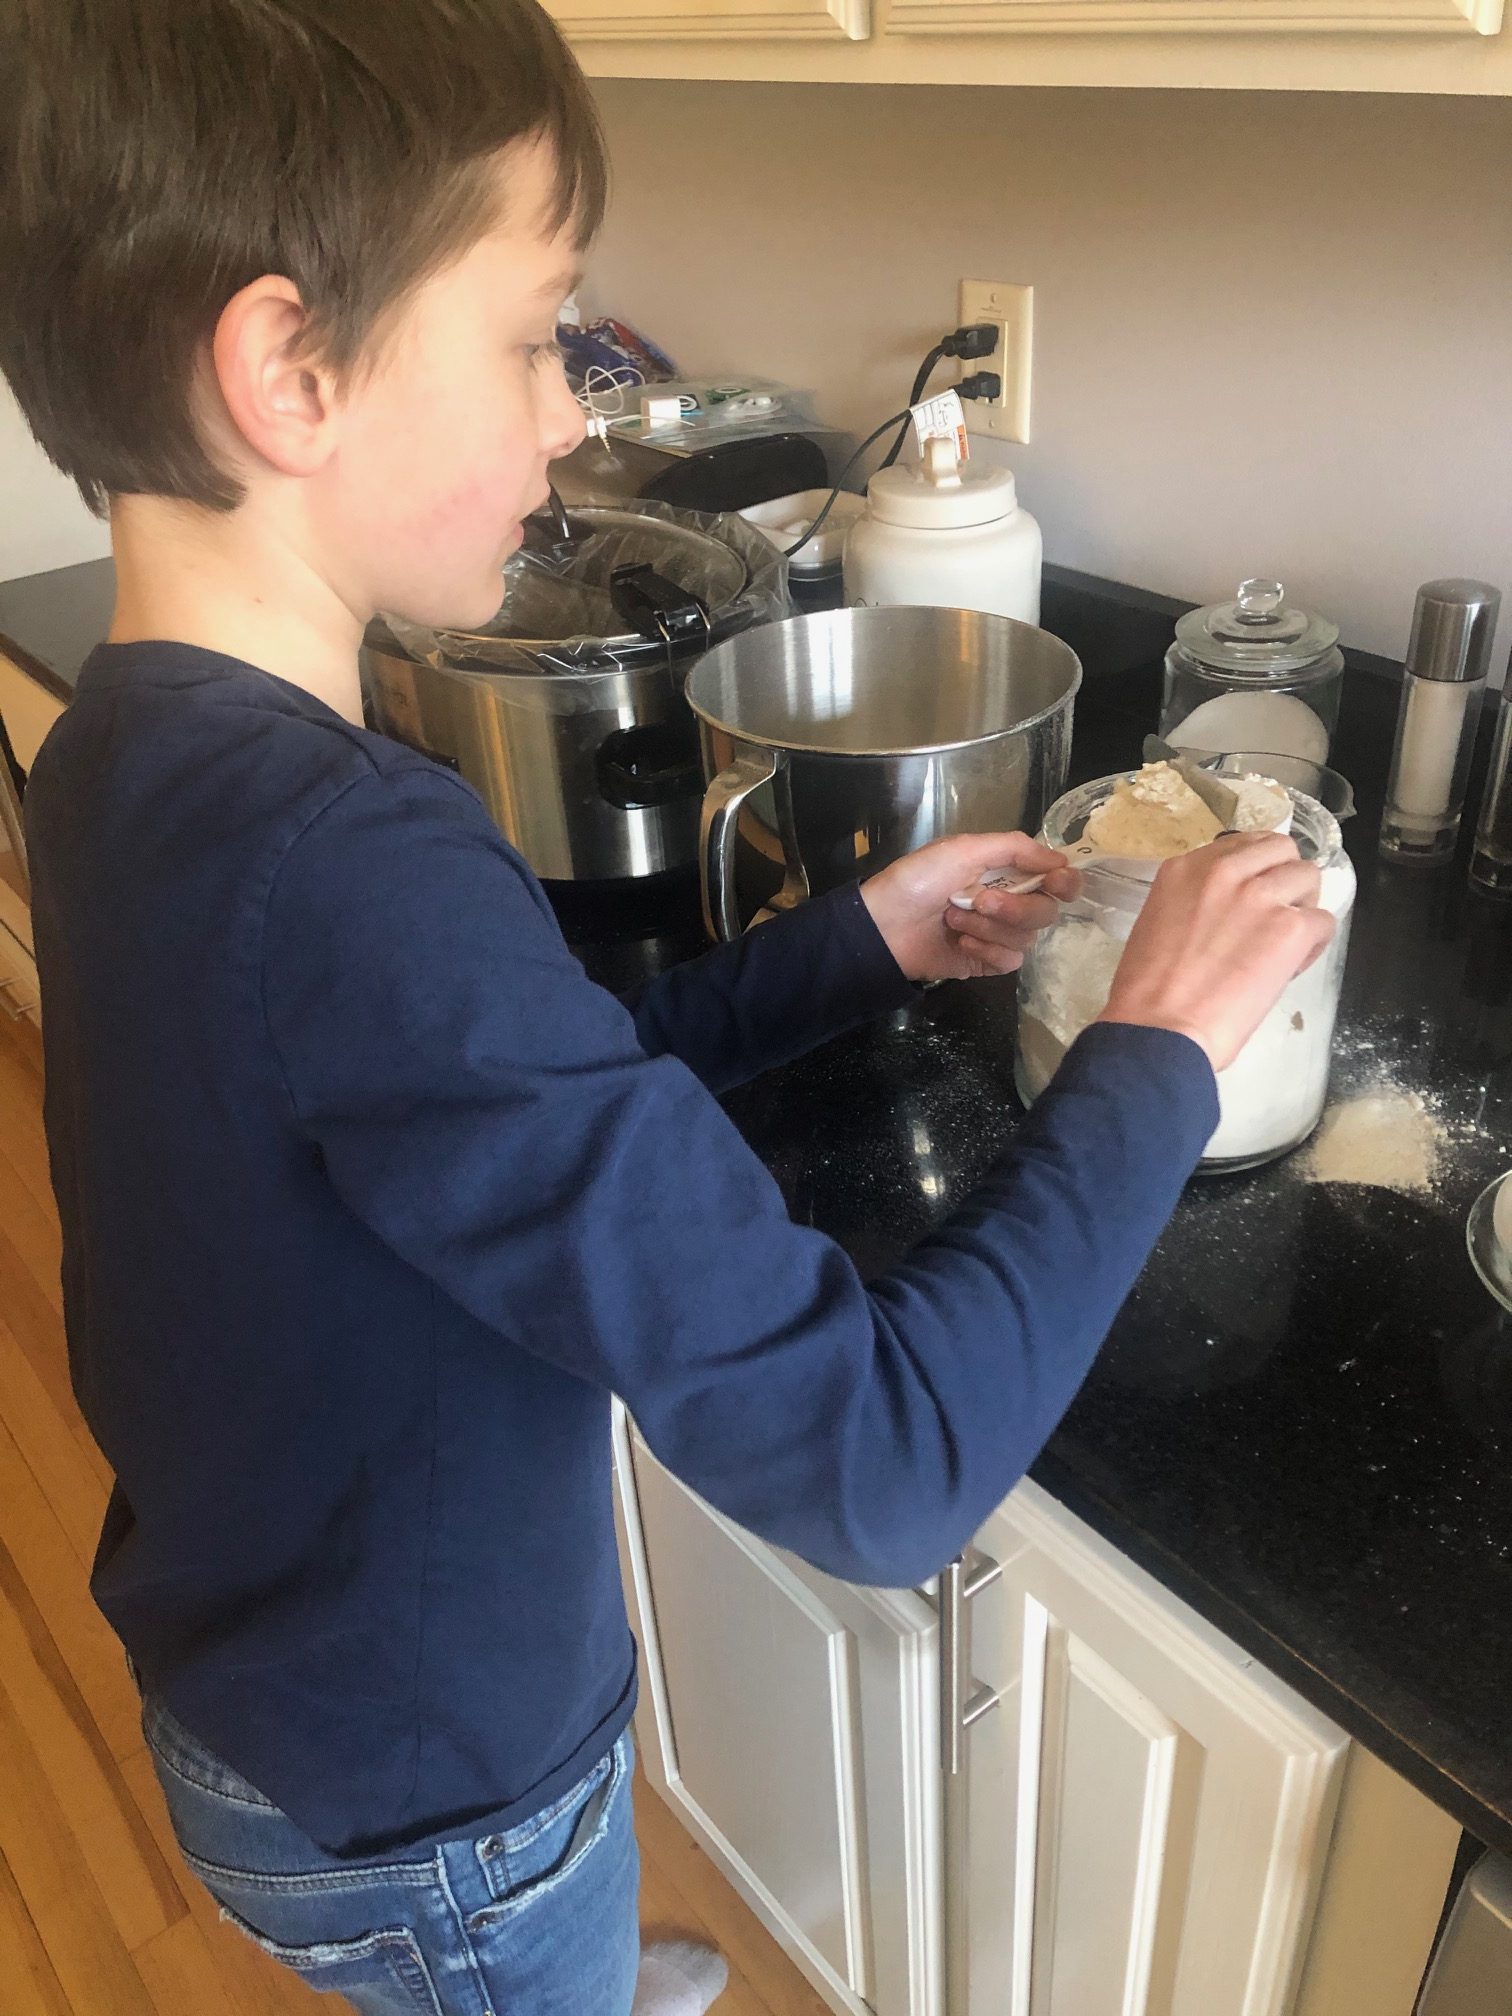
- my no. 1 measuring the flour
-

- getting his clean hands in to knead!

3. mix all of the ingredients together, folding, until a dough is formed. (when my no. 1 was helping, he got in there with his clean hands to knead the dough!) if you find that the dough is on the dry side or isn’t sticking together, add in additional water 1 Tbsp. at a time. or, if you find that your dough is too wet, sprinkle in more flour 1 Tbsp. at a time and knead the dough together.
4. once your dough is prepped, place it on a flat surface and roll it out with a flour coated roller. we rolled it out to about 1/3″ thickness.

super sweet memory: we got out some of the cookie cutters i inherited from my mimi’s collection!
5. cut out your shapes with the cookie cutters! after each shape is cut, add a hole at the top of your shape with the drinking straw and place the shape on the non-stick baking pan. continue cutting shapes until you’ve used all of your dough.
6. place your baking sheet in the oven and allow to bake for at least 2 hours. **note: in our second batch, it had more water in it than i thought it did, so we had to bake them for a really long time (like, 3-1/2 hours). you can increase your temp to 250°F – 300°F, depending on your oven.
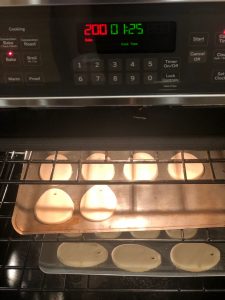
7. bake your shapes until they are hardened and there aren’t any sticky parts. (pro tip: when you take them out of the oven, lift one off of the baking sheet. if it sticks at all to the baking sheet, the dough might still be too wet. i flipped all of mine over, and put them back in the oven to help get the heat to the bottom side of the shapes, so they could be completely finished!)
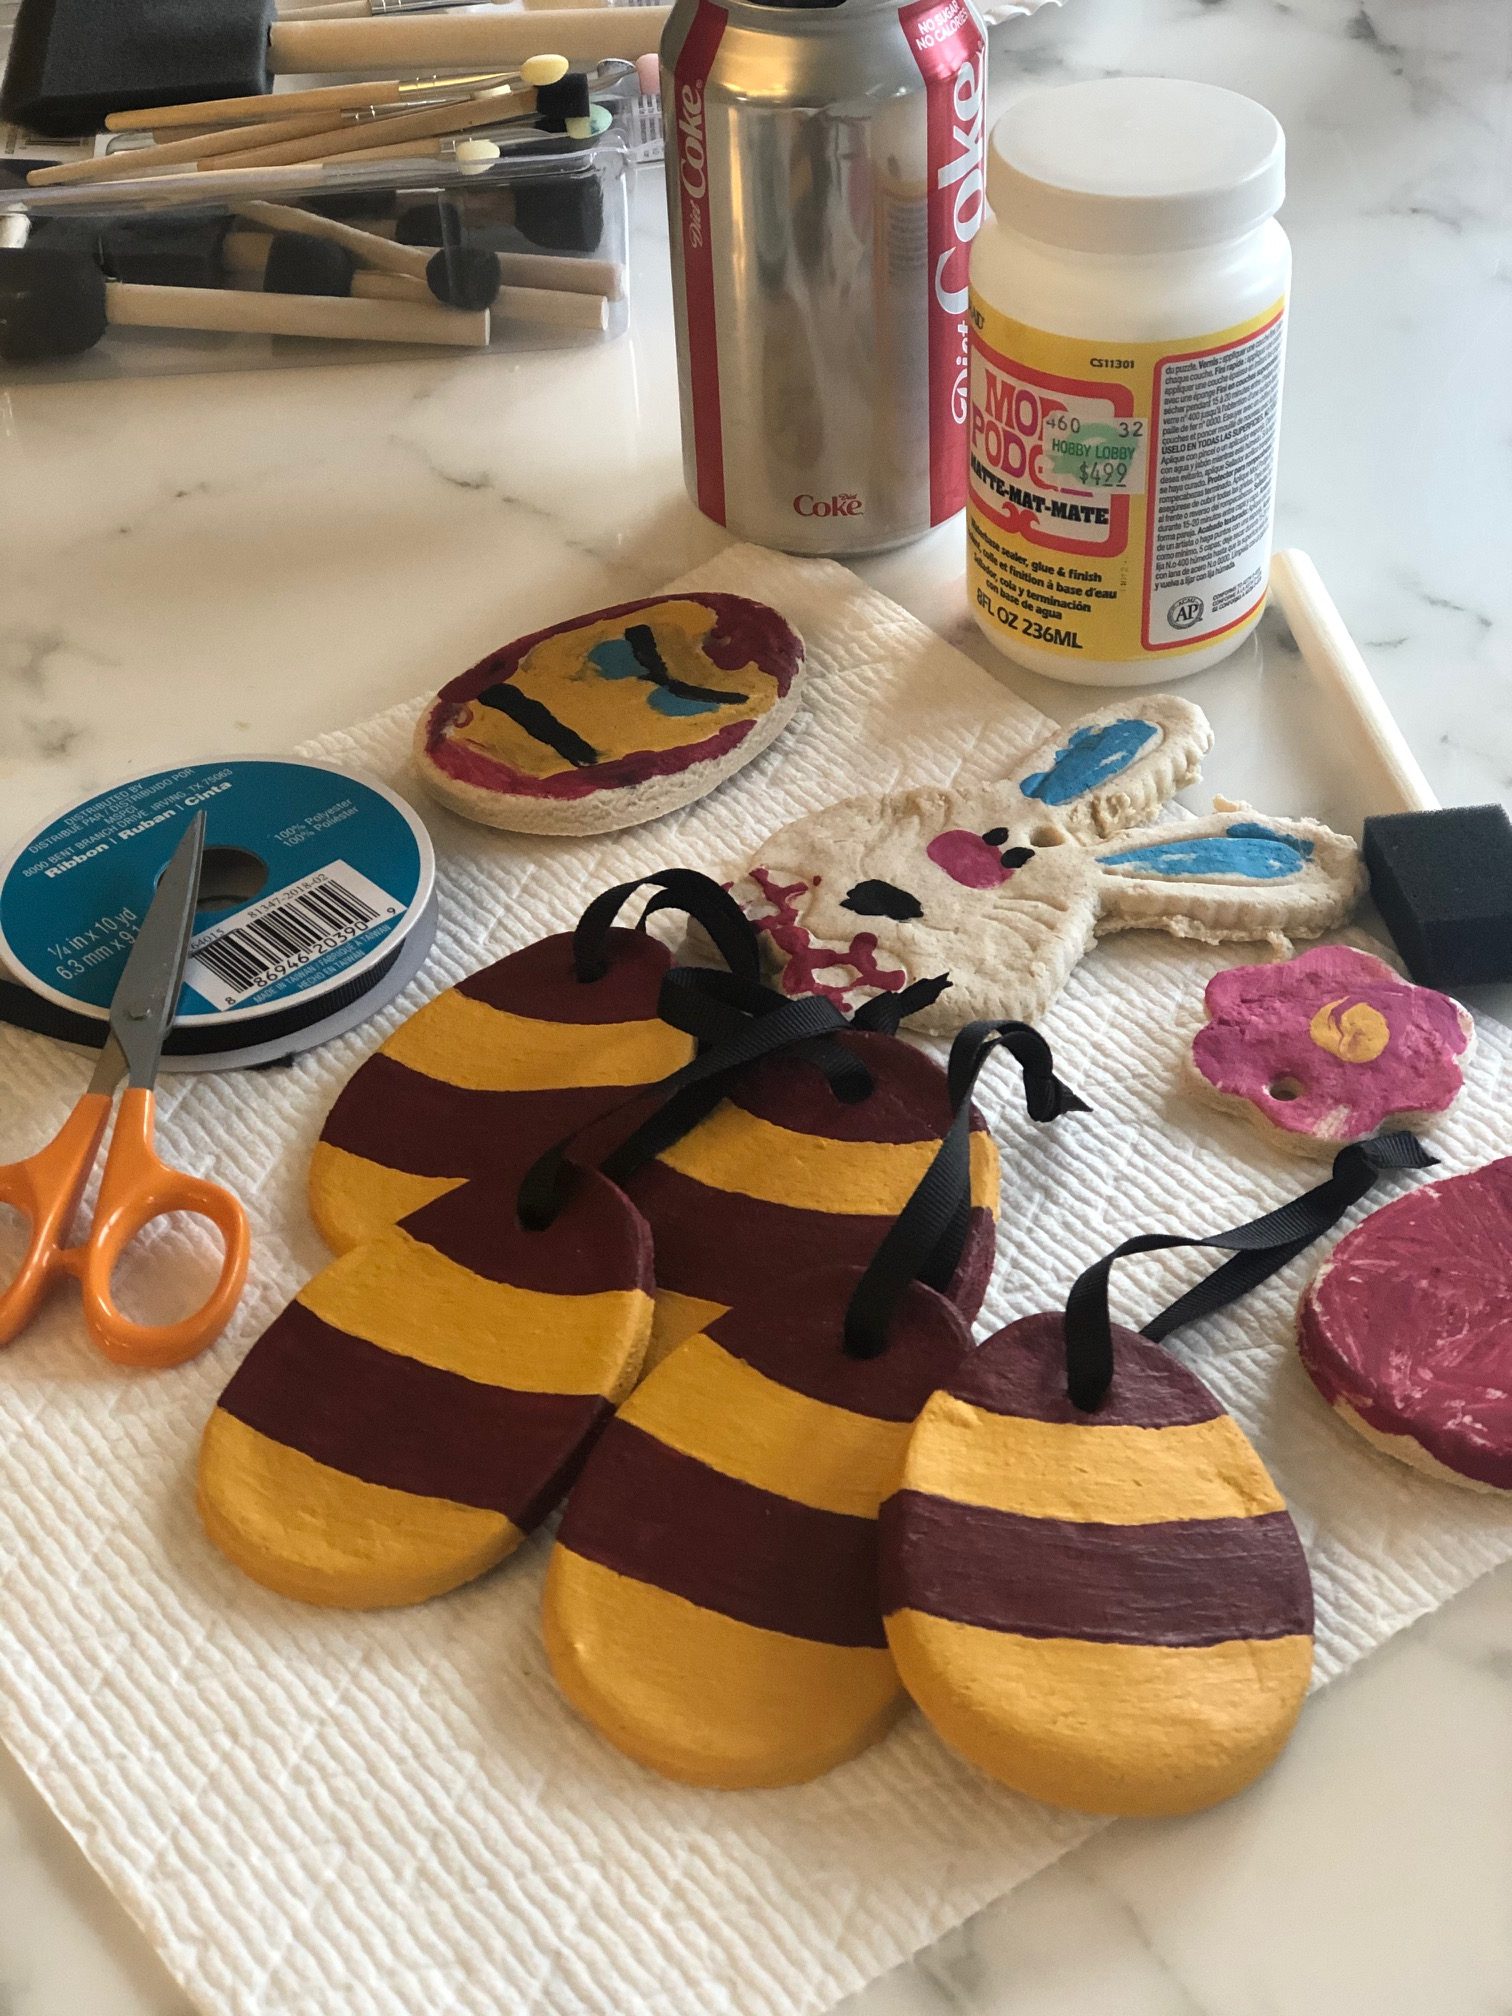
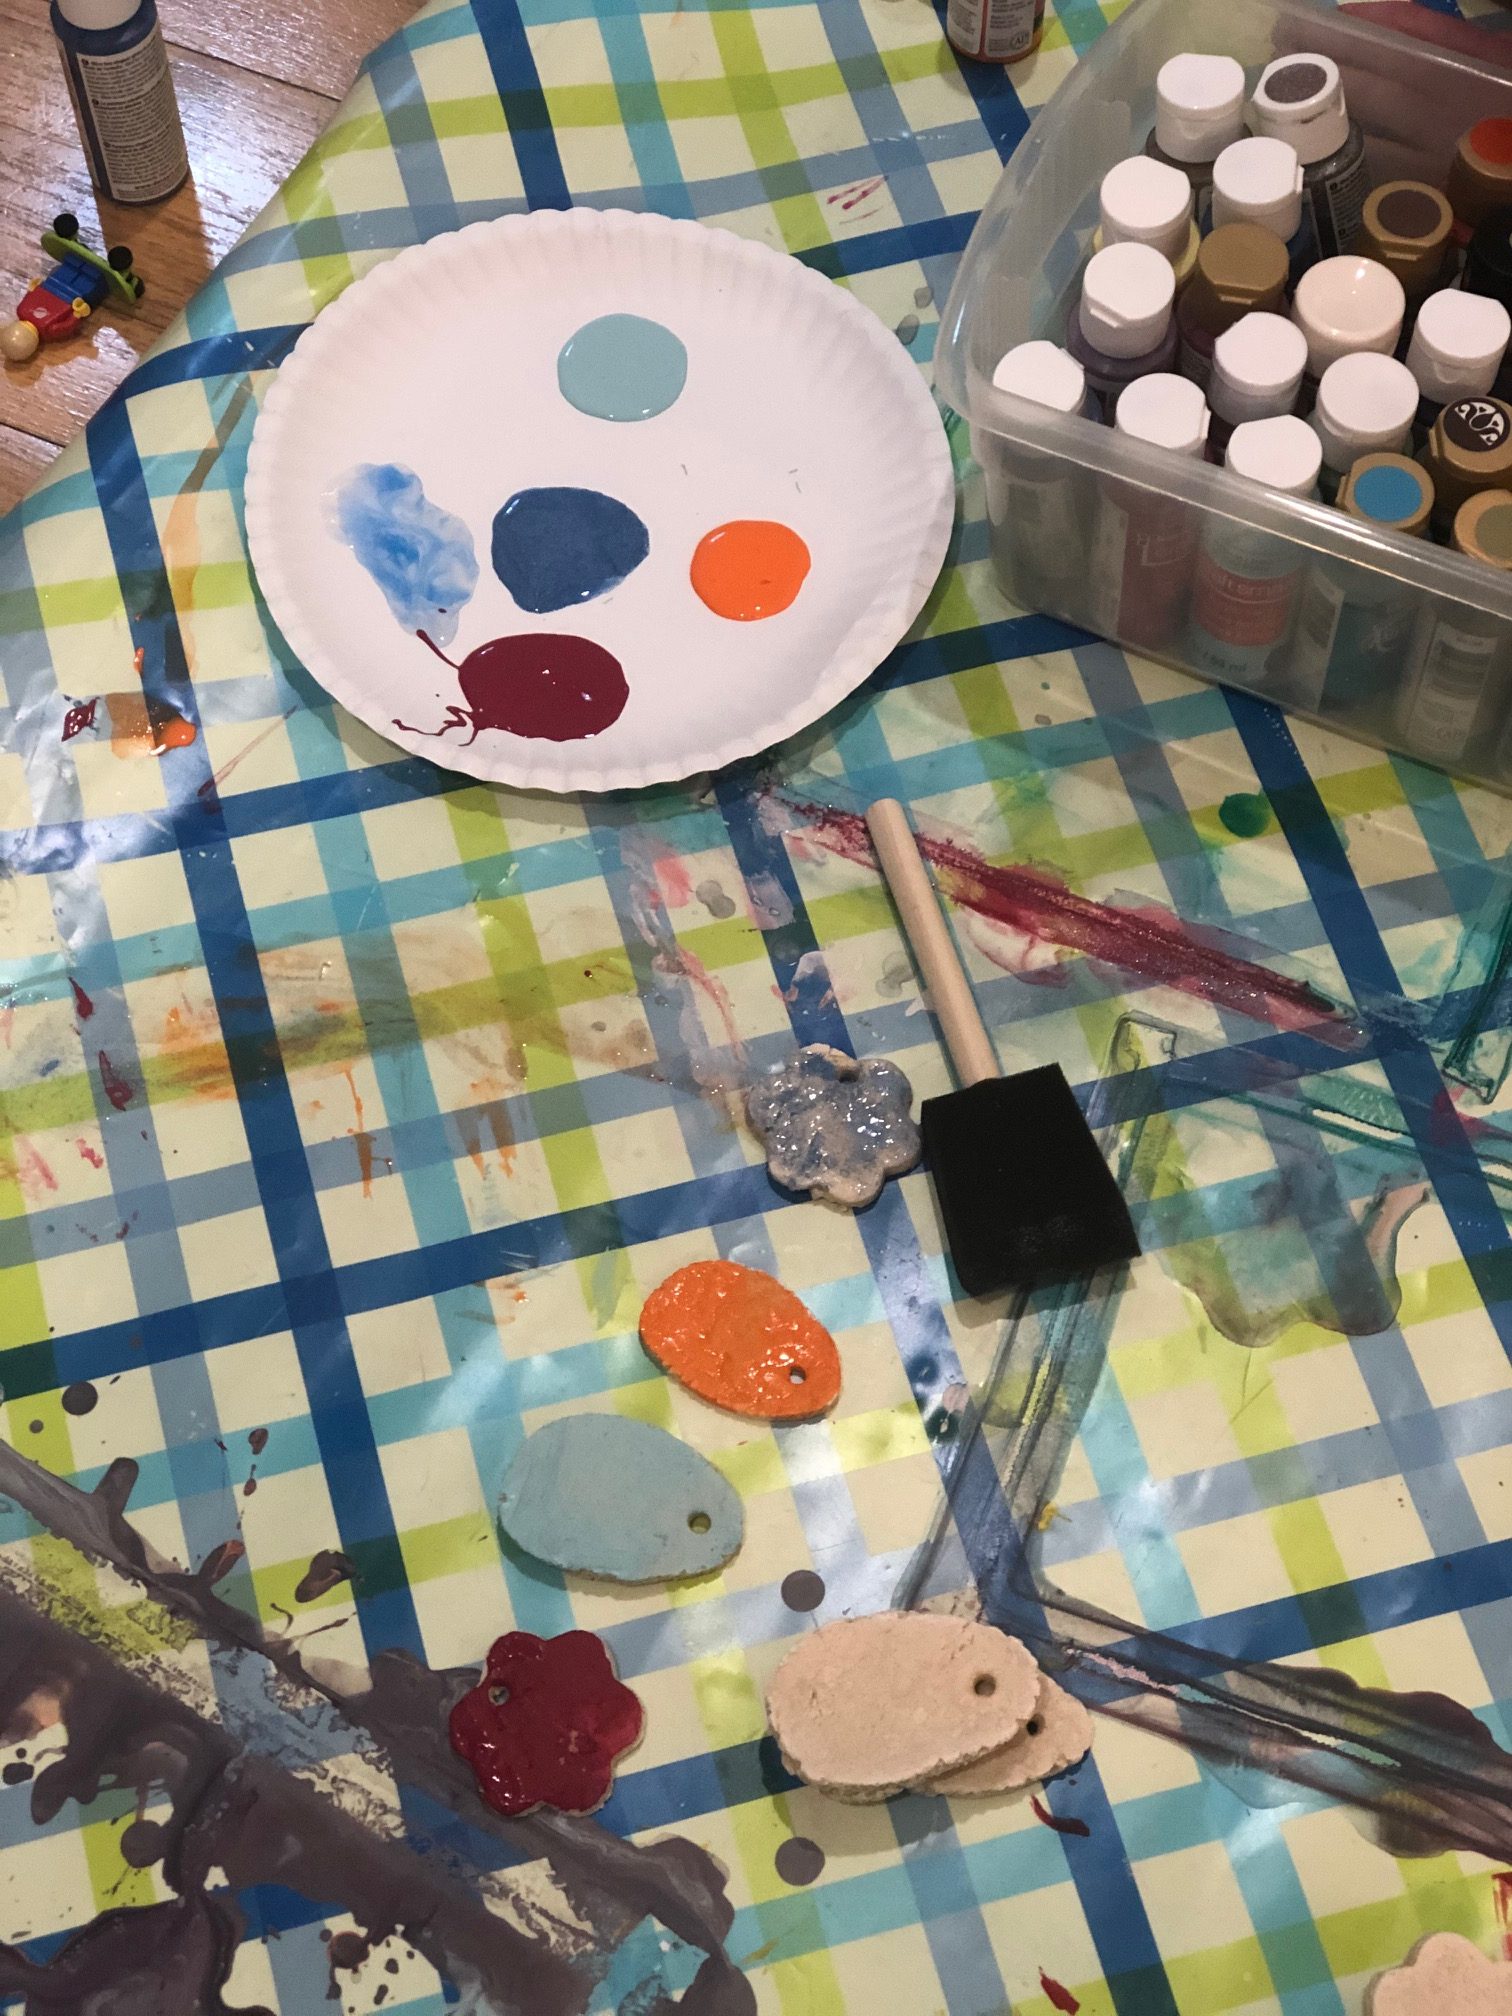
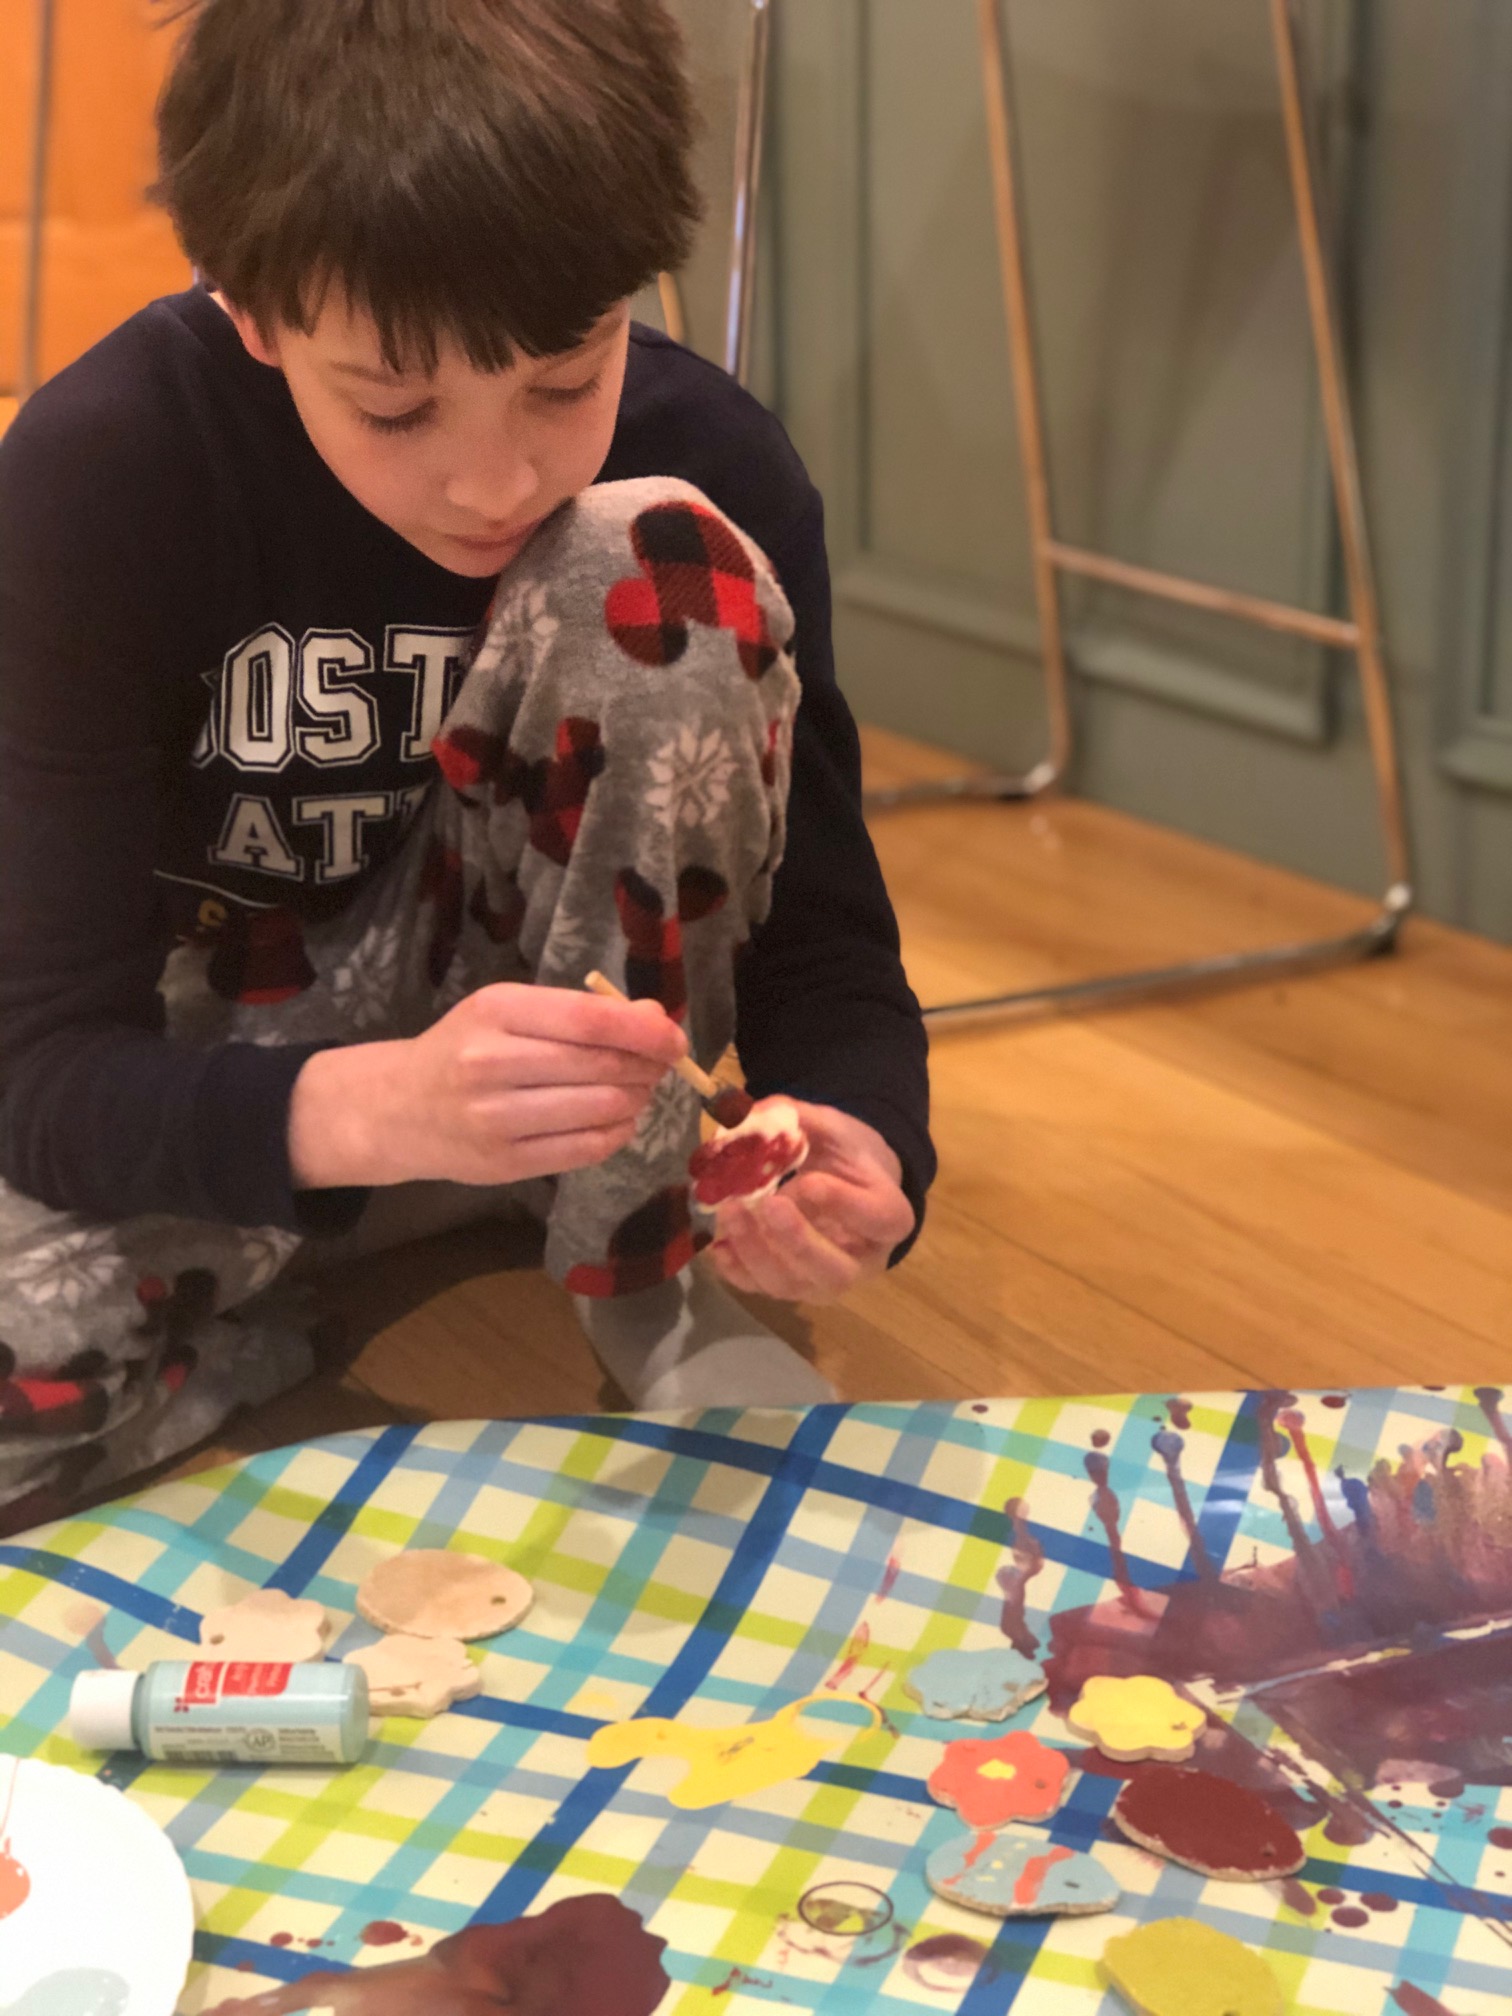
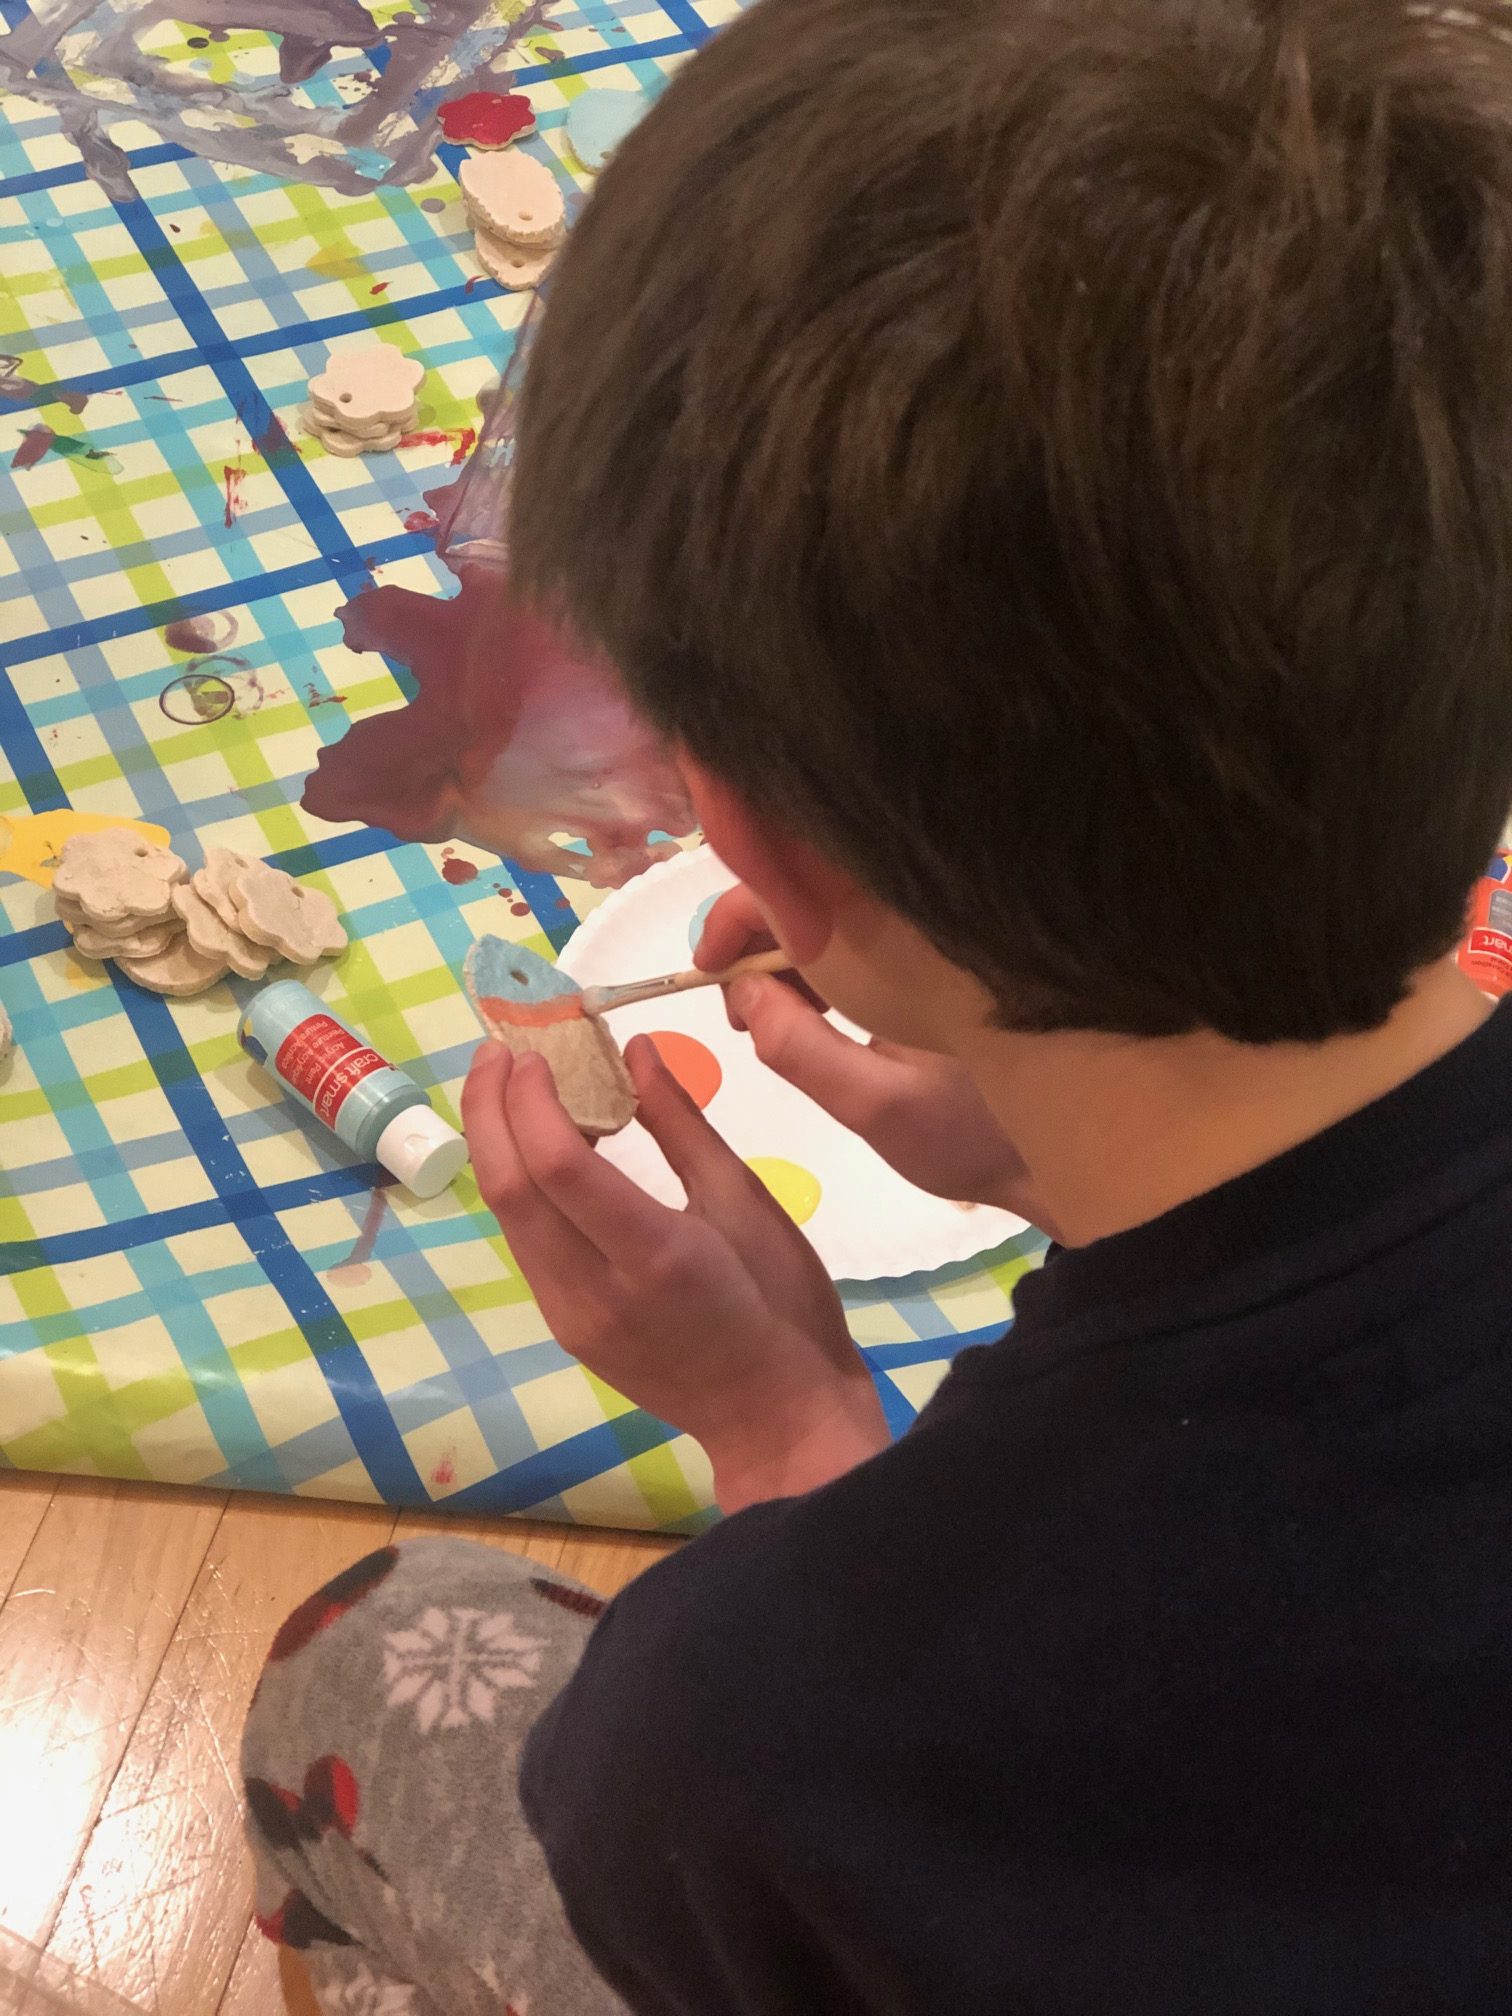
8. after they’ve cooled completely, it’s time to get colorful! get your acrylic paints out and go to town painting your shapes!
9. once the paint has dried and you’re cool with your designs, add a layer of mod podge on the ornaments (front + back), so you can have them outside if you’d like.
10. finish off your shapes by threading a piece of ribbon or string through the hole and hang your ornaments and shapes up! (idea: if you’re able to mod podge these, these would be super cute on a front door wreath to add a little something extra!)
we absolutely loved making these + the painting part kept the boys busy! and, we can’t wait to add some of ours to our Easter tree!