Shop
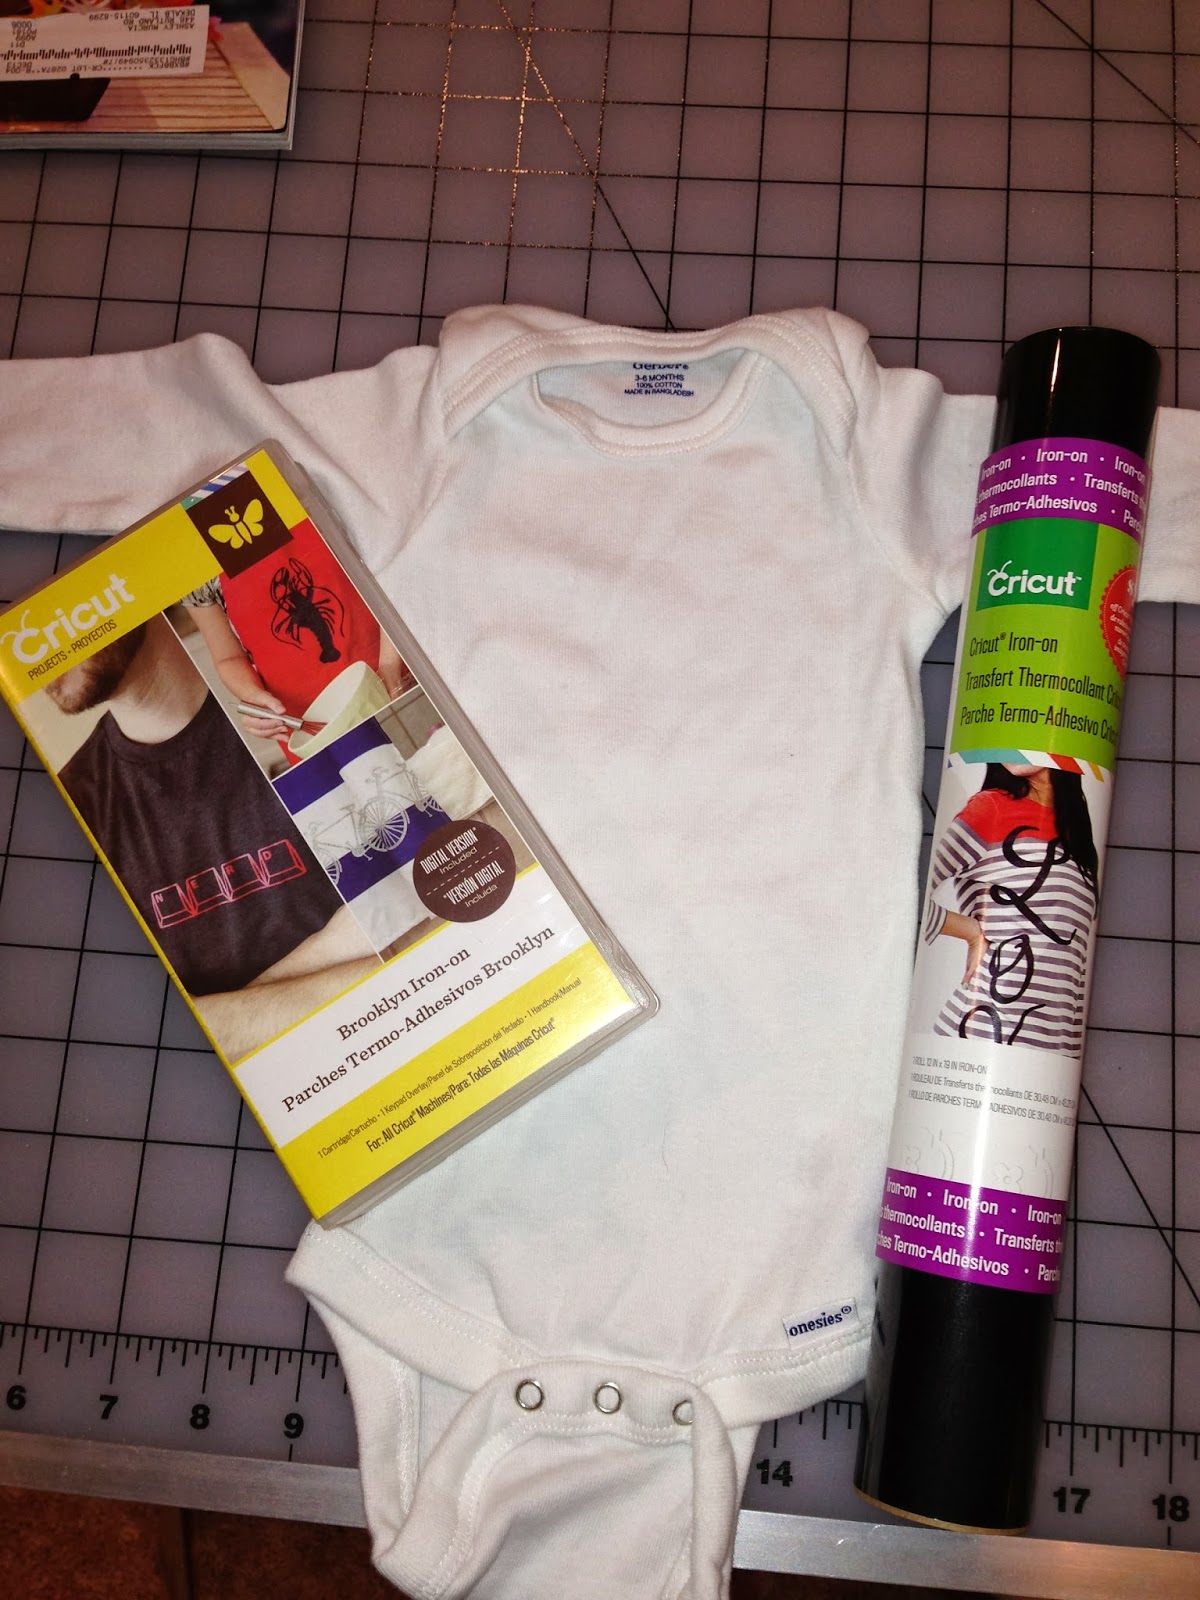
Shopbefore last weekend, i made a declaration to a co-worker that “i was gonna get my craft on” last weekend. the week (and that friday) had been horrendous (at my nine-to-five, not at home!) and i needed to be creative. three weeks before, an awesome package showed up from amazon with some material i was just dying to try…so, i set aside time last weekend and got my craft on.
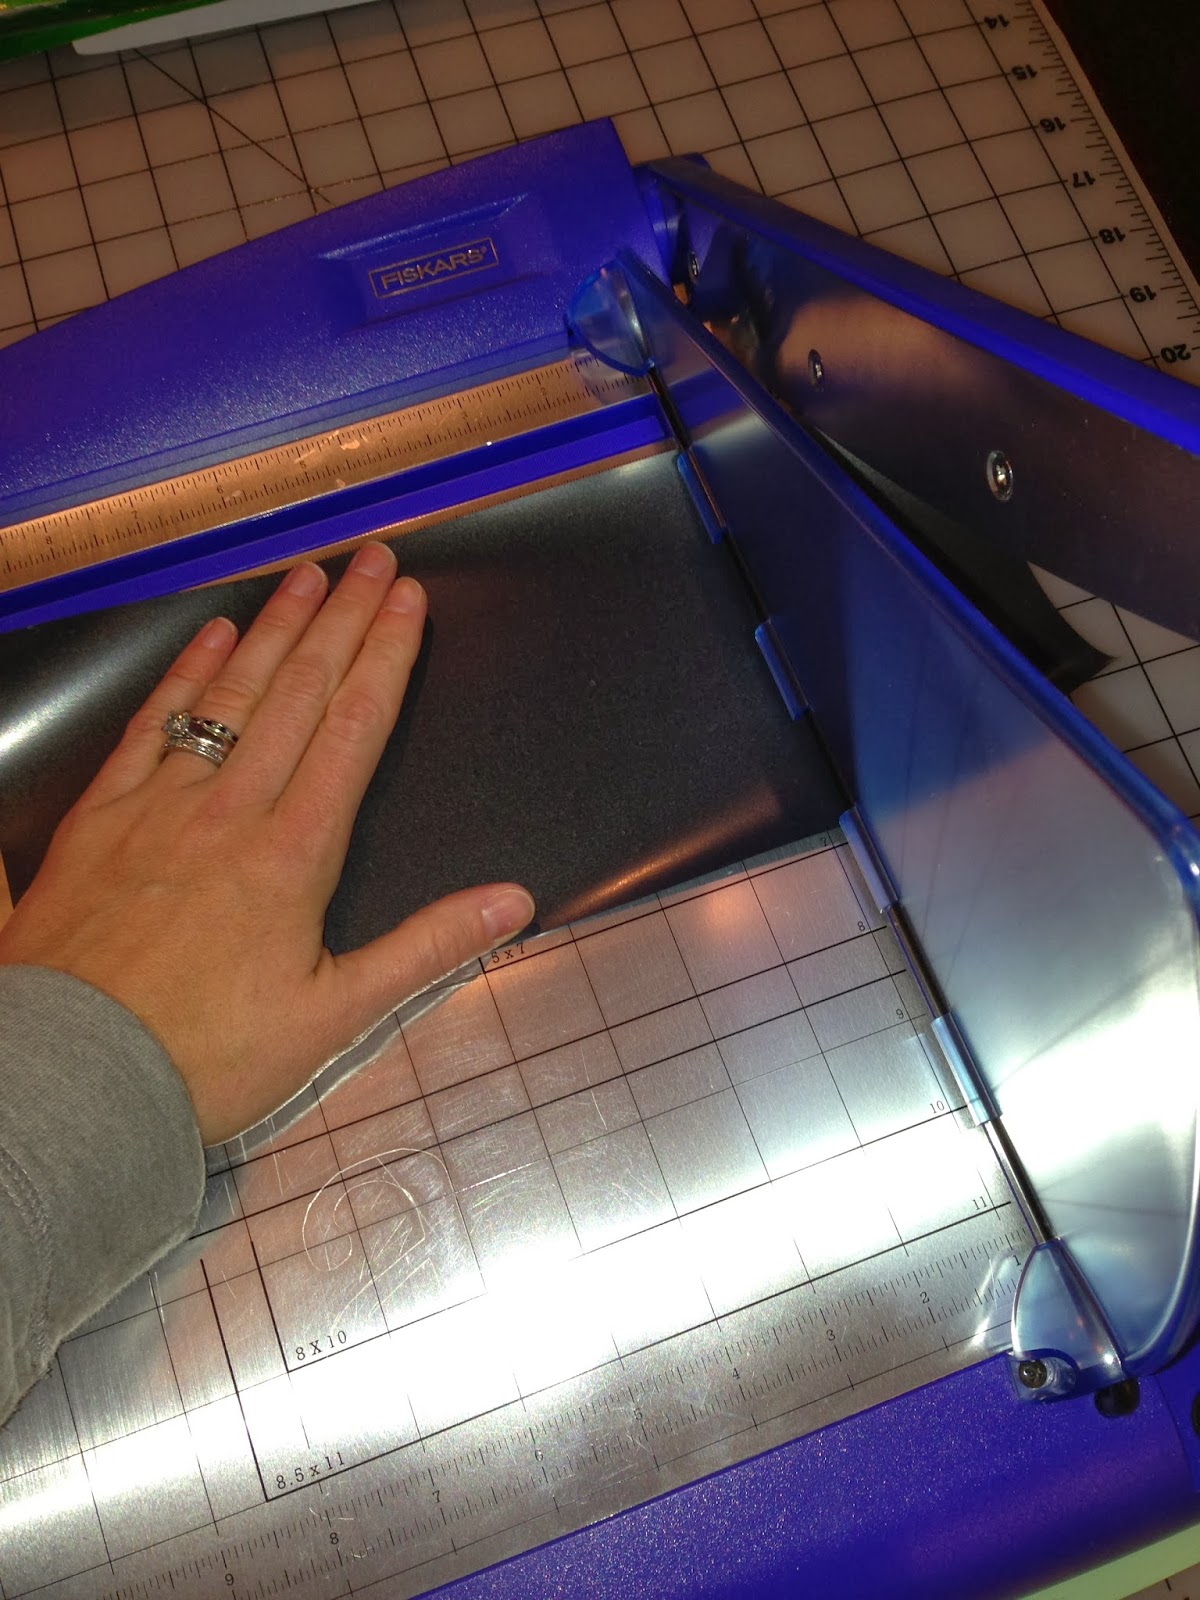
step three: cut the graphic. note: you have to make sure to flip your image when you set it up on your cricut. because you are cutting non-plastic side up, you’re actually cutting on what will be the underside of your design.

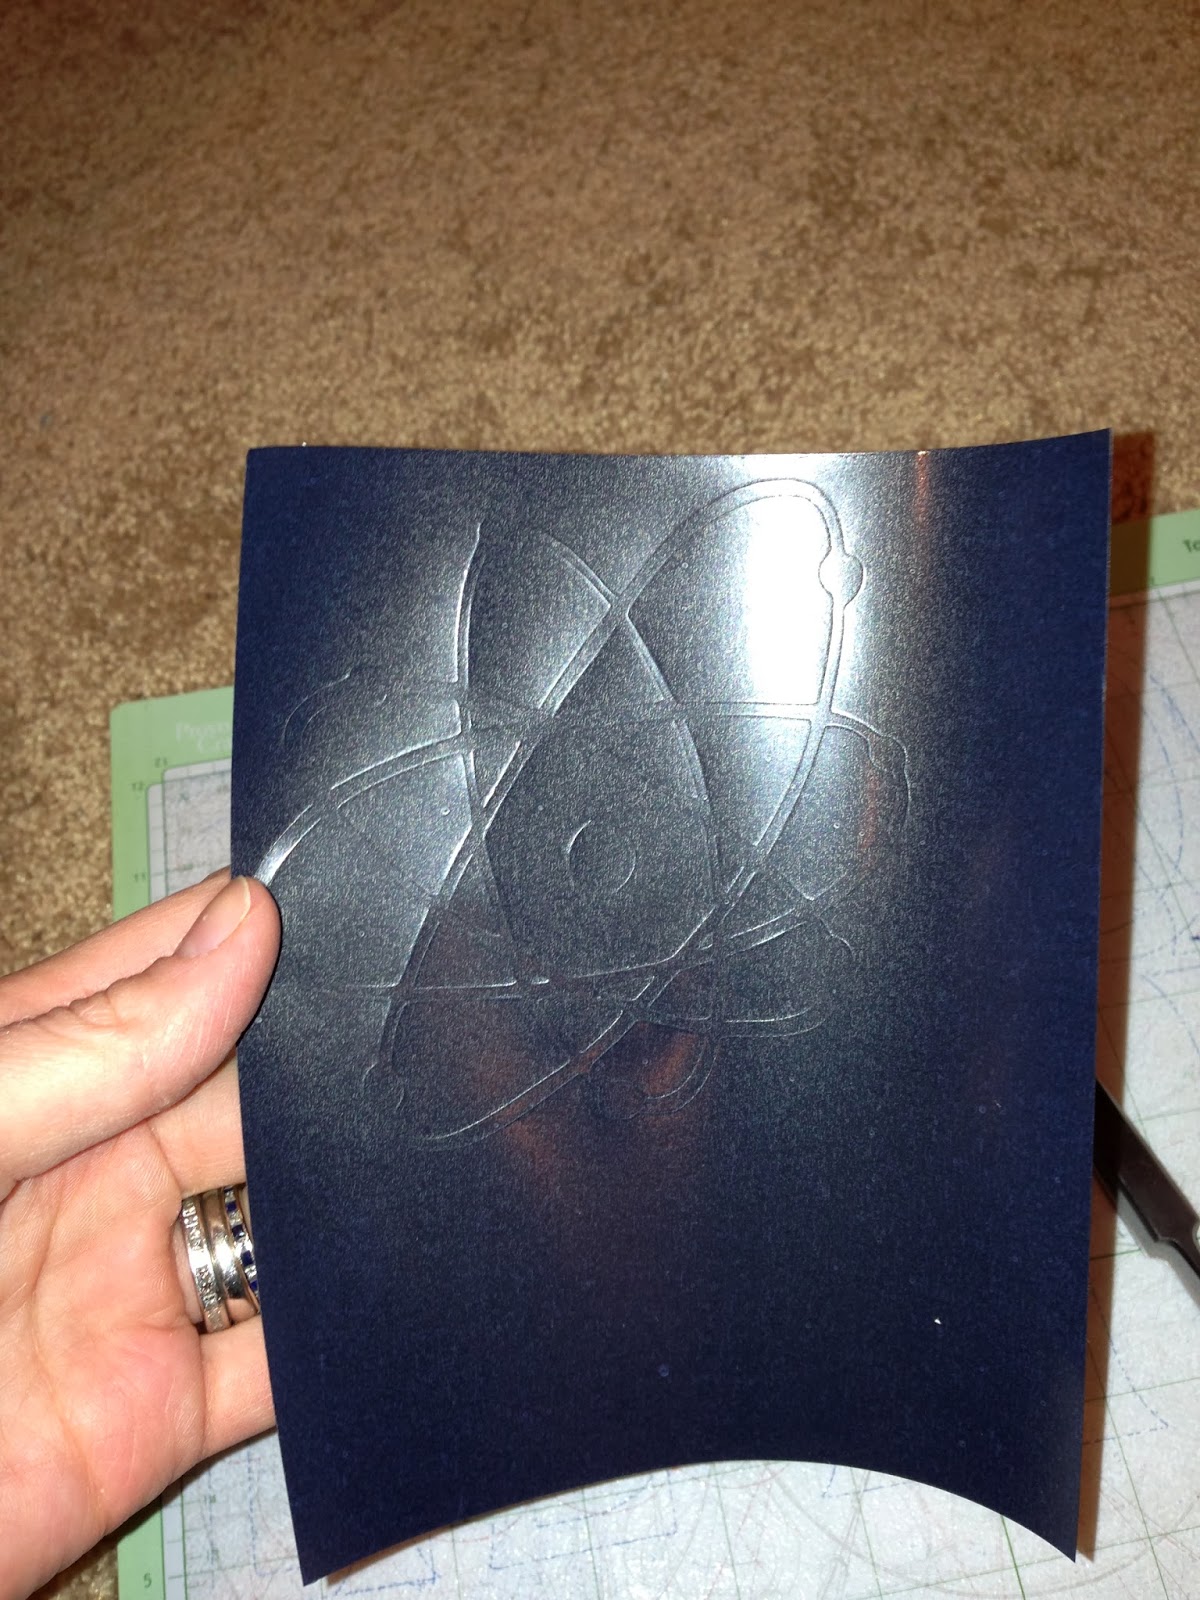
step four: after you have your cut, you want to keep your iron-on material on the cutting mat, so you can easily peel away the negative spaces of your design (if there are any). there’s a special cricut tool that you can use for this (it’s called a hook tool) that comes in the cricut tool kit. i just simply used a set of tweezers to get these pieces out of the design. once you do this, you’re left with your positive design on the plastic.

step five: set up your iron. set it to the cotton setting, and pre-heat your fabric for about 30 seconds.
step six: set your design, plastic side up, on your fabric, where you want it to be ironed-on.
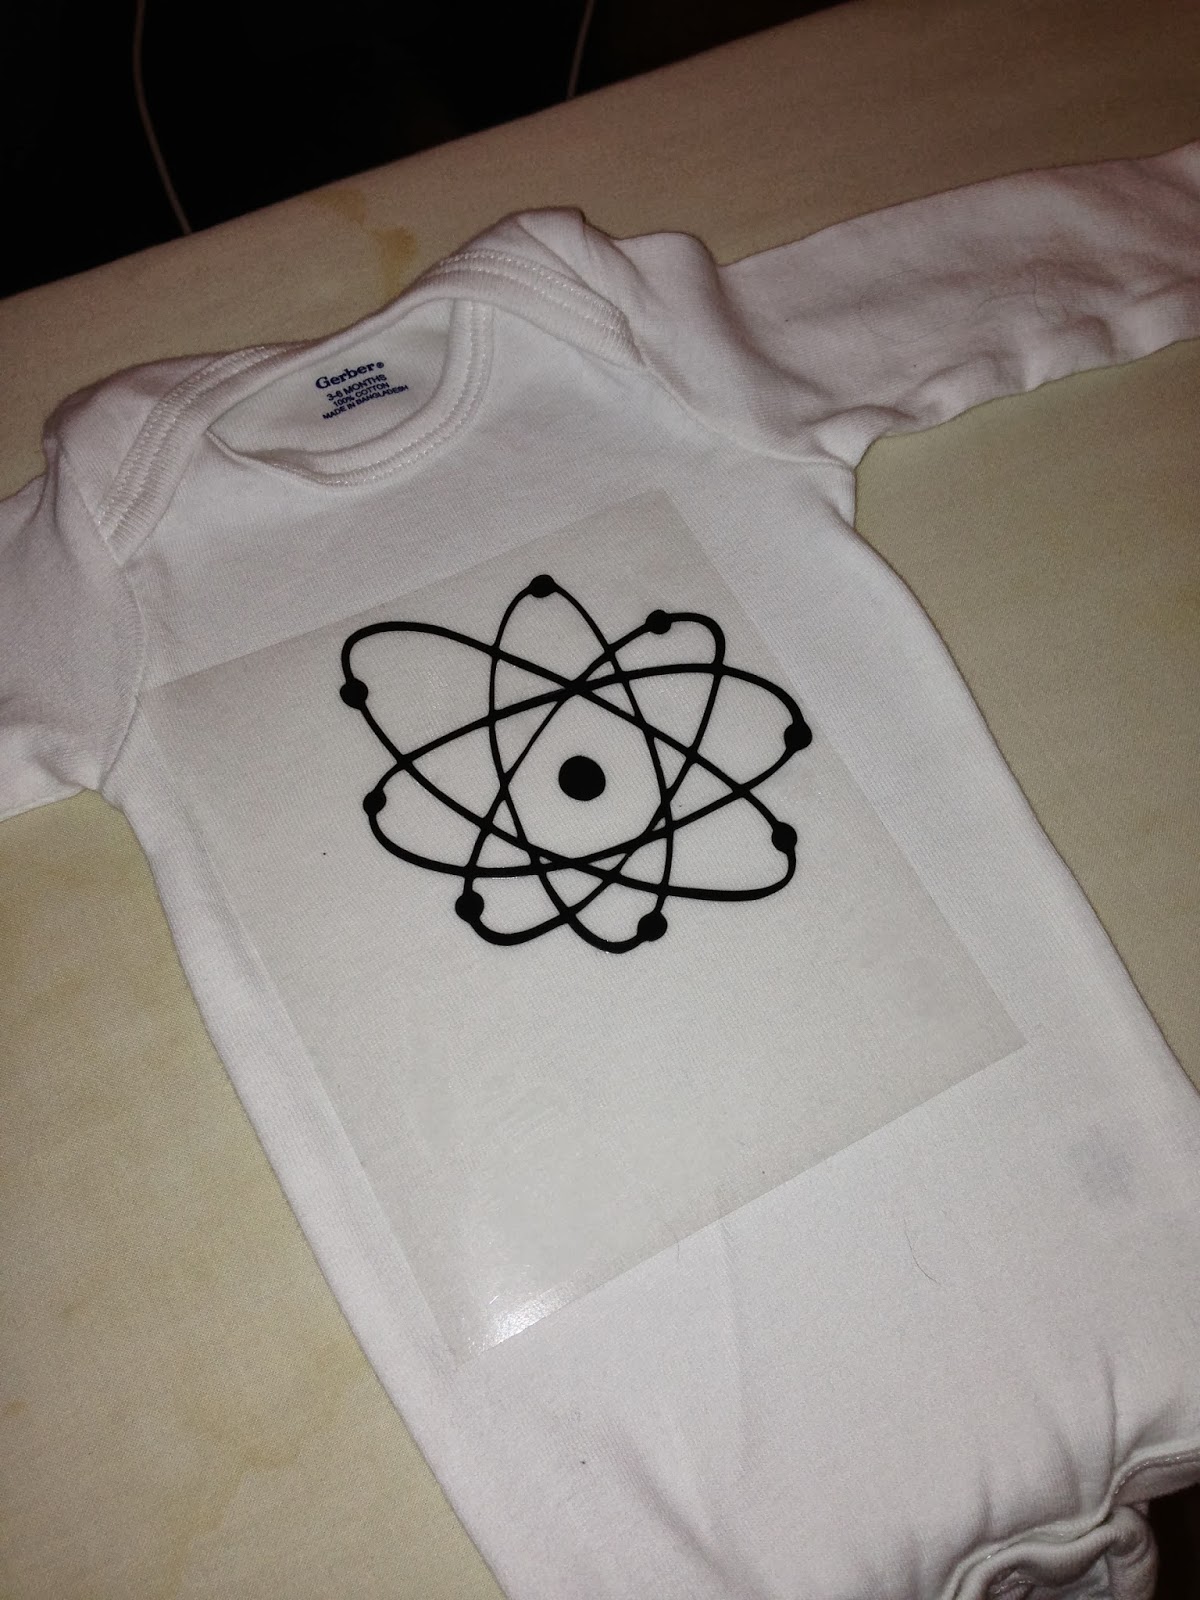
step seven: overlay your extra fabric (i used an old white tee) over the plastic and design, then use the iron to heat the area (with pressure) for about 30-45 seconds.
step eight: allow the area to cool for about five minutes.
step nine: begin peeling back your plastic, which should allow your iron-on design to stay on the fabric. *note: it actually took me several times to heat the area of my design before i could peel back the plastic and my iron-on material was staying on the onesie. it was a little bit of a trial and error scenario. the good thing is that if you see that a portion of your design is not sticking, all you have to do is re-lay the plastic down over your iron-on design, place the extra fabric (or tee, in my case) over the plastic and re-iron.
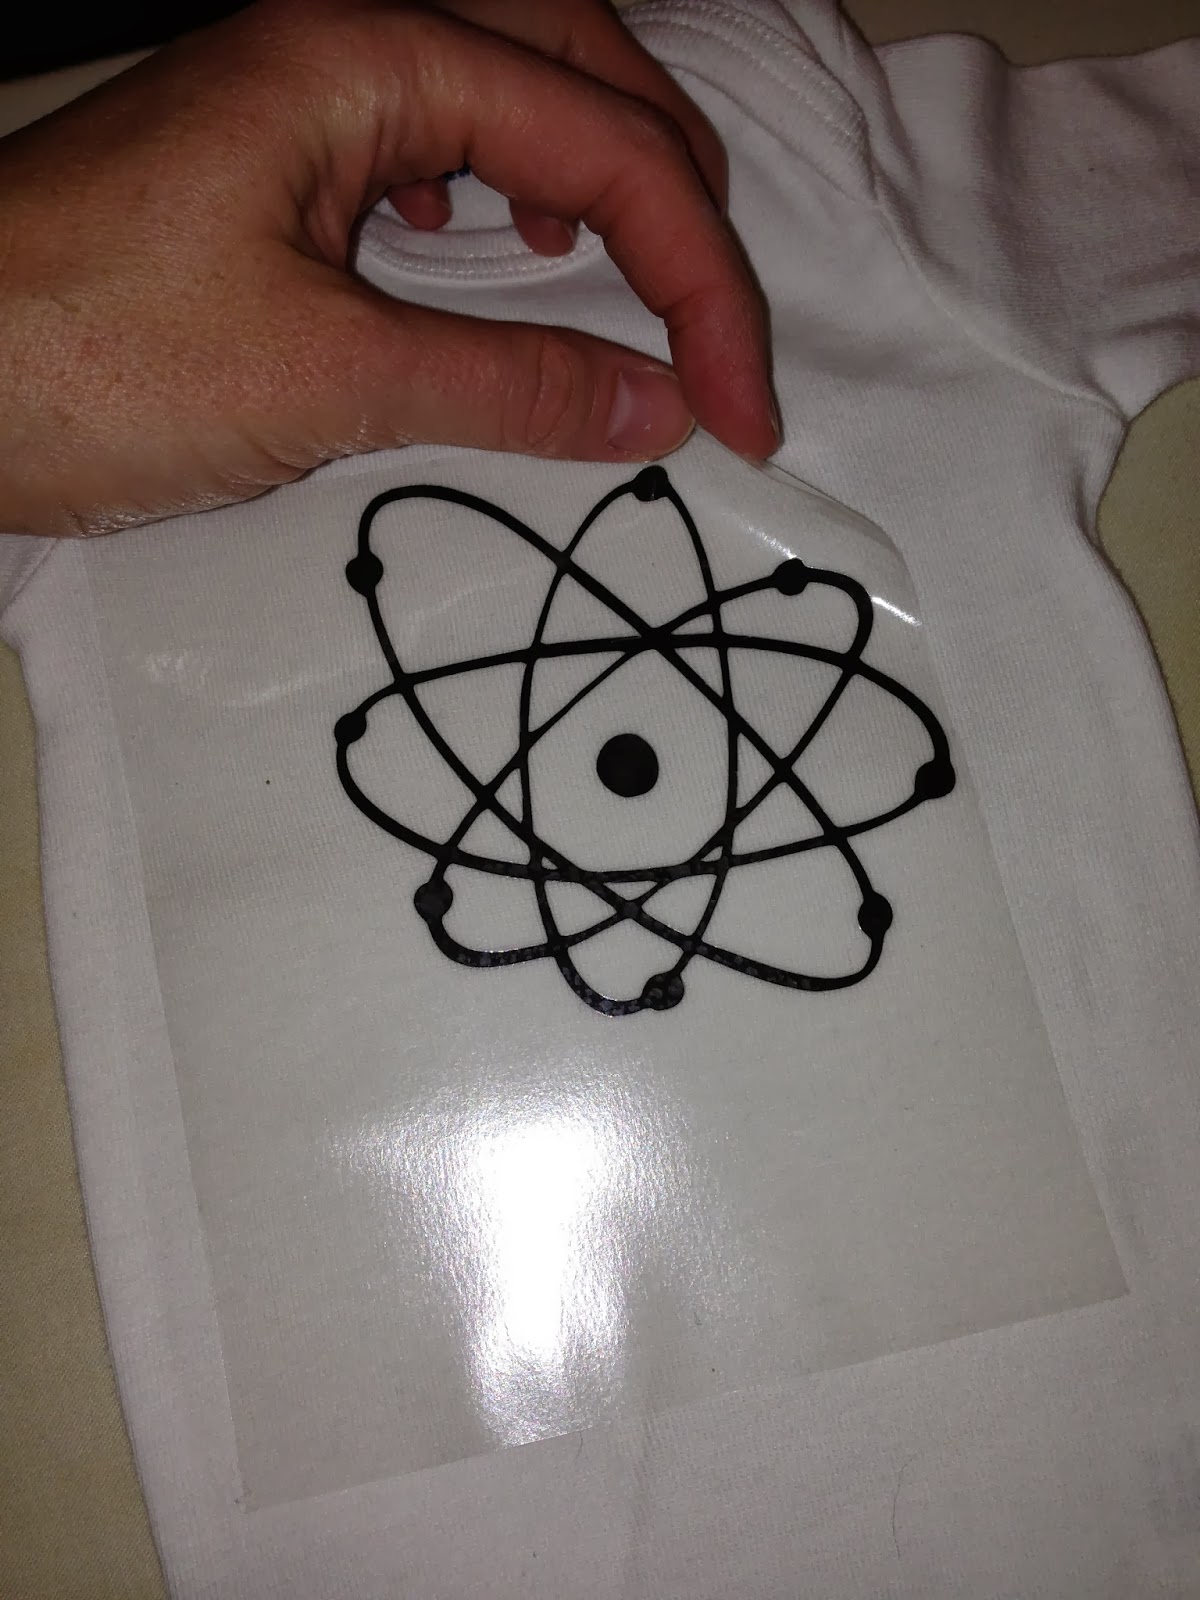
step ten: take pictures! enjoy! *note: it’s highly recommended that when you are washing anything with the iron-on material, to turn it inside out before washing.
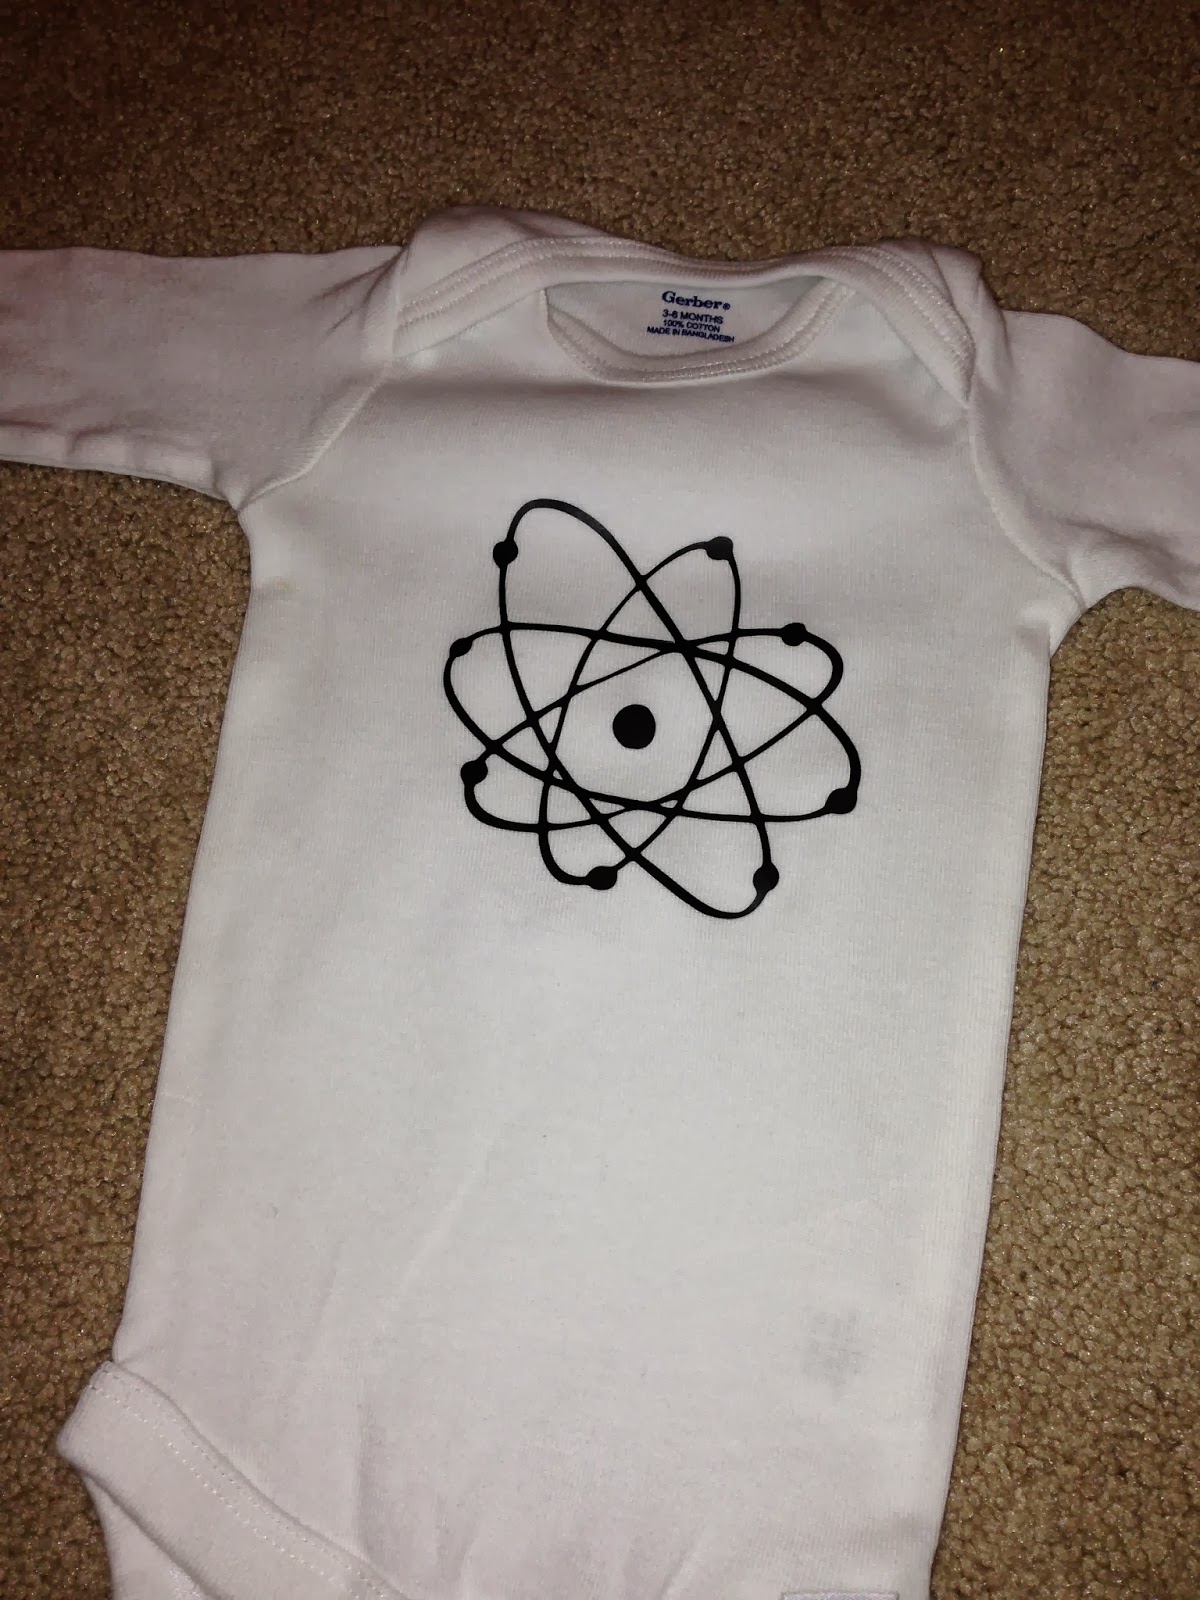 |
| yippee! little mr. re-nest #2’s very cool new wardrobe addition |
i’m so, so excited about this material and all of the cool things that can be done with it…in fact, i’m pretty sure little mr. re-nest #1 and #2 will both have a ridiculous amount of clothing that will have iron-ons on them. and, i’m pretty sure we’re going to be using this to make some adorable holiday gifts for our people too!
enjoy!
ashley