Shop
Shopconfession: when mr. re-nest heads out of town for work, that tends to be the time when i really want to make some decor changes around the house. nothing major, but just little things….moving something from here to there, or like this weekend, putting up some repositionable wallpaper.
so, let’s talk about the state of our mud room. about a year ago i did some updates. new flor squares. some wall decals. and a cute dragonfly hook from young house love. here’s how the wall looked:
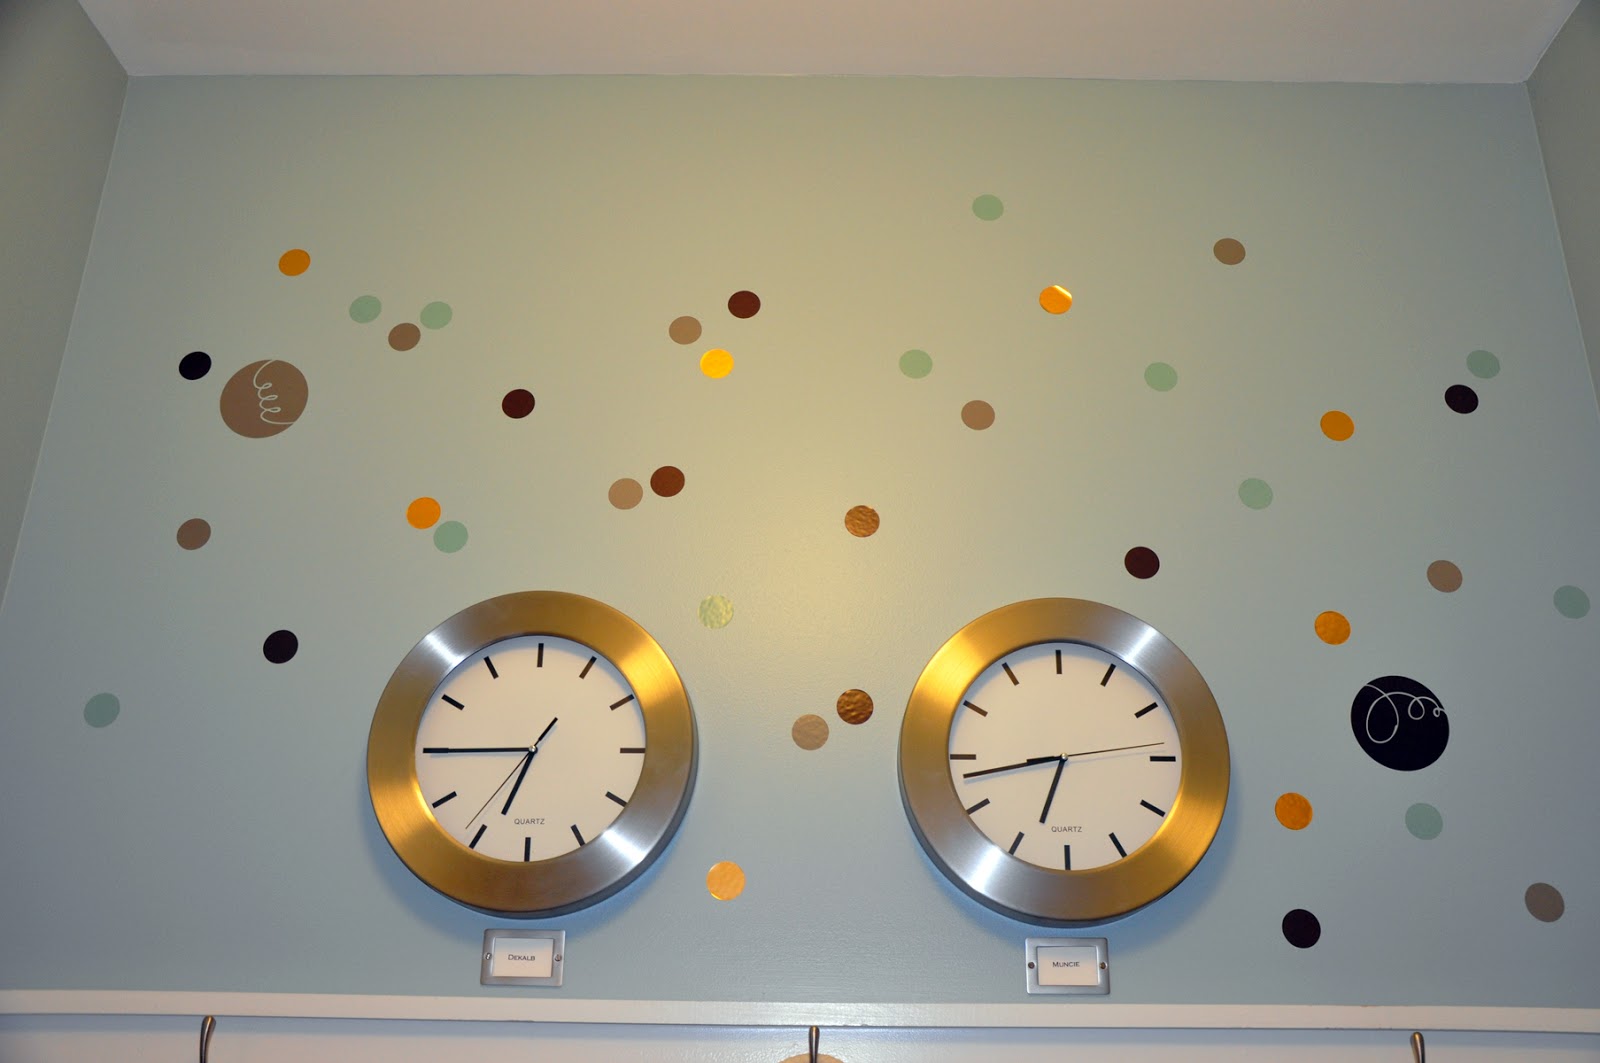
i was never sure how i felt about the wall decals. i was looking for something, anything to add when i put them up. so, they’ve been up for about a year, and i was kinda keeping my options open.
and, then i saw this at target….
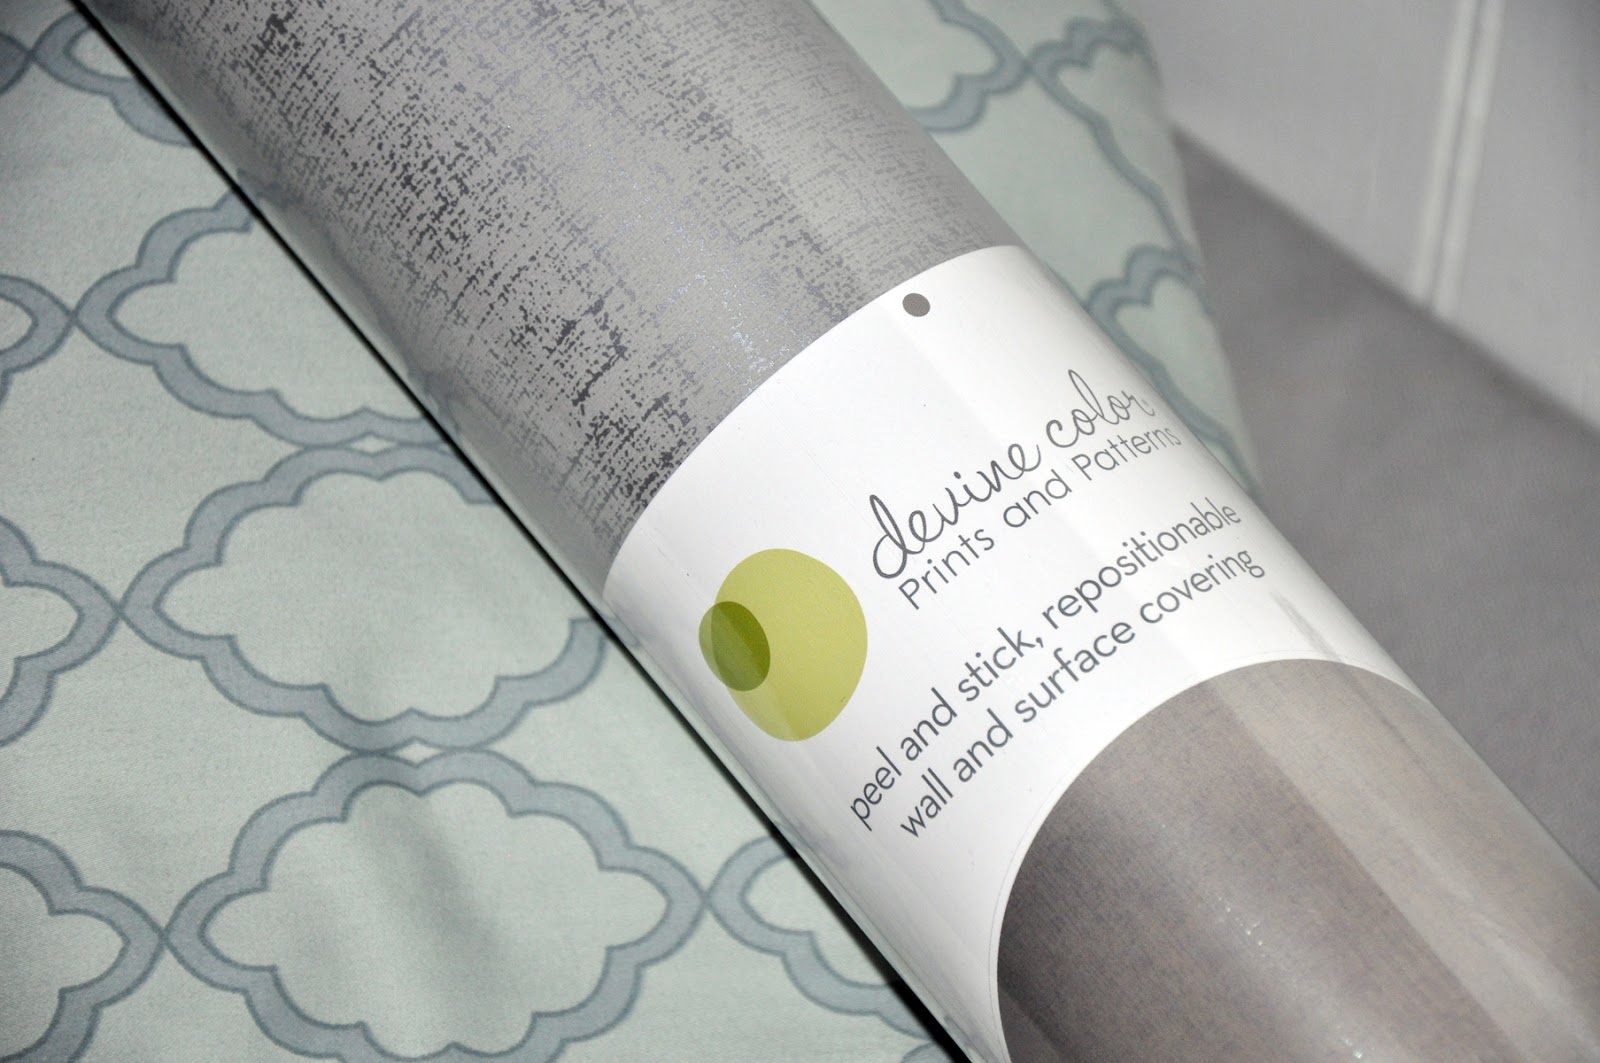
and, i couldn’t stop thinking about it. or, visualizing it on the wall with the decals.
and, yesterday i found myself on one of *those* target trips….where you just need a few things, and then you get pulled to all of the other sections of the store that you typically try to avoid (in order to protect your budget!) mr. re-nest is out of town on business, so i thought “why not?” the instructions looked easy, and i had a saturday night with some time to fill.
so, here’s how it went:
1. first i had to take down the circle decals. that was super easy + the wall was totally unharmed by the decals!
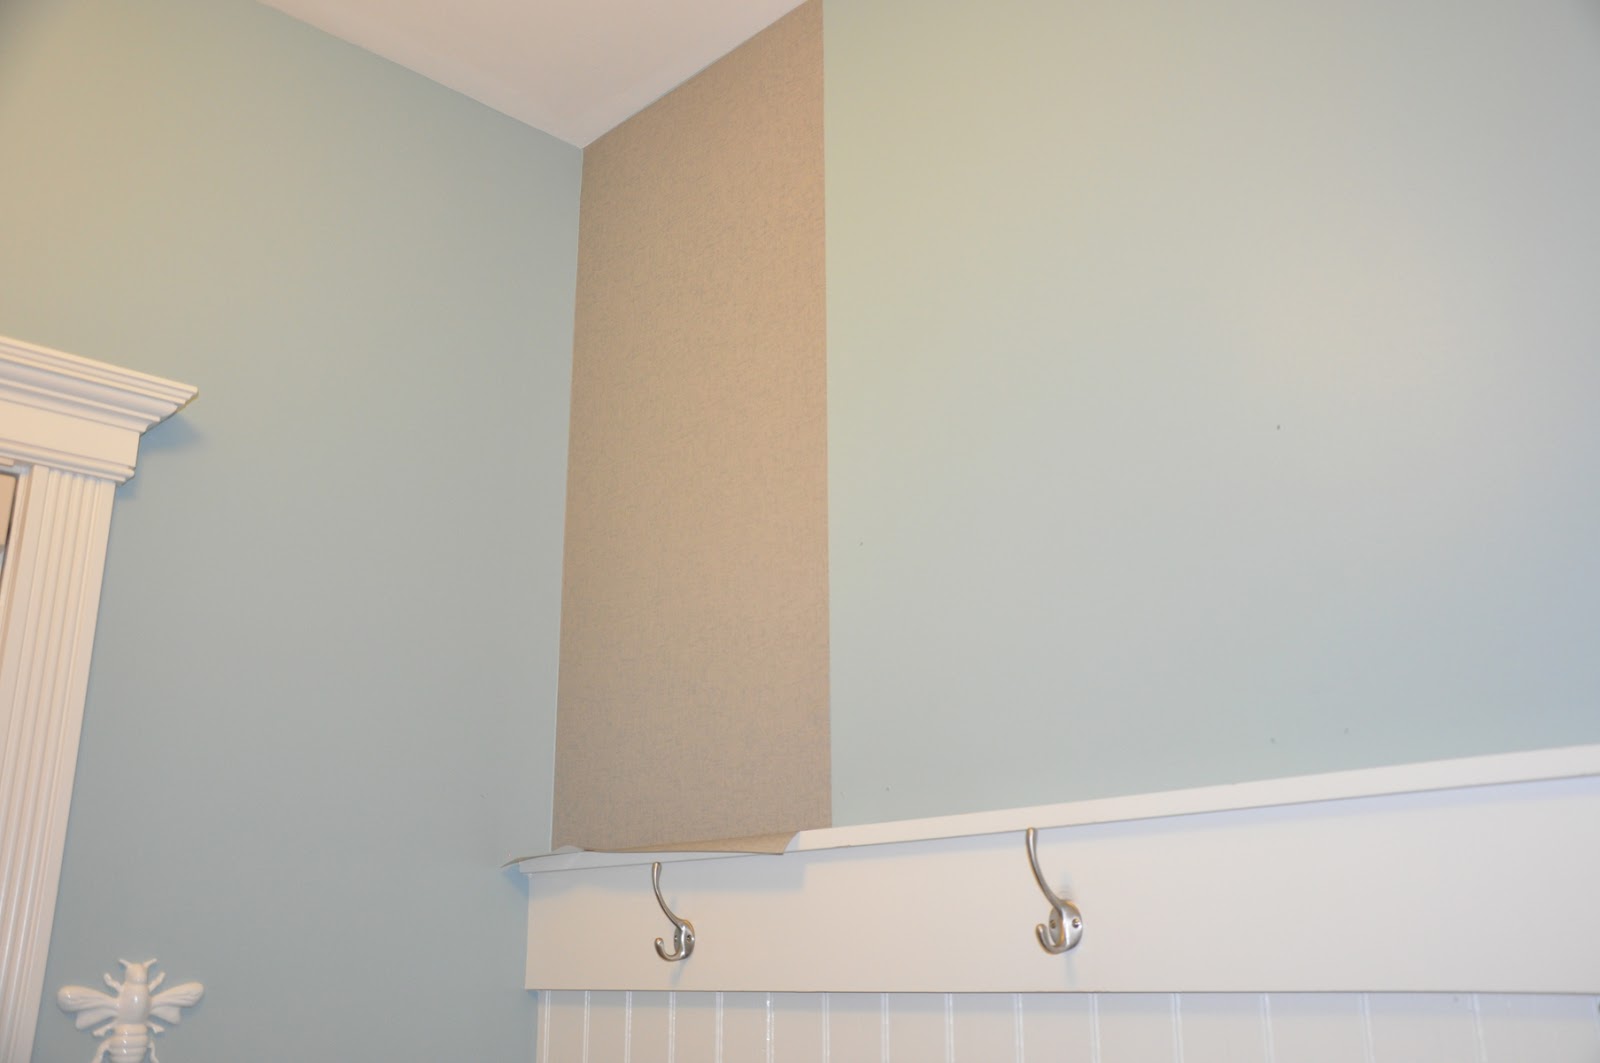
2. next, we measured. twice. the space i wanted to fill was about 64″ w x 41″ h, which meant i was going to have to cut four panels and match them up on the wall.
3. we cut the panels. the instructions recommended adding 3-4″ to the length needed to allow for plenty of trim space.
 |
| the first panel. i promise i only said a few bad words when trying to get it lined up! |
4. next up was the hardest part of this whole diy project….getting the first panel positioned on the wall, to hit the upper left-hand corner and wall edge. it took a few tries, but i finally got it. ***install tip: the instructions recommended having two tools: an x-acto knife and a squeegee to help smooth out bumps. for me, the squeegee was totally unnecessary – i just smoothed everything out with my hands.
5. once that first panel was up, the others went so much faster….and the pattern i chose was super easy to kind of fudge the matching up for the seams.
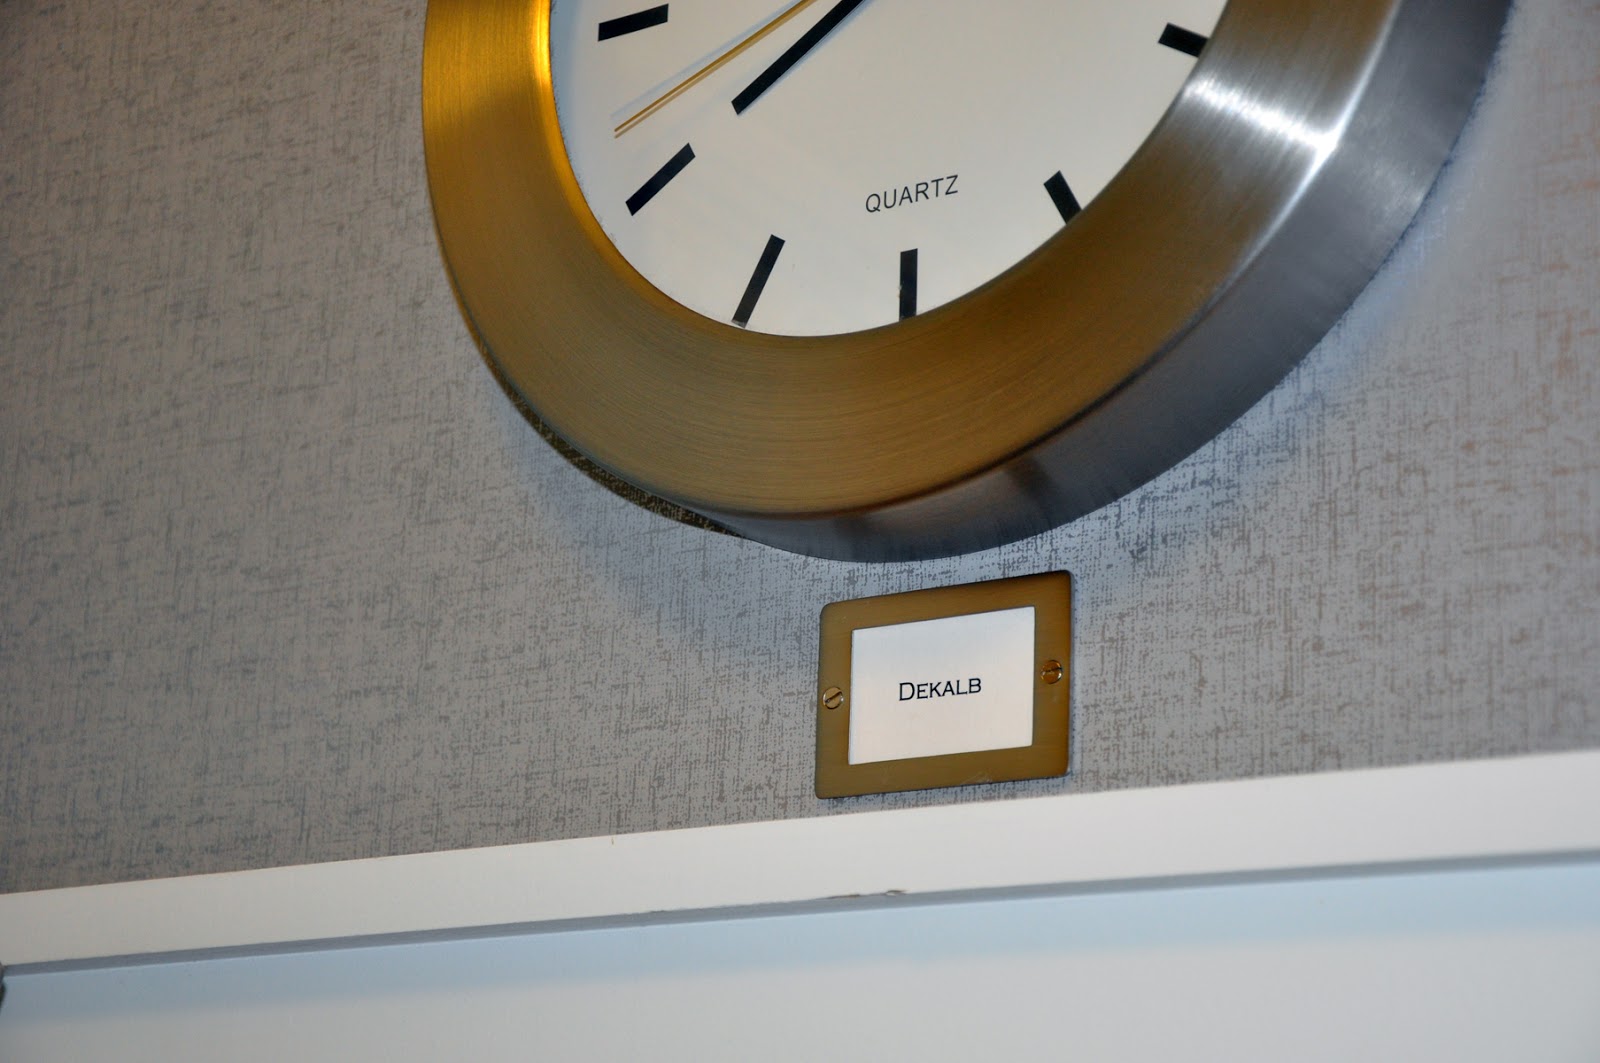
6. and, once it was all up, i just added back in our clocks + tags to finish the look!
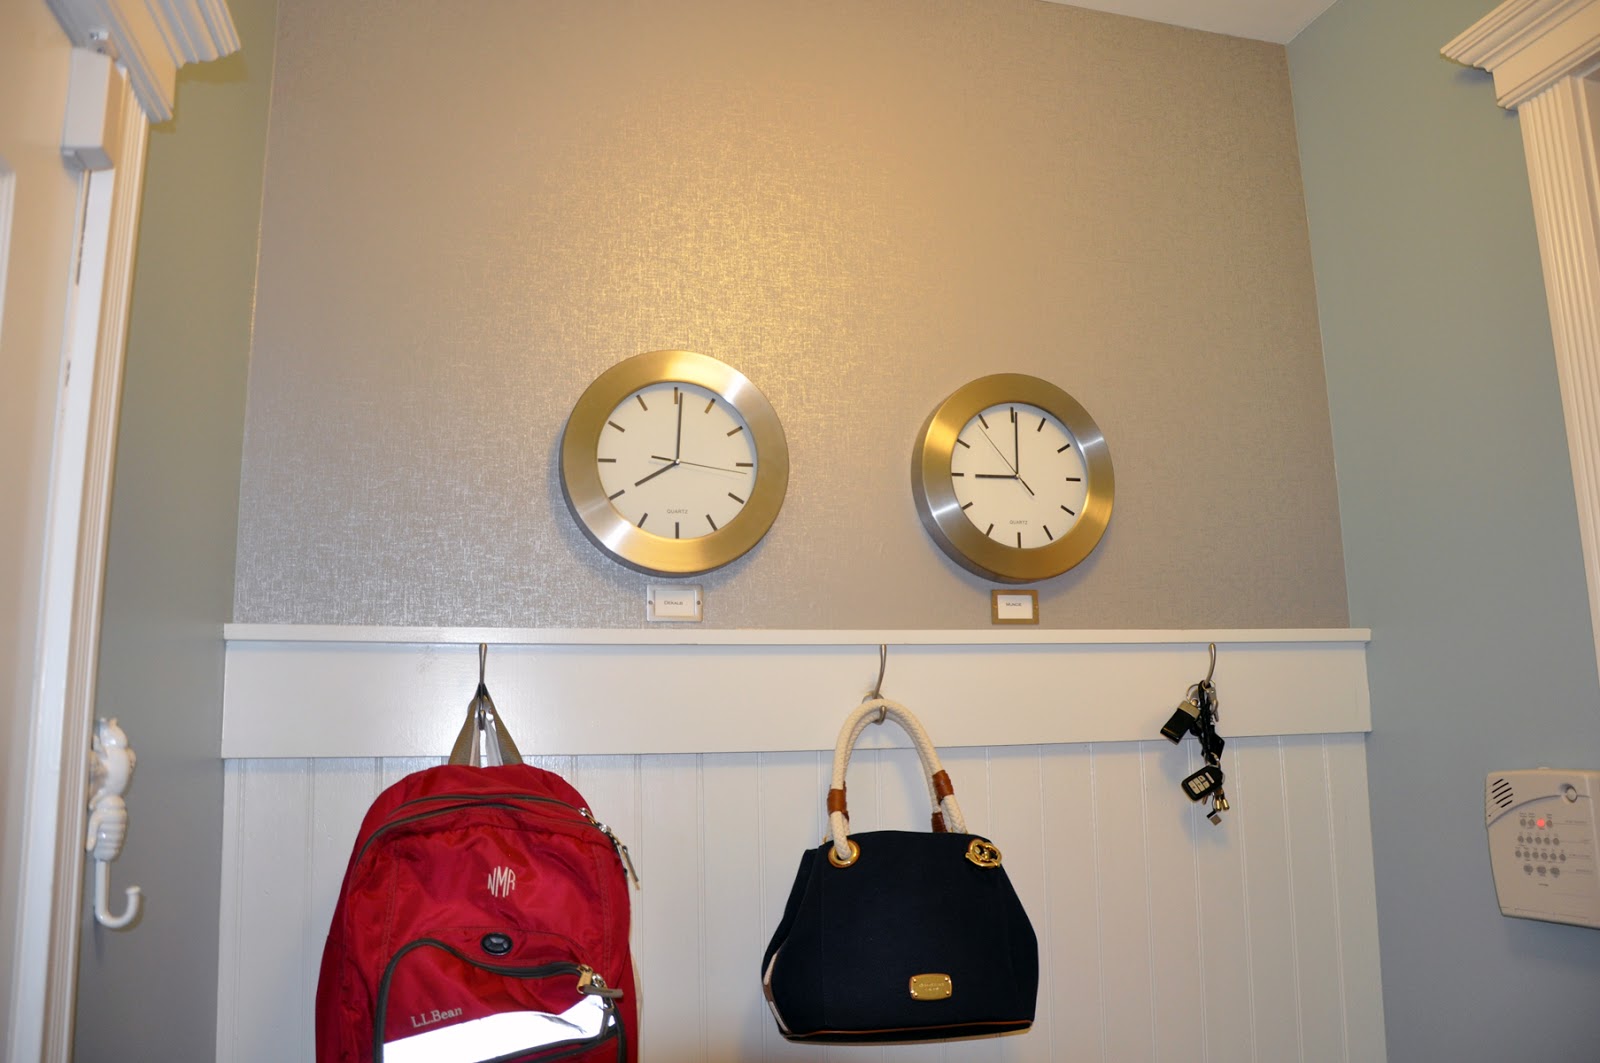
i’m so, so happy with how different this makes this space look + feel! the platinum color with some sheen just adds the right amount of contrast in the space….not to mention, it was a pretty inexpensive diy fix!