Shop
Shopfriday nights at our house are always low-key. we’re always just in the mood to make things as easy and as relaxed as possible…dinner is usually picked up from somewhere (it’s a rare friday when we actually want to pack everyone up and go out) and we catch up on the dvr from the week. or some fridays, i drag out a project and all of my crafting toys and have a little fun. tonight was one of those nights.
a fun birthday celebration tomorrow for a special one-year-old was the reason for tonight’s project. i already had the gift all wrapped up and wanted to make a special card to mark the occassion. and i just so happened to have some new crafty tools that i was itching to work with.
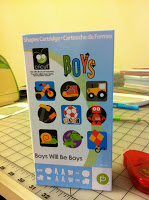 to start, the theme for the card. the gift bag was all boy…monsters and aliens. and i just so happened to have a new cricut cartridge – boys will be boys – that i couldn’t wait to use.
 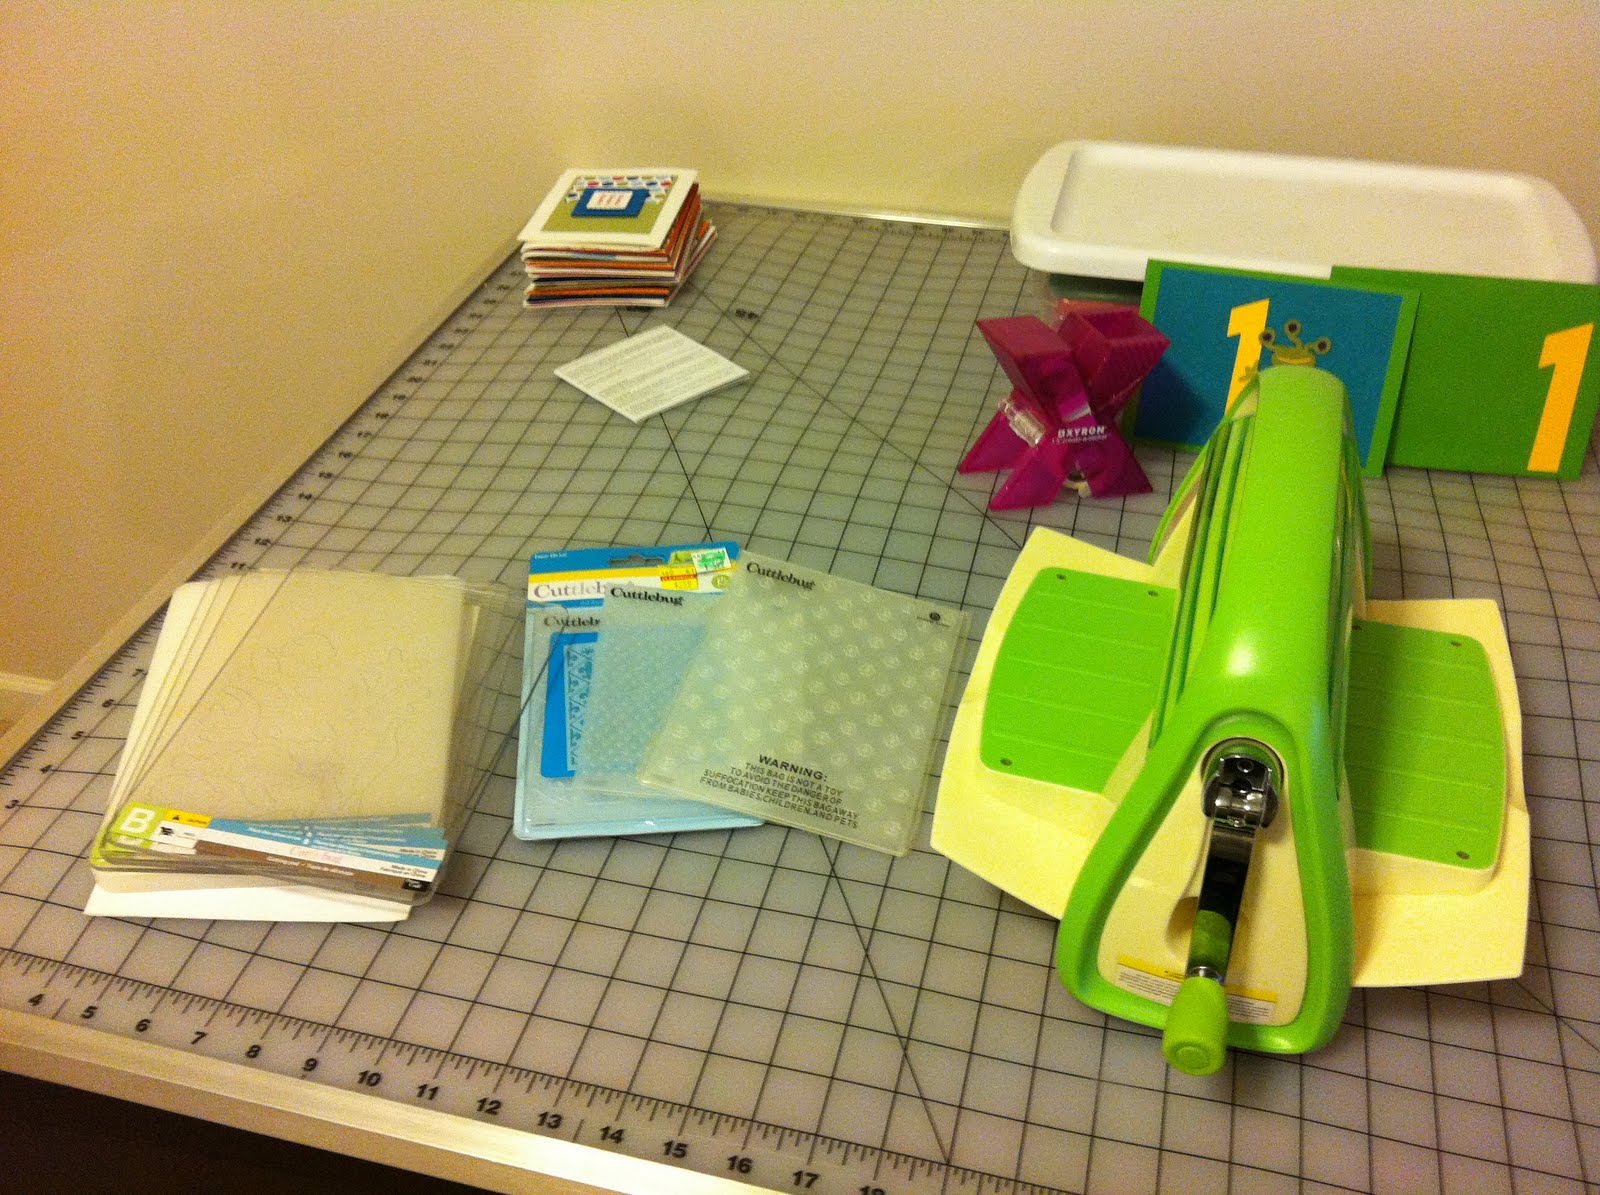 i started with my paper source a6 flat notecards in clover. along with an alien character from my new cartridge, i also wanted to give a little layering and texture to the card. i took some deep turquoise paper, cut it down to size, and finally got to use my new toy – the cricut cuttlebug embosser with the swiss dots embossing plate. (i have to pause here and brag a little about my husband…i’ve been talking about getting a cuttlebug for weeks, have even tried to bid on a couple on ebay, and thought i was in total luck last weekend when michael’s had them 50% off for one day only…i was sort of crushed when i got to michael’s to literally see them selling their last one right in front of me. my hero came through and surprised me with one. so big props to my mike. he’s the greatest.)
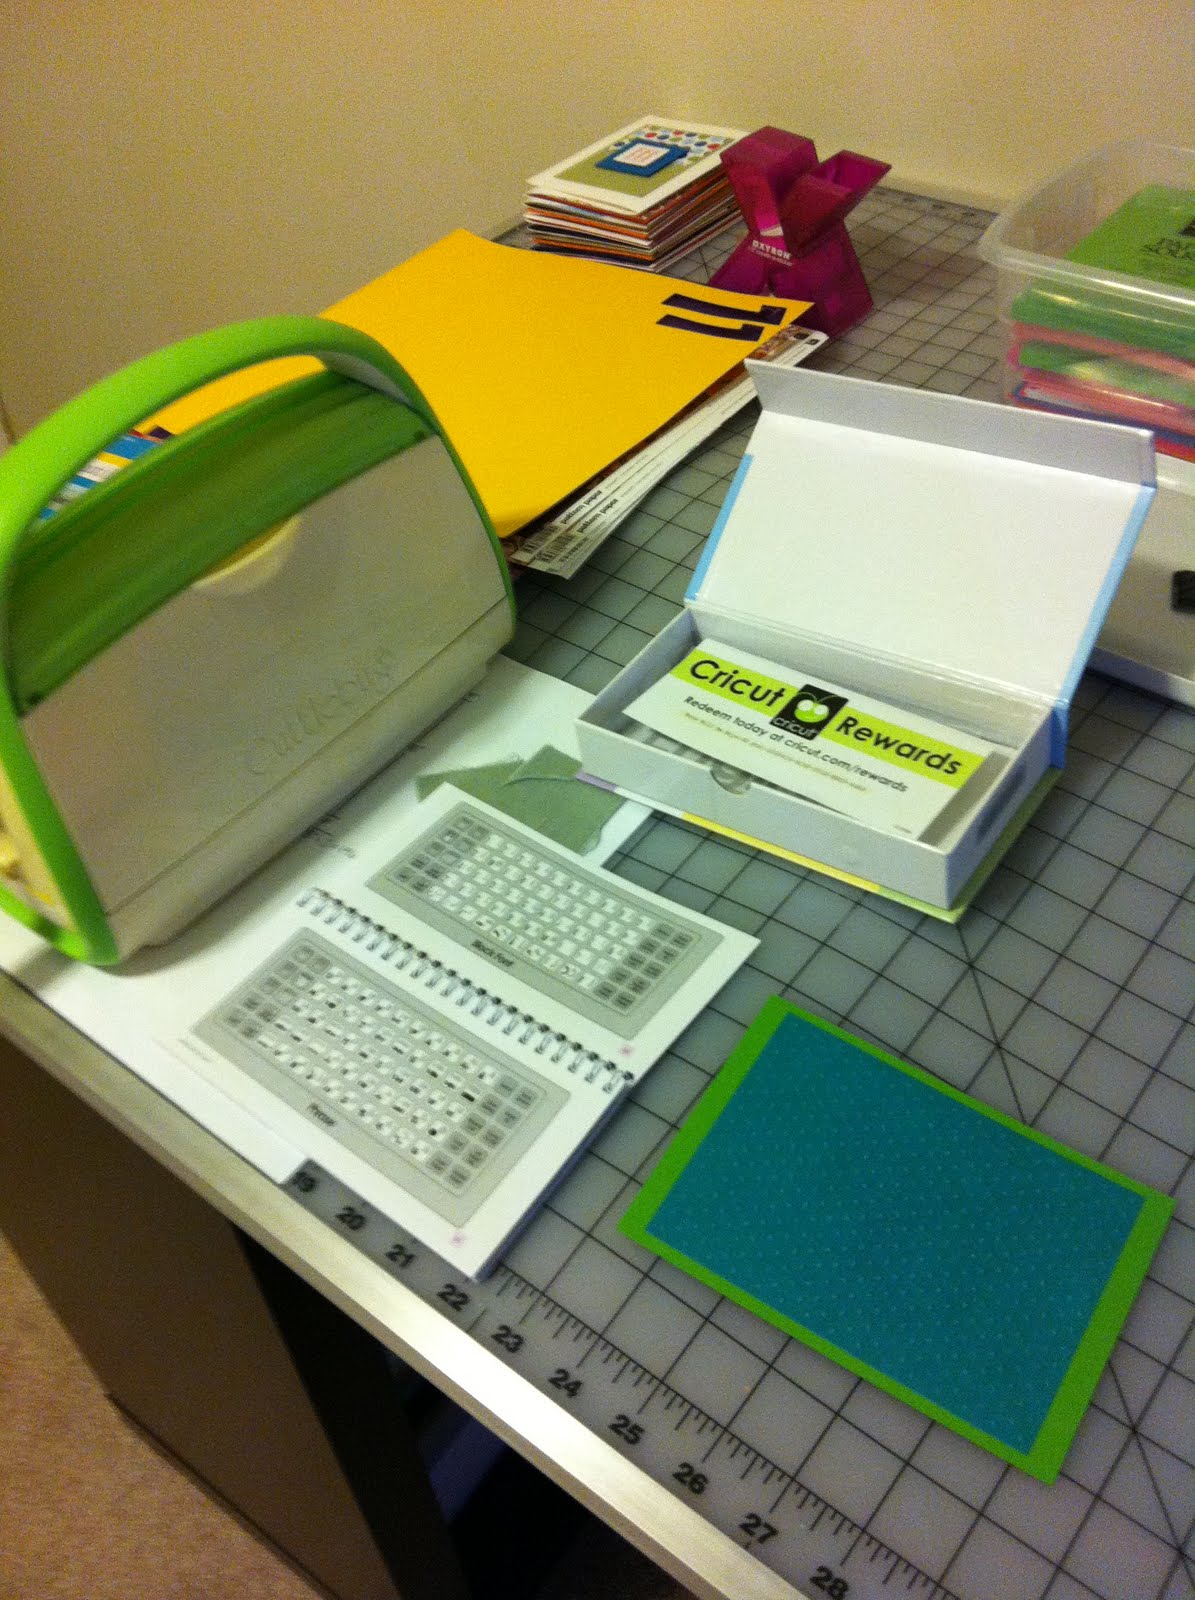 once layer one was set, i started working on getting the little alien
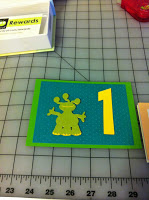
 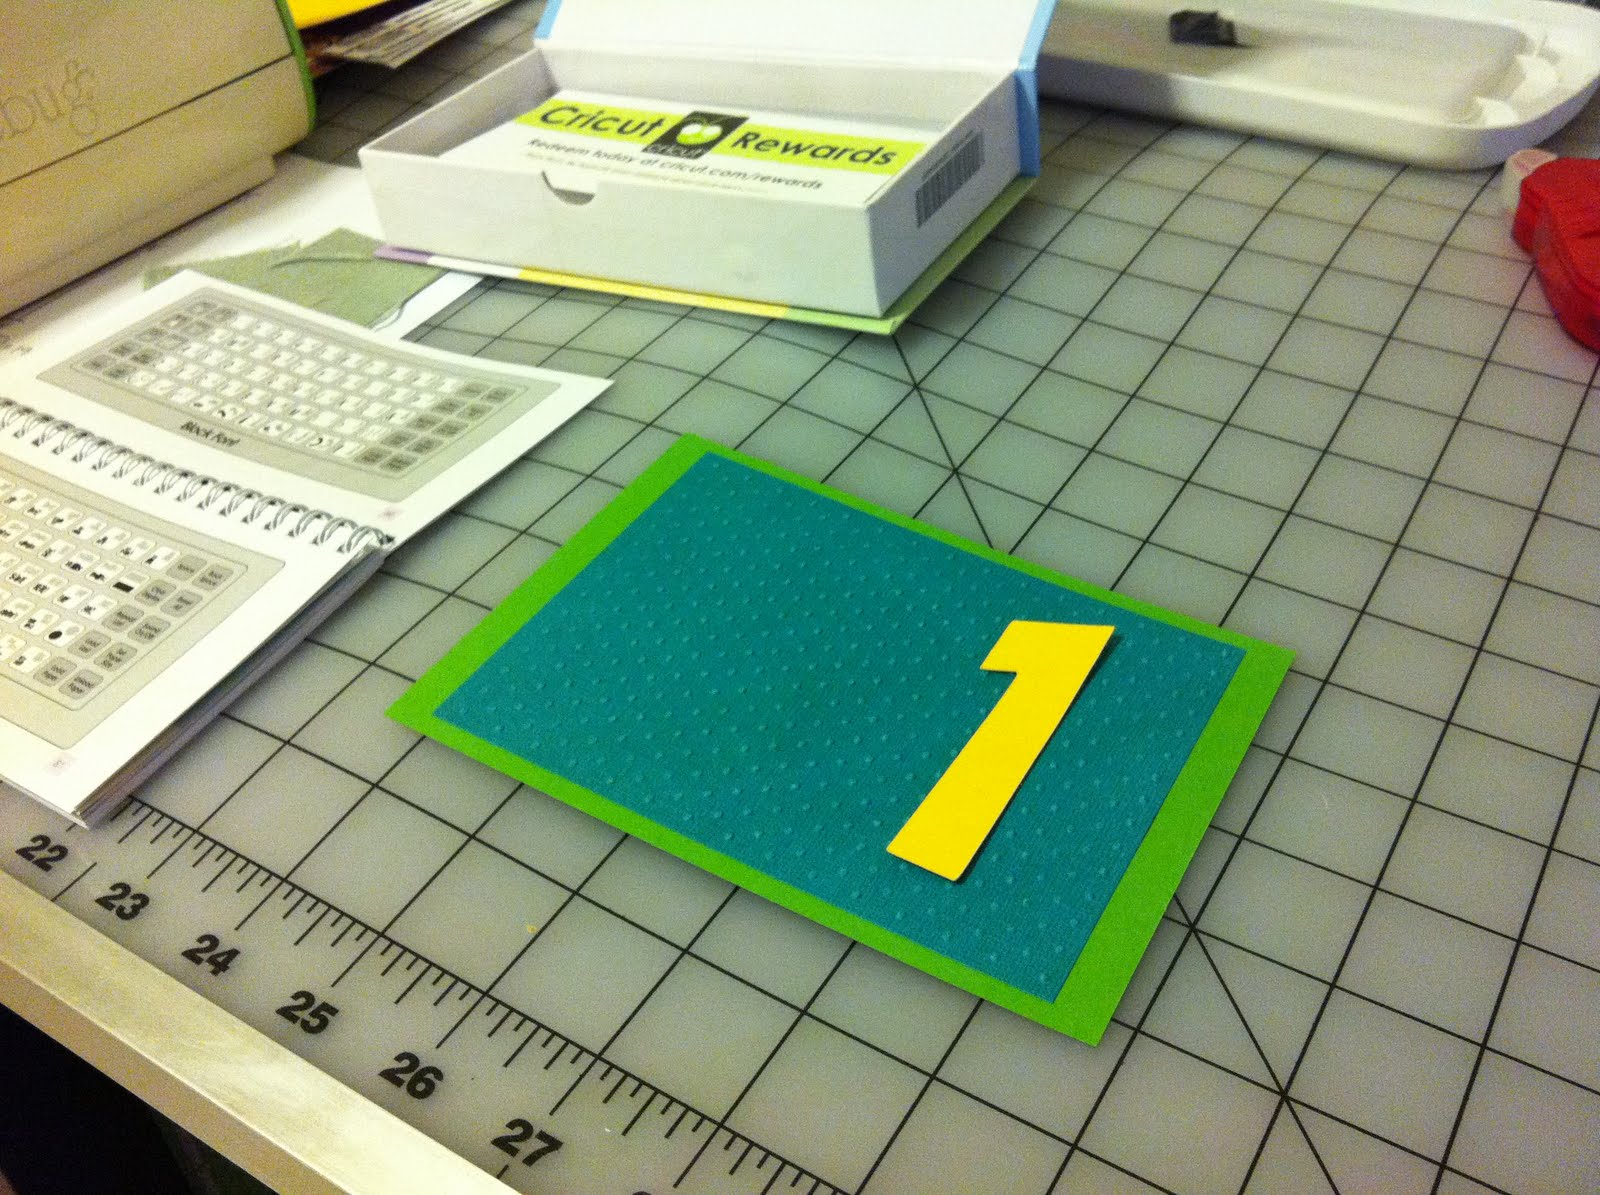 creative made…and while thinking, i had the idea to incorporate a giant “1” into the card…since it is after all, this little guy’s big first birthday!
next, it was on to building our little alien…layer by layer. all in all, it took four layers…

layer one…our little yellow guy
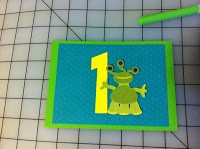
the final card front
and, the finishing touch was adding a “1” to the outer envelope to add a little something…for this, i got to use another one of my new toys – my xyron create-a-sticker maker.
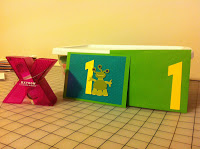
the final touch with the envelope
we can’t wait to celebrate this very special little boy’s first birthday tomorrow! and, i’m hoping there will be more updates this weekend on some new window treatments that have been started, so stay tuned!