Shop
Shop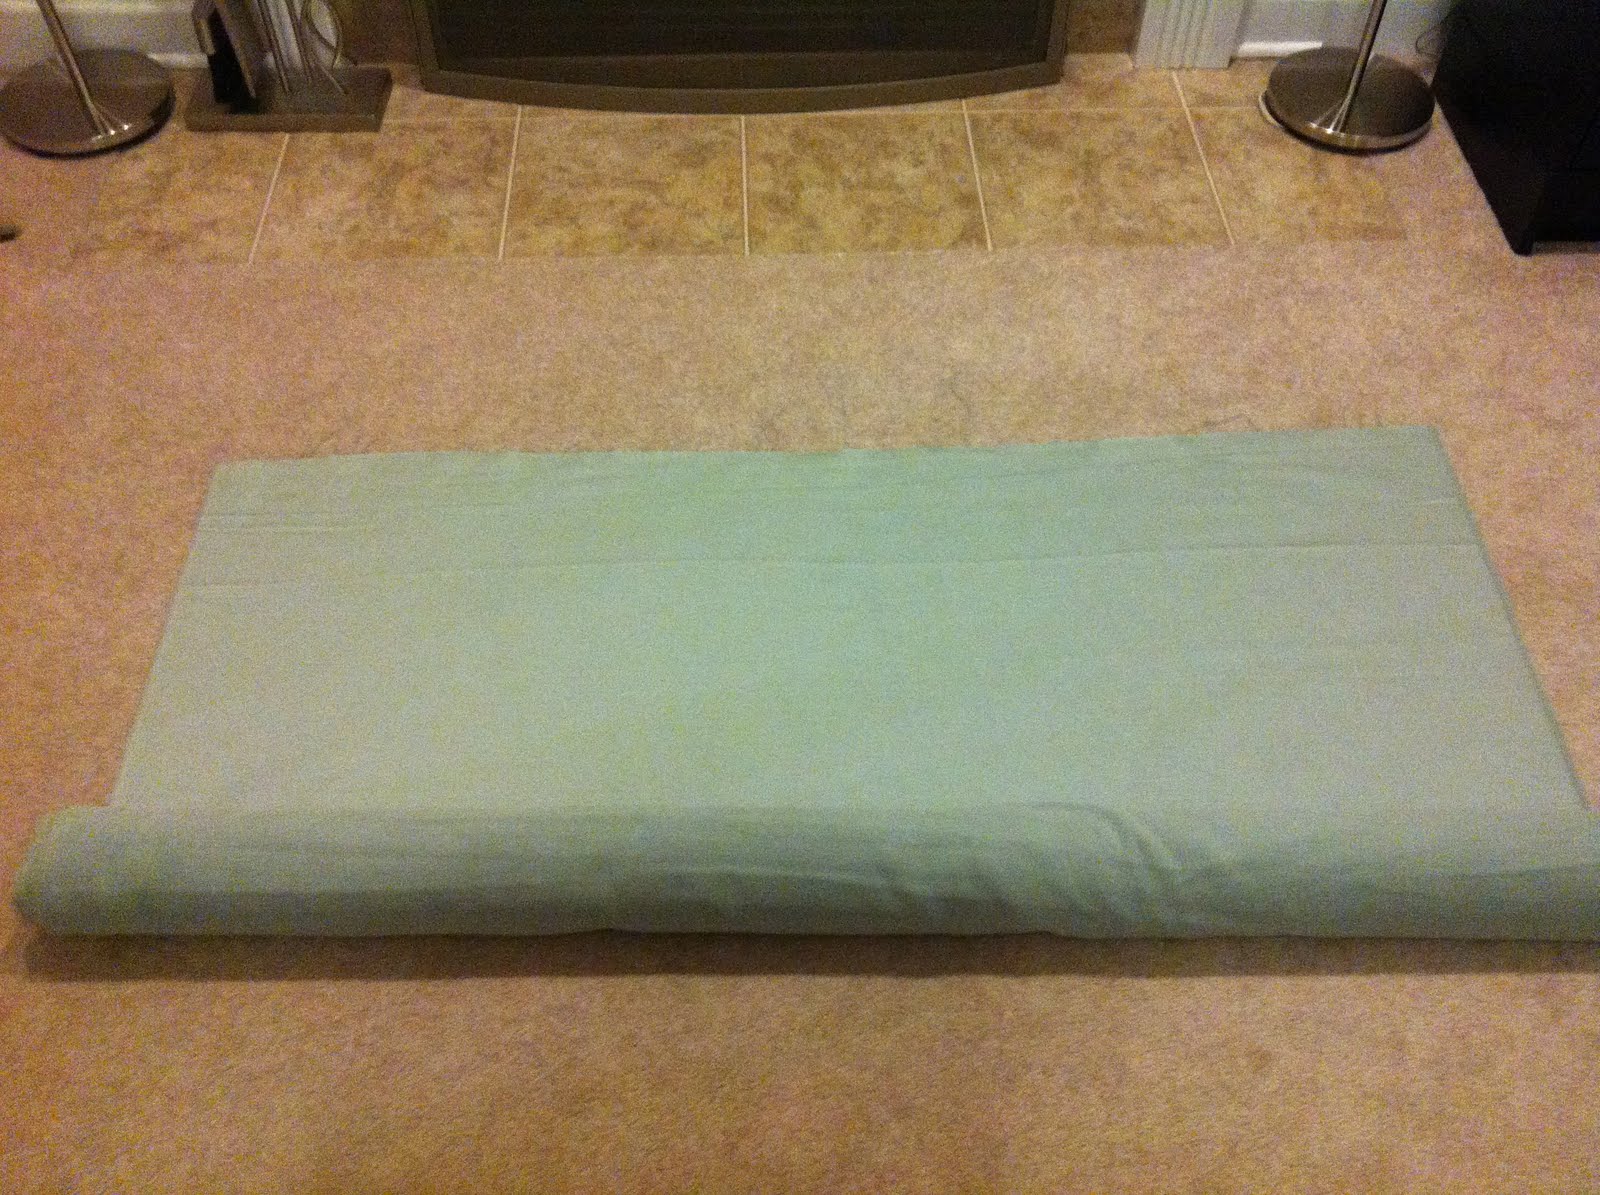 the search for pre-made curtains didn’t turn up exactly what i was looking for, so of course i thought “i can make these.” i wanted a soft material, in a greenish-blue and i found the perfect fabric in jo-ann’s home decor fabric department. and if i was custom-making my curtains, i could pretty much do whatever i wanted as far as hanging them. they could have grommets, or slide on to the rod, or i could use curtain rings with clips. i’m a huge fan of the latter, which made the idea of making panels even easier. no worries about having a hem that will fit a rod and no need to try and install grommets for the first time ever. so i set off to make my easy panels.
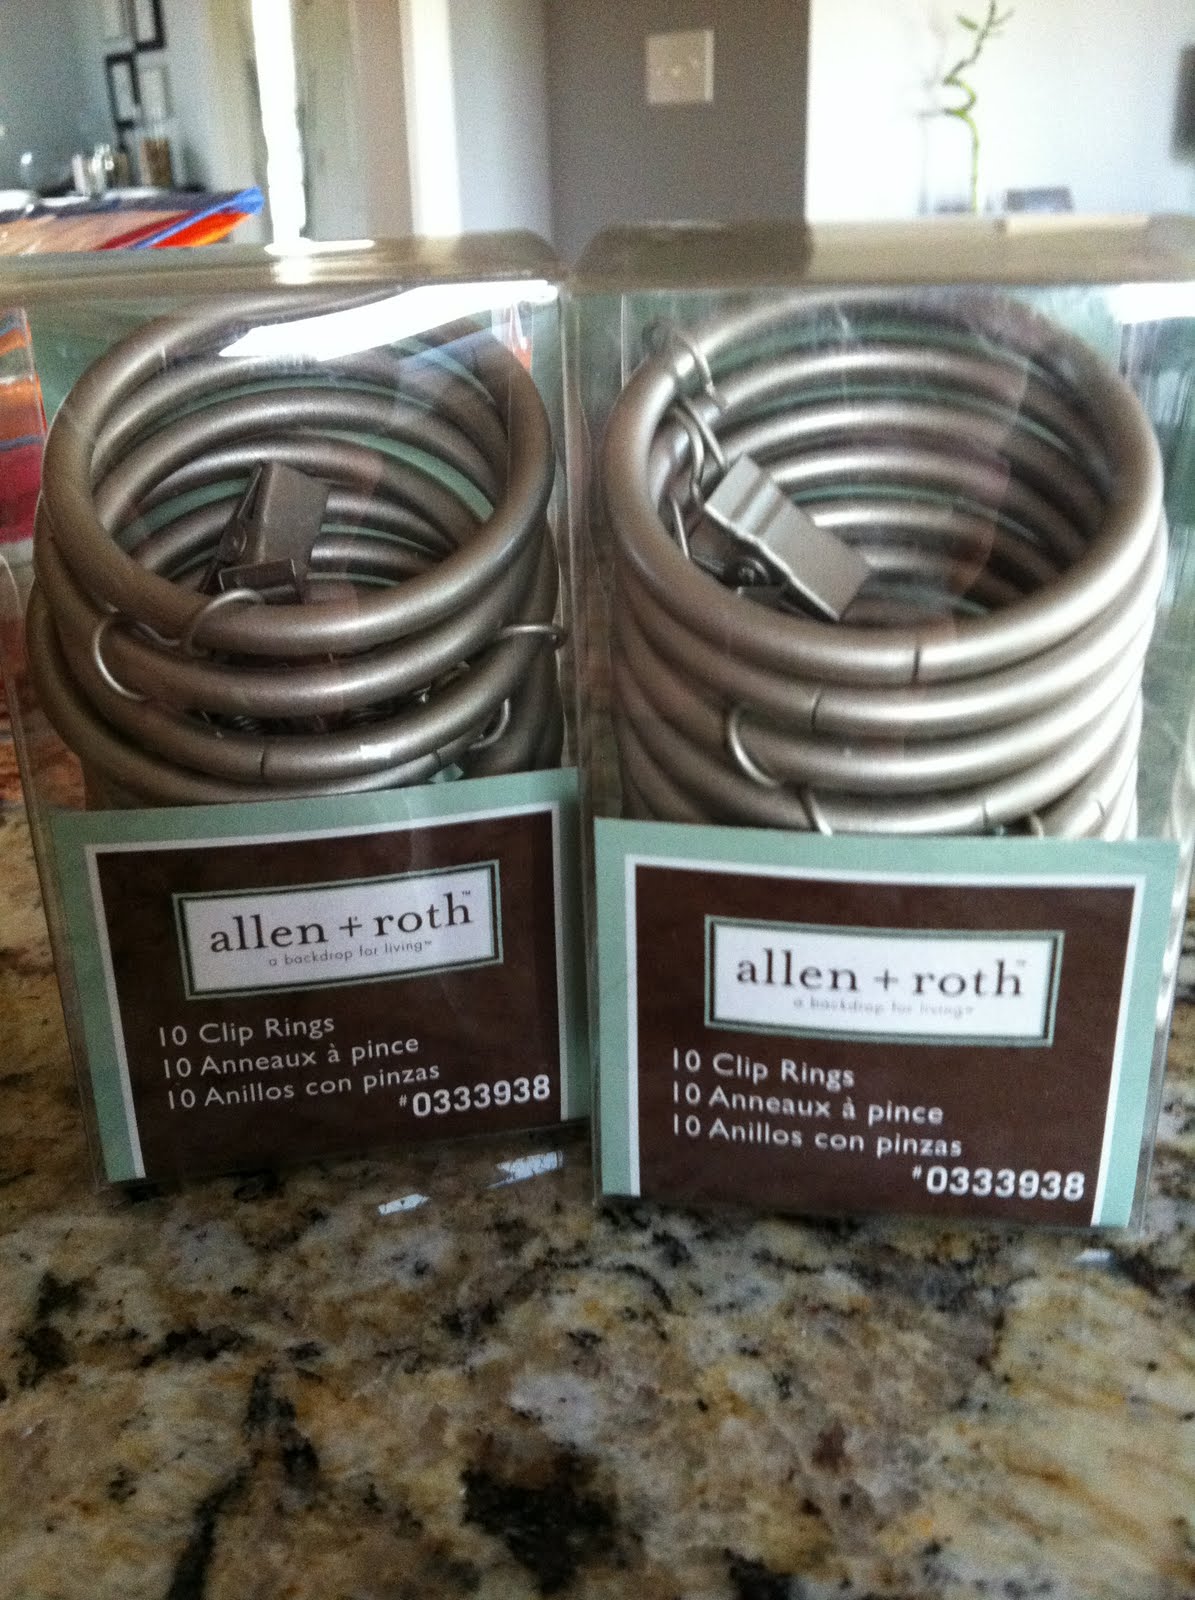 first step was to convince my loving husband to install the curtain rod. a tip: if you’re making panels, hang the rod first. this way you can double-check your panel length measurement based on where the rod actually will hang. we used the umbra curtain rod which i found on sale at target. for the curtain rings, i went with the brushed nickel allen + roth rings from lowes.
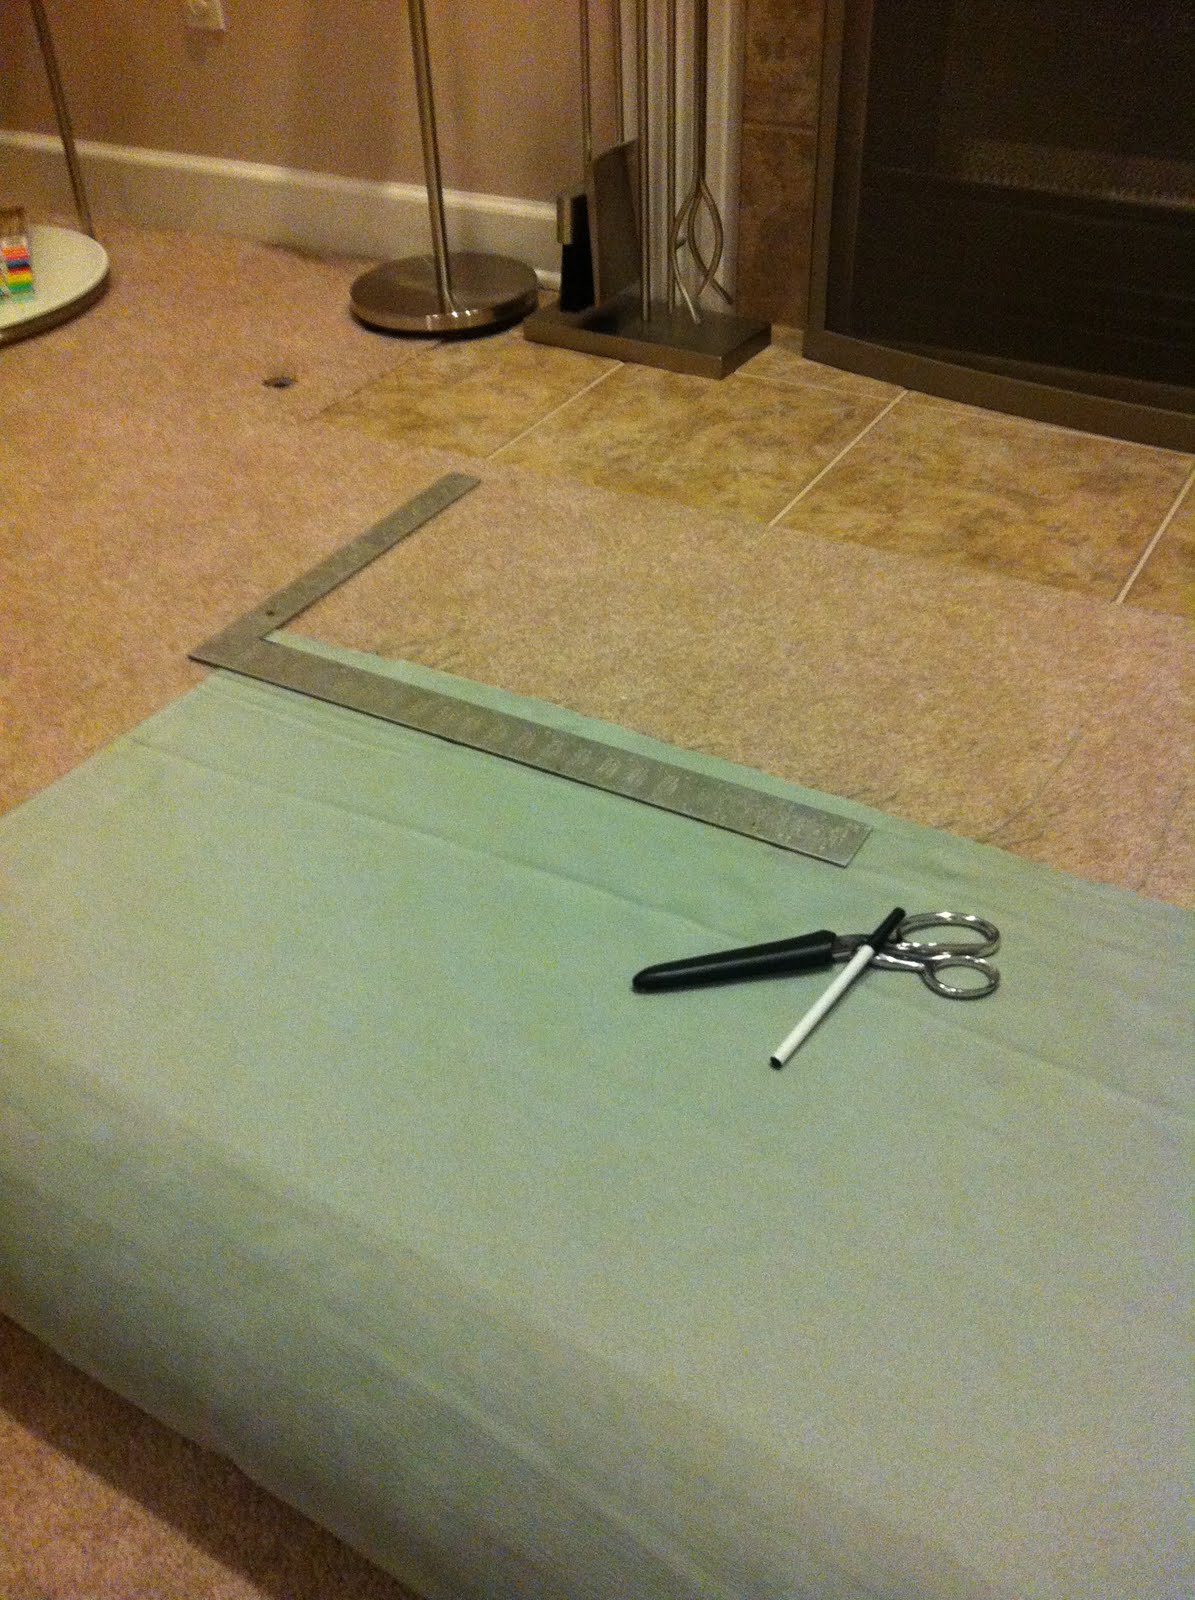 with the rod up, it was time to start the panels. i picked up about 5-3/8 yards of my fabric at jo-anns, along with matching thread. a tip: the first step before measuring panel lengths is evening off your edges (aka squaring them off). fabric stores don’t cut anything in a straight line, so it’s a must to get your edges as squared off as possible. i used a right-angle square and then a straight edge to get my line all the way across the 54″ wide fabric. once the edges were straight, i was able to cut my two panels, just by halving my fabric.
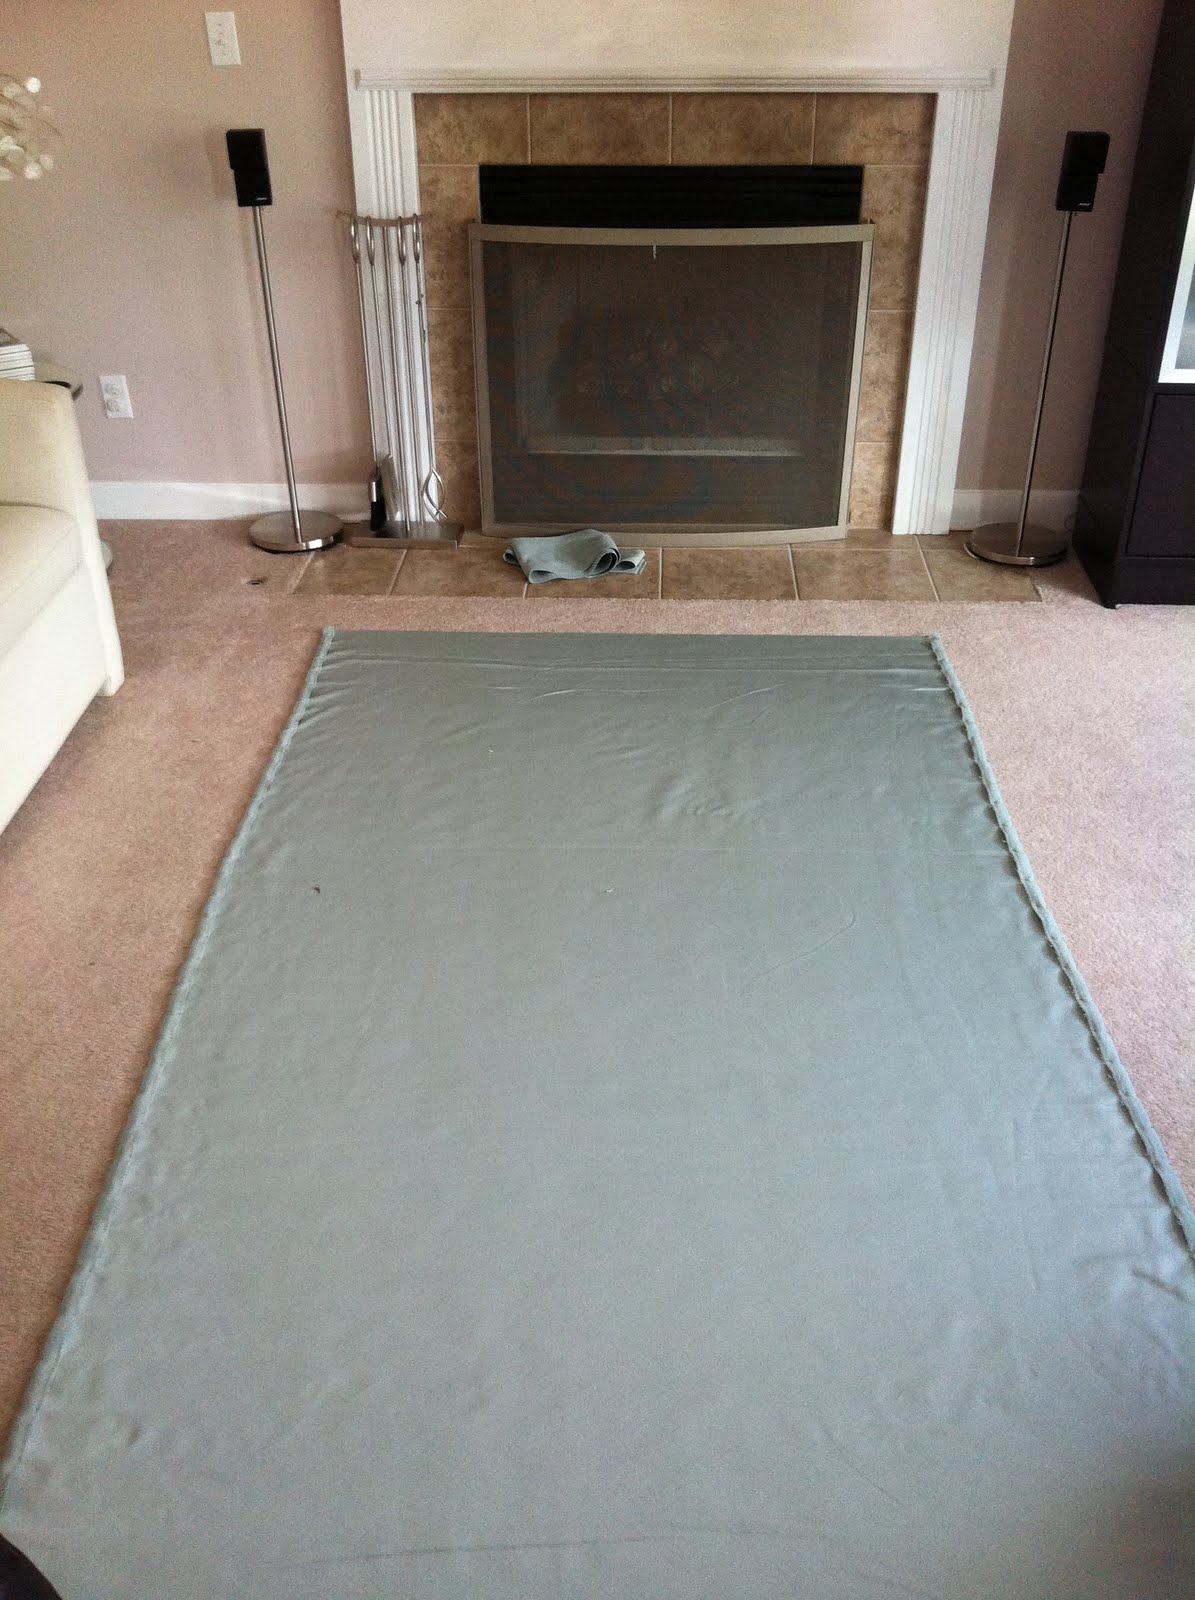 next step was to do my hems along the selvage edges…in this case, my vertical edges. i did a 1″ hem on both sides and stitched them up.
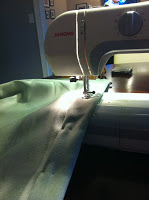 then, it was time for the top and bottom hems. when i figured the length of the panels, i allowed for a 4″ hem on both top and bottom.
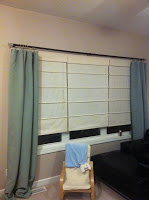
the final panels (complete with noah’s chair and blanket)
i have to say that these panels seem so simple but they have given this room exactly what i was looking for. just a little softness for the room. now if i can just make sure that a certain two-year-old doesn’t use my new panels as a climbing toy…. 🙂