Shop
Shop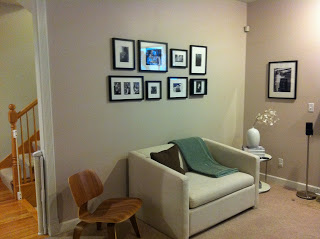
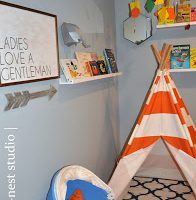
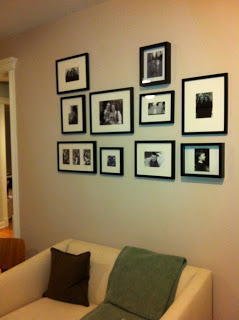
it’s still a work in progress with a couple more frames to add, but i love what it’s becoming. all family and special memories.
the progress
most of the time it’s pretty easy to find frames that will work for the wall…but i recently had two photos – 4″ x 6″ of noah and a 5″ x 7″ of my sister and her boy – and i just wasn’t finding the frames that would fit. so i decided to break the mold a little and go with small shadow boxes and craft a look that would give some dimension to our little gallery wall.
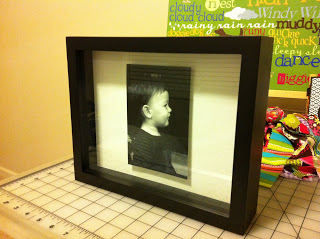
i started with 8″ x 10″ black shadow boxes from hobby lobby. (note: these are super reasonable when they have a 50% off sale!)
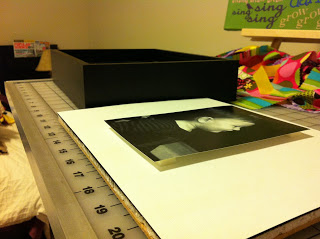
then, i simply cut two pieces of white scrapbook paper to 8″ x 10″ size (using my super-helpful fiskars paper cutter) and adhered it to the backer of the shadow box using my scrapbook adhesives e-z runner tape. (note: i never am without this tape. it’s so much easier than glue or glue sticks and holds just as well!)
next step was actually placing the photo on the white paper…and make sure it’s centered and i wanted to give it a little more dimension. the answer was using my scrapbook adhesives mounting squares. (note: these are an amazing little crafting tool to always have on hand…they work great when making cards or anything where you want to give it a little dimension.)
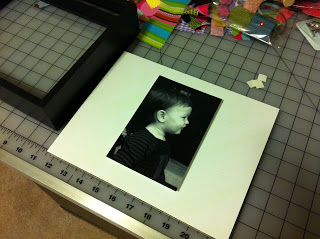 setting the photo on the paper
 positioning the photo with the mounting squares
finally, it was as simple and putting the backing (with my white paper and pic) on the shadow box and it was finished! well, except for putting another hole in the wall….which i did almost immediately. mike was elated. 🙂
good news is i just have a few more spots to put holes in the wall before i feel like my wall is complete. 🙂