Shop
Shopfor a may day, the weather outside was so frightful today…which meant it was a great day for a certain little toddler to take a nice long cozy nap which gave this mama a chance to re-visit a little project that’s been on hold….a cute and fun wall hanging for a certain adorable 2-year old.
i mentioned this project a couple of posts ago, and the original plan was to have it done for his birthday. well, i’m human. life, work, laundry and other crafts got preferrential treatment. but that doesn’t mean i was going to let this project be one that didn’t get it’s appropriate attention or love.
so, today it was back to the wall hanging – and this is one that i’m kind of making up as i go along. the idea and inspiration came from one of the little man’s favorite poems (which he learned from hbo’s classical baby series). the poem is woody guthrie’s “grassy grass grass,” and reciting it has officially become part of our bedtime routine. the whole idea was to sort of capture the special relationship we all have with this poem in a lovely wall hanging and keepsake that’s specially created for our little guy.
it’s still a work in progress, but wanted to share how we started and where we are today….
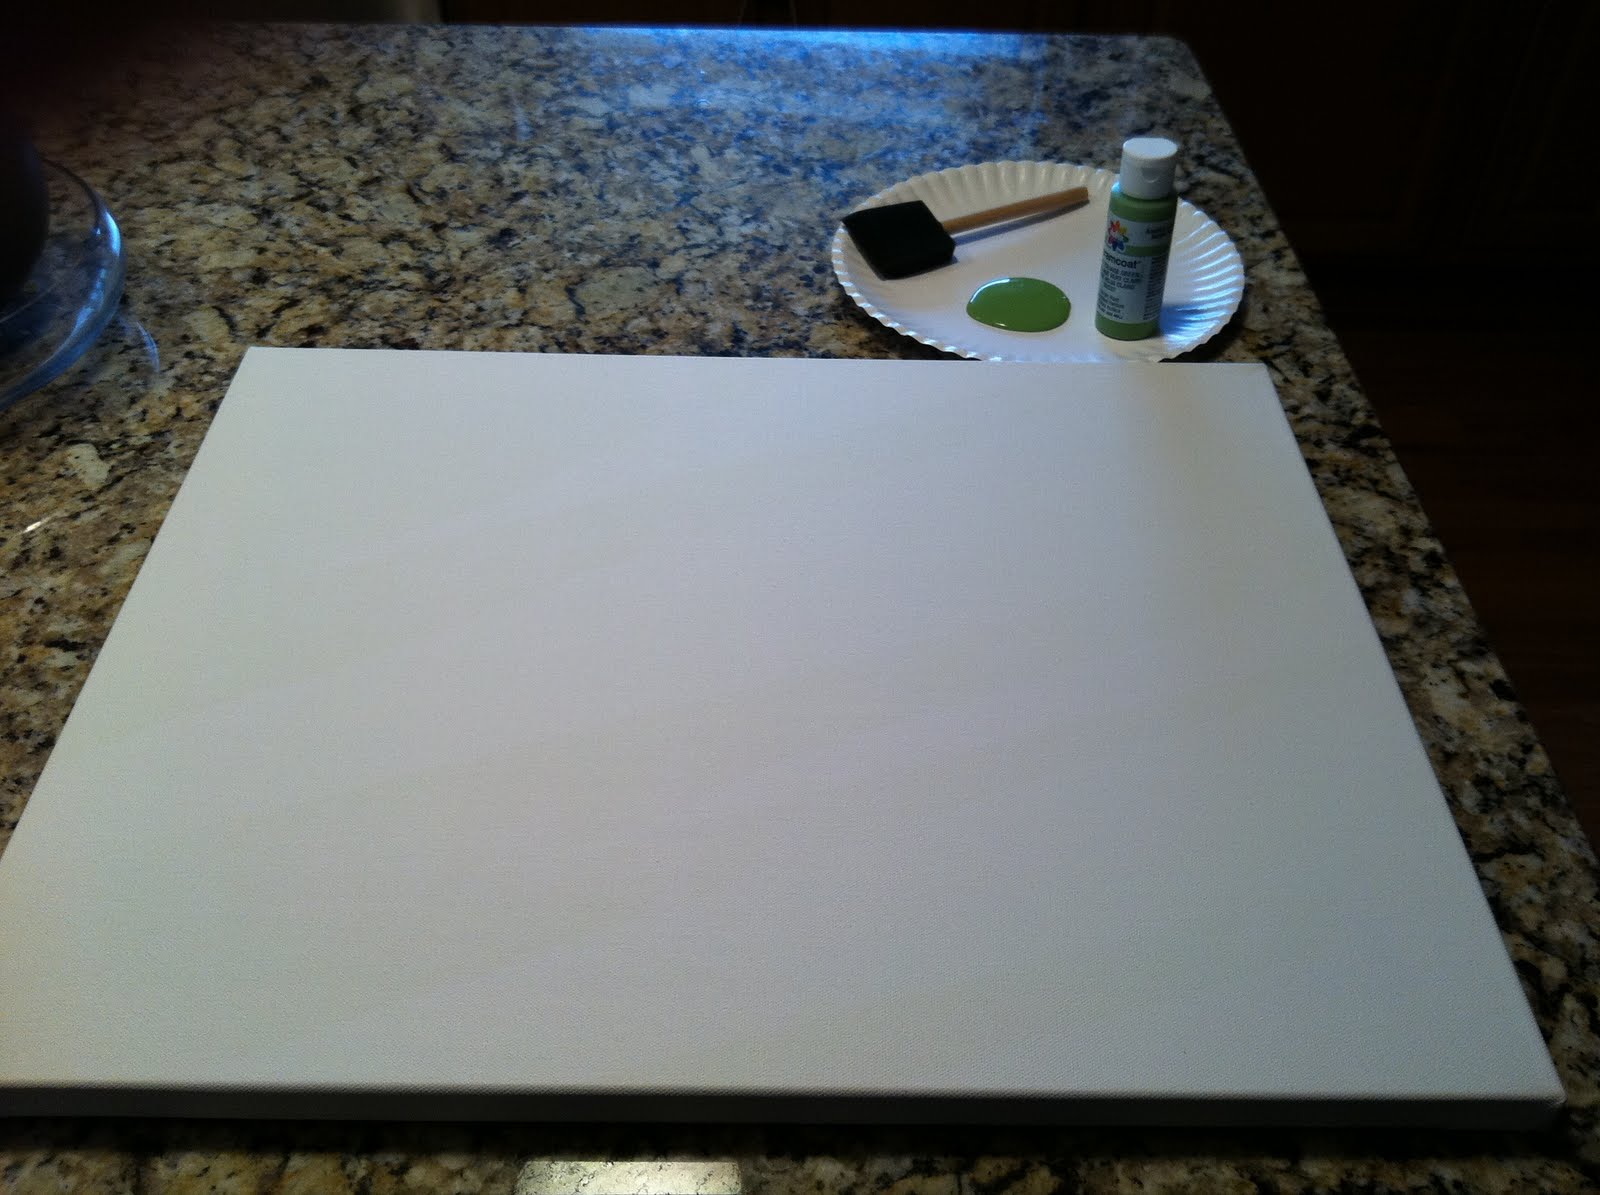 i started with a simple canvas and decided that based on the whole title of the poem the base color needed to be a grass green. two coats of green acrylic paint later, and we were ready to start.
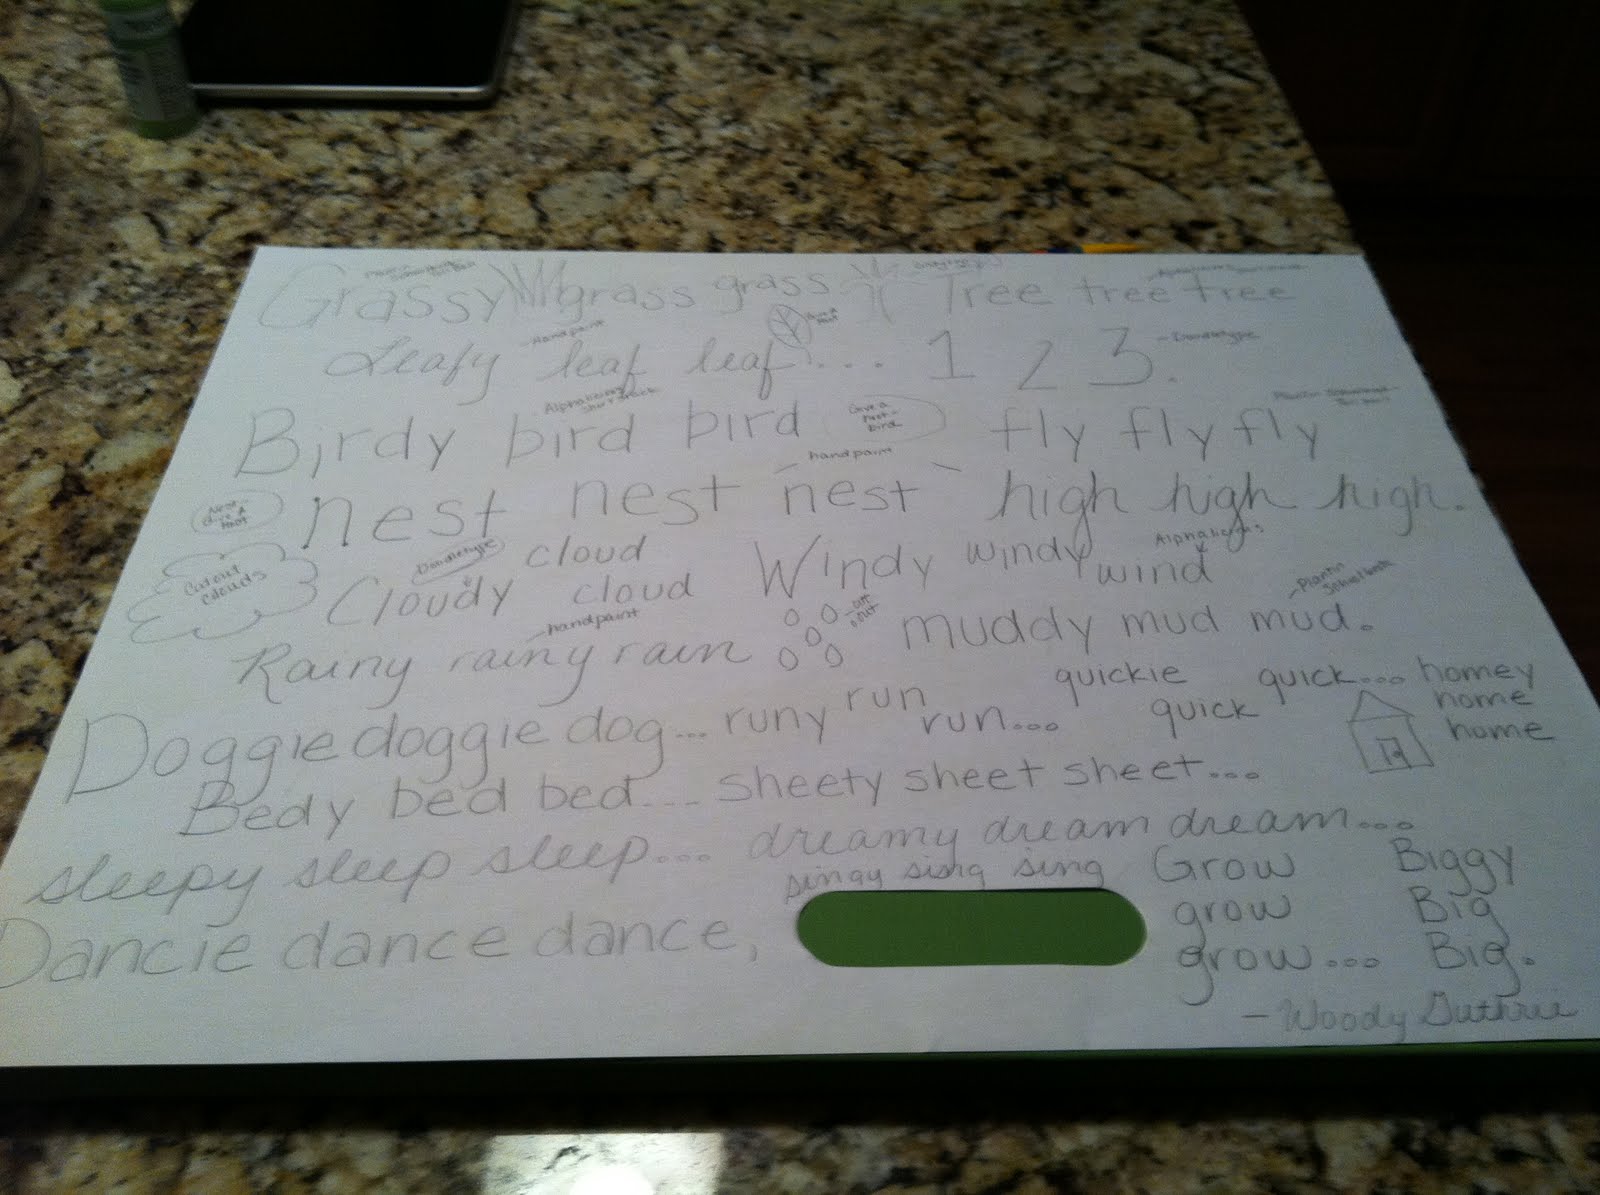
the first step was planning out placement of the poem – to do this, i simply tracked down a piece of paper that was the same size as the canvas and wrote out the poem to plan for spacing. this has been a huge help along the way…just so i didn’t get to the bottom of my canvas and only be halfway through the poem!
 from here, i did take planning a step further and identified how i wanted to have the words of the poem presented – and decided this would be a combo of cut paper letters (thanks, of course, to my cricut) and handpainted/written words. i also knew i wanted to incorporate different graphics into the piece too, so i pre-planned for these too (all based on my current cricut cartridges and their available graphics). what can i say, i’m a planner.
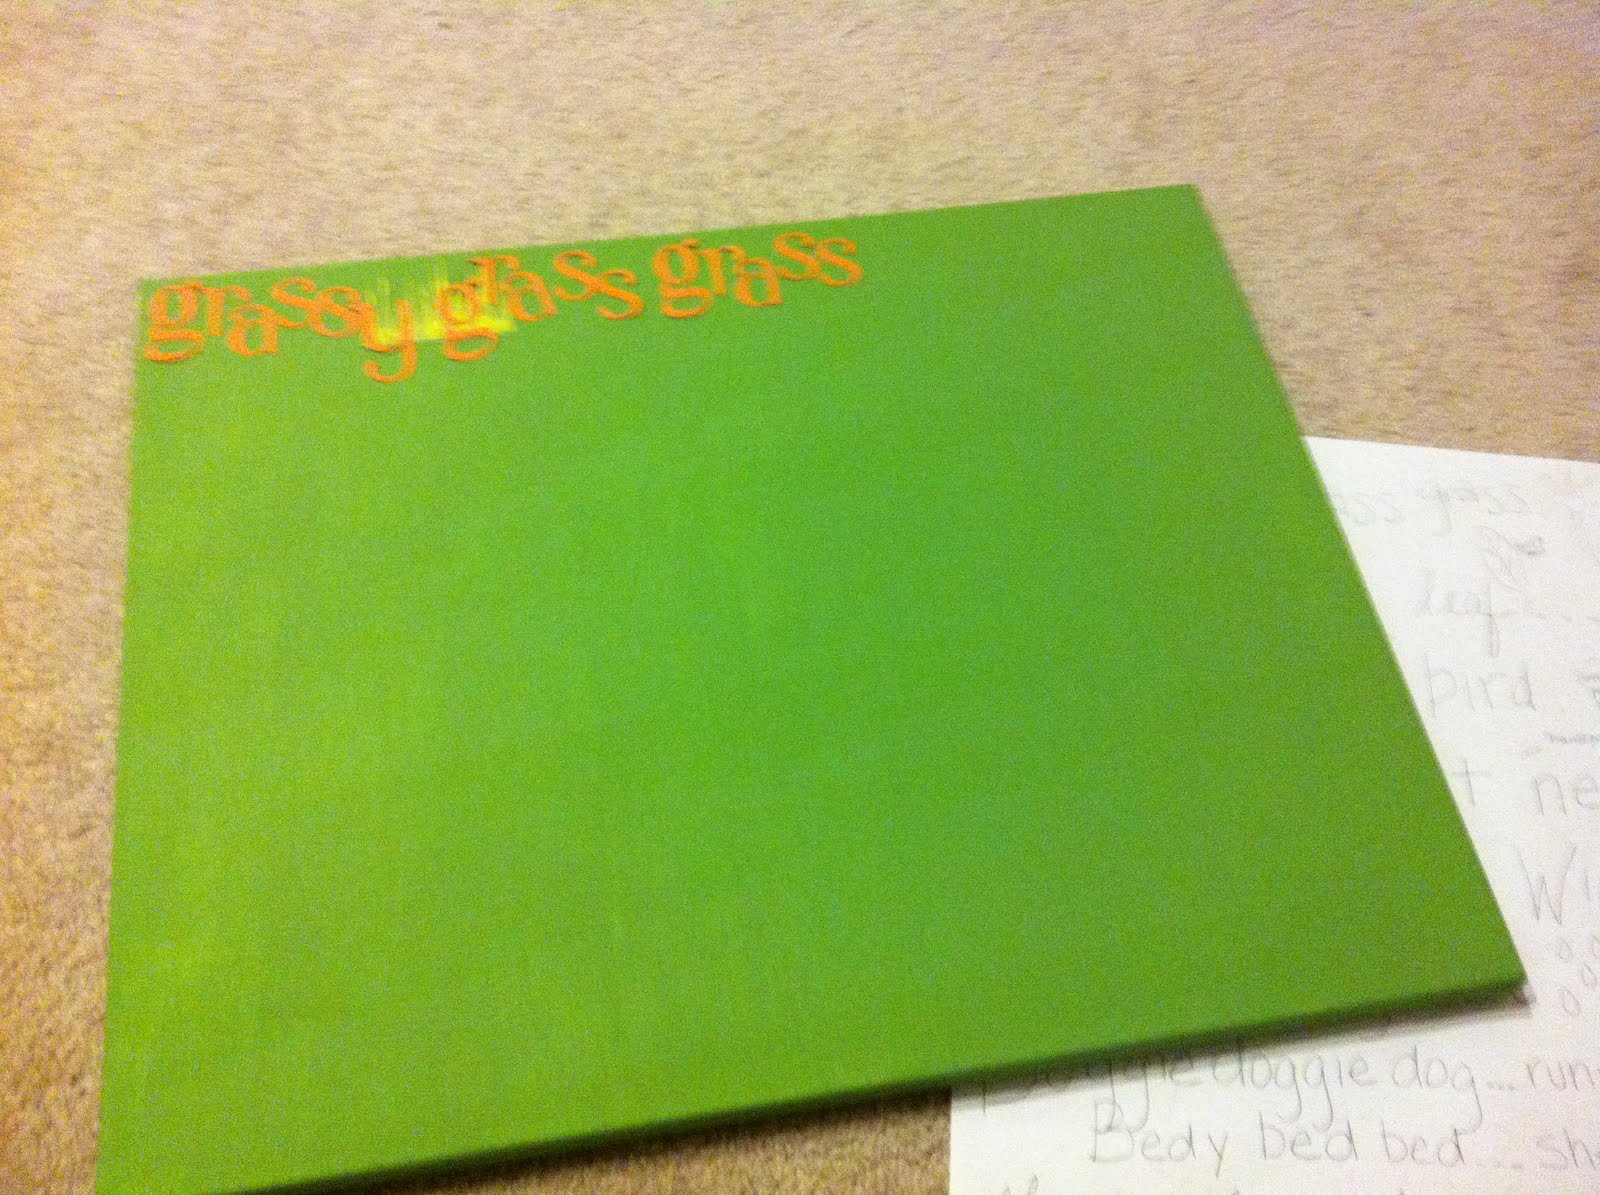
then, it was time to start cutting letters and graphics. i’ve used a combo of cricut 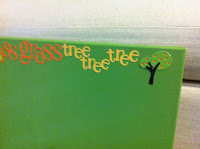 cartridges for this project so far – alphalicious, plantin schoolbook, give a hoot, doodletype – and am using your standard 12″ x 12″ scrapbook papers. sizes of letters have been different, and basically just planned as i go along. i’ve varied everything from 1″ tall to 2-3/4″ tall, just to give the piece some variety. all letters are also being adhered with my zig memory system 2-way squeeze and roll glue pen – a great tool for gluing small, intricate pieces.
 cartridges for this project so far – alphalicious, plantin schoolbook, give a hoot, doodletype – and am using your standard 12″ x 12″ scrapbook papers. sizes of letters have been different, and basically just planned as i go along. i’ve varied everything from 1″ tall to 2-3/4″ tall, just to give the piece some variety. all letters are also being adhered with my zig memory system 2-way squeeze and roll glue pen – a great tool for gluing small, intricate pieces.
 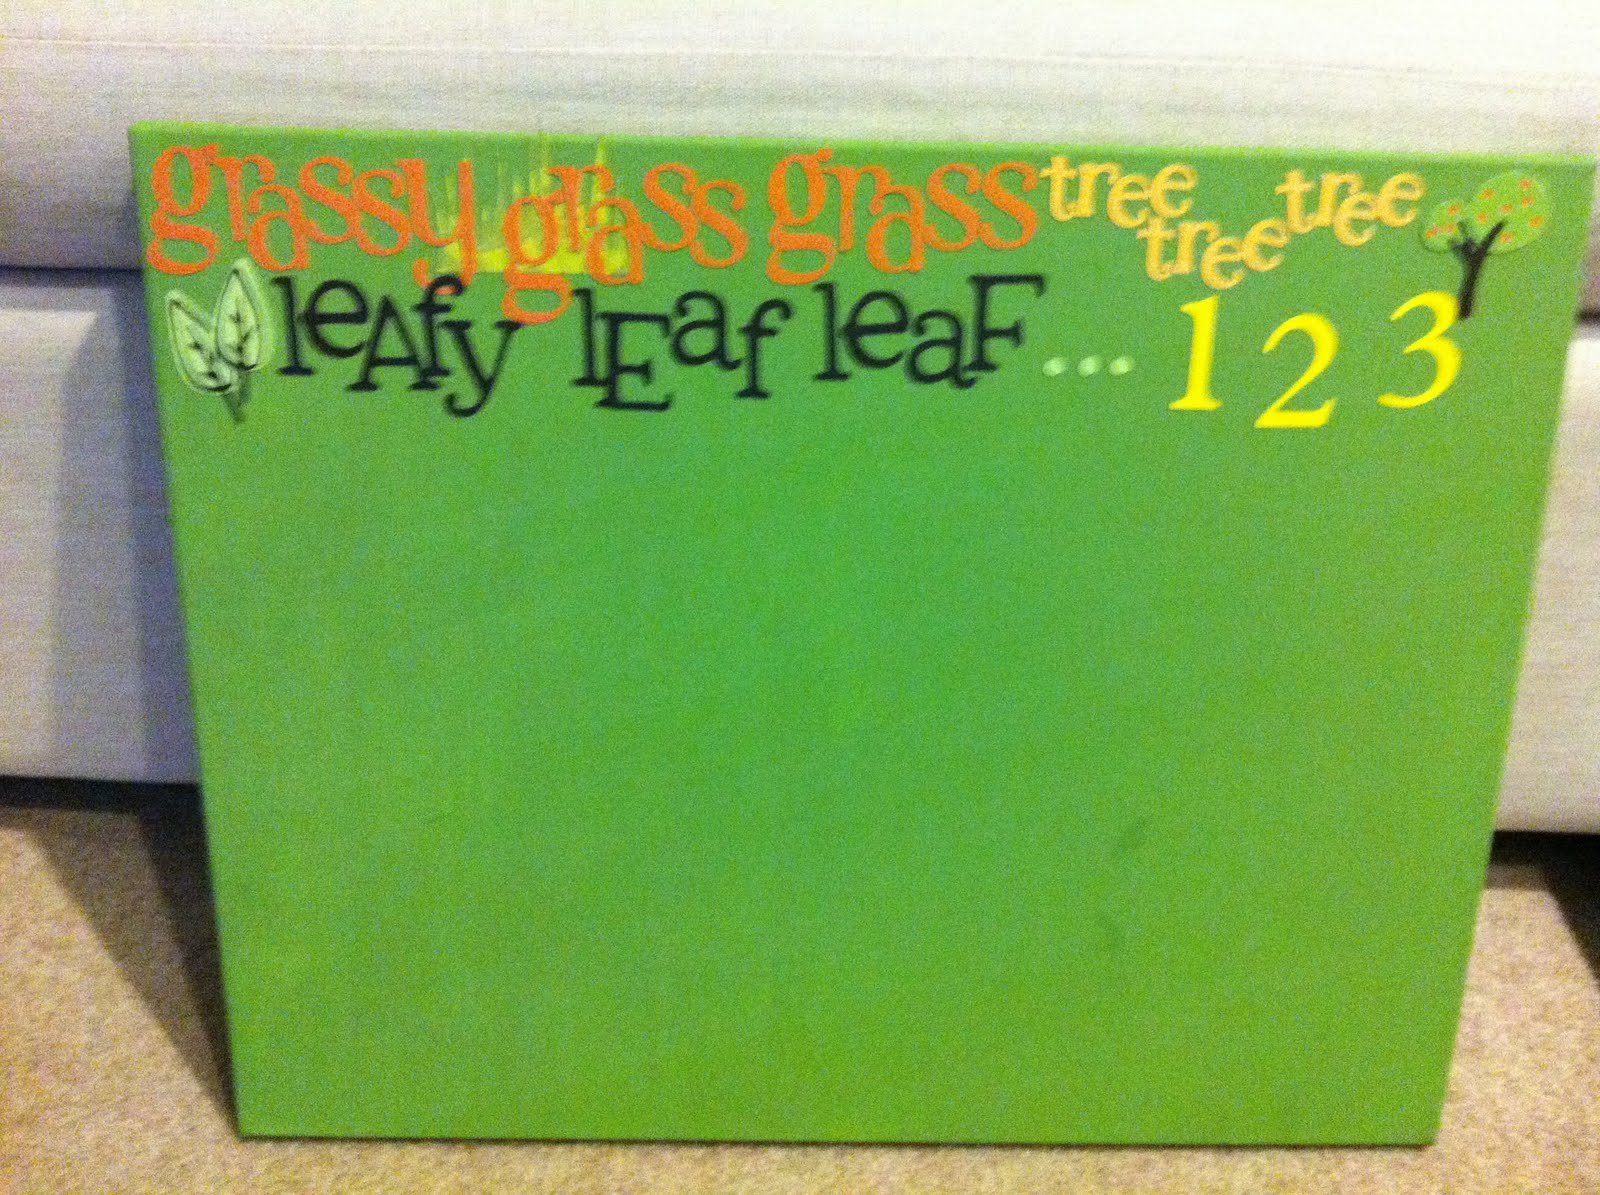 there’s still a ton more work to do on this piece, so be sure to check back for phase ii updates! the way i see it, there’s not a huge hurry with this one – i want to make sure this one is perfect for my little guy.
cheers to your creative everyday,
ashley
p.s. there’s been another big craft project going on the past two weekends…my craft table, that my amazing husband is building me. as of today, the legs are ready, and the top is getting it’s final coats of stain. next up is fastening the cutting mat/measuring mat to the table top, and then we just have to assemble all of the pieces. i can’t wait!